A brick garden pathway runs from a single afternoon with found stone to a permitted archway with a footing below frost line, and the deciding factor is not how much you spend but how much your soil moves.
I choose herringbone where the ground shifts and running bond for a first project on sand that might not be perfect, but every method starts the same: 3/4-inch minus gravel packed in two lifts, a plate compactor, and sand swept dry between the joints.
[link-whisper-related-posts]1. Lay the Bricks on the Sand Bed
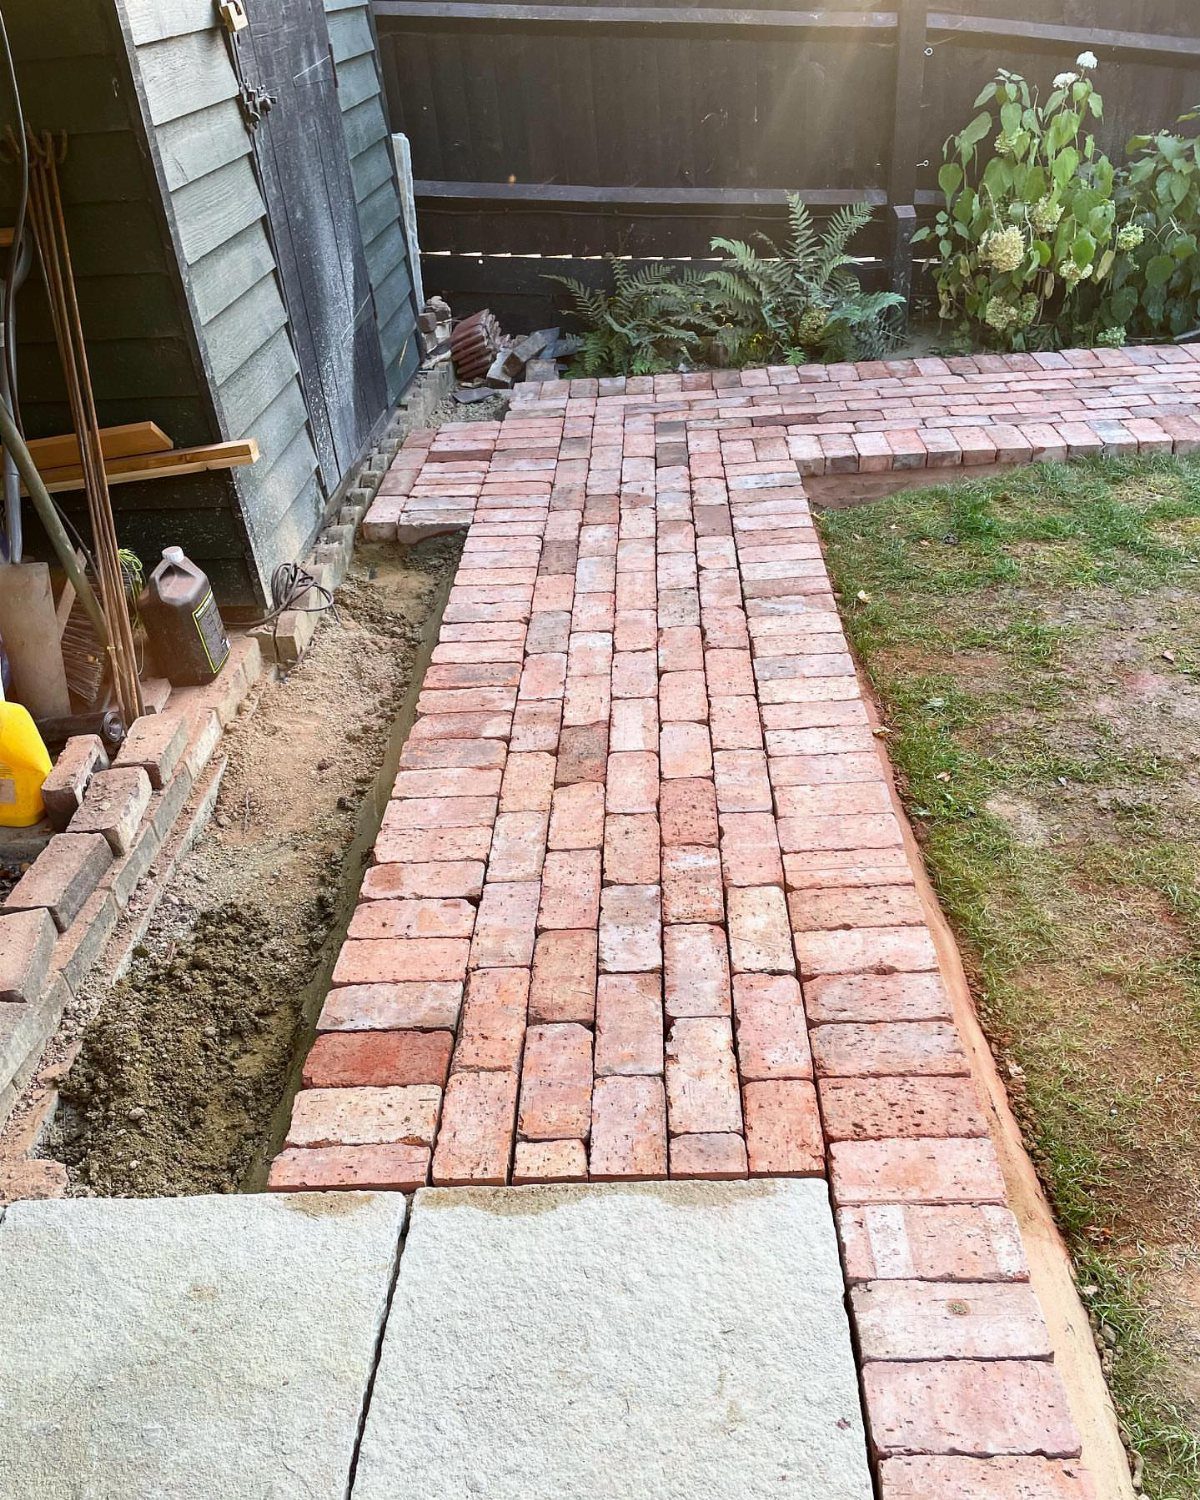
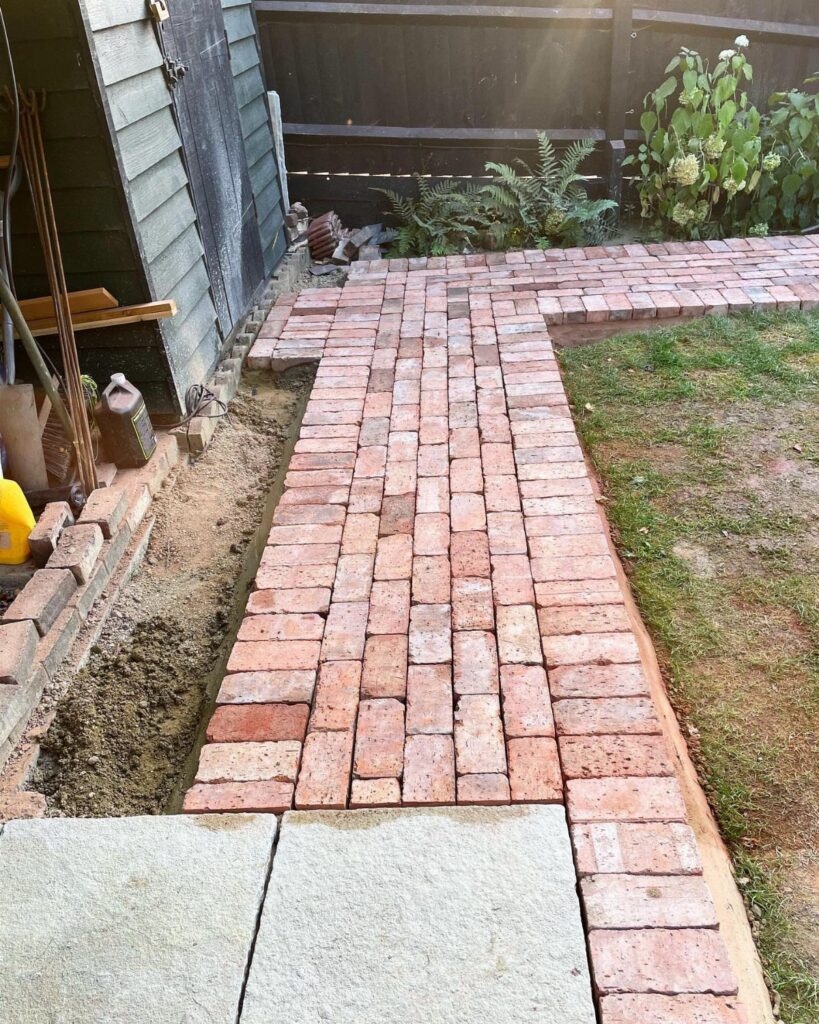
This is the foundation method every other pattern builds on.
Tamp your sand base flat and level, lay bricks to one side so you never kneel on what you just set, and fill the joints with more sand swept in dry.
Working in sections keeps your sand clean as you lay the path, each stretch covered as soon as the bricks are set.
2. Curved Brick Garden Pathway
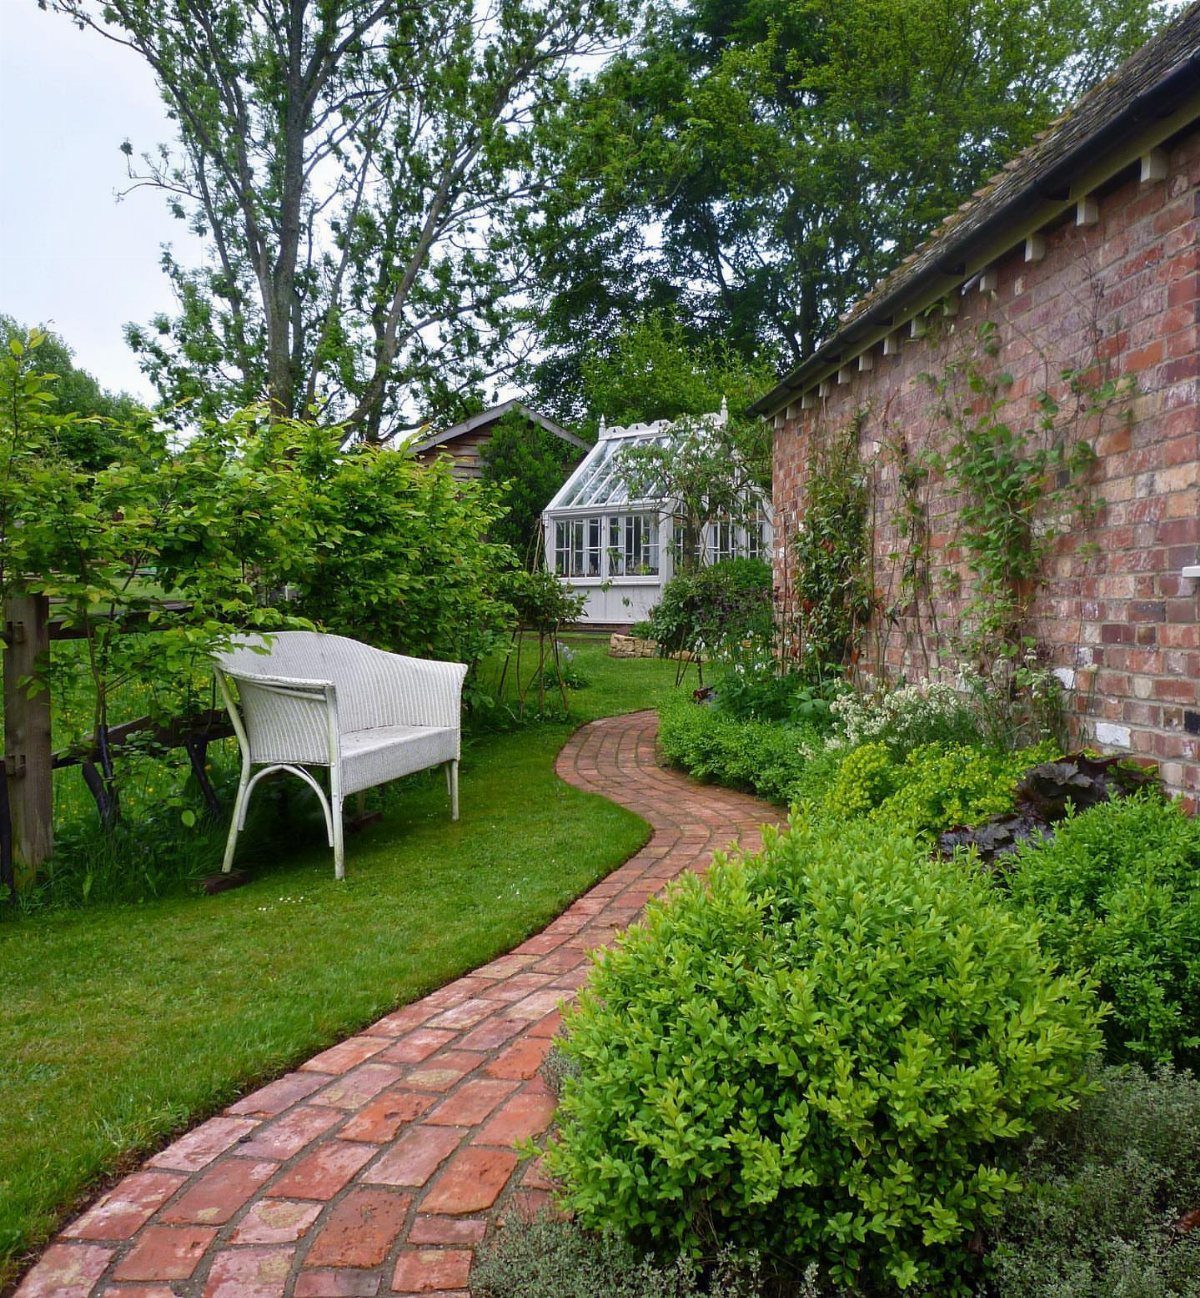
A curve needs more cuts than a straight run, but no special skill, just patience with a hammer and a brick chisel or a rented wet saw.
Start from a fixed point, a door or a gate, and stake your curve with a garden hose first. Narrow bricks bend tighter than standard ones without cutting; the shorter the unit, the tighter the curve it tolerates.
I set my curves a foot wider than I think I need; the garden grows in and shrinks the walking space faster than you’d expect.
3. Straight Herringbone Brick Pathway
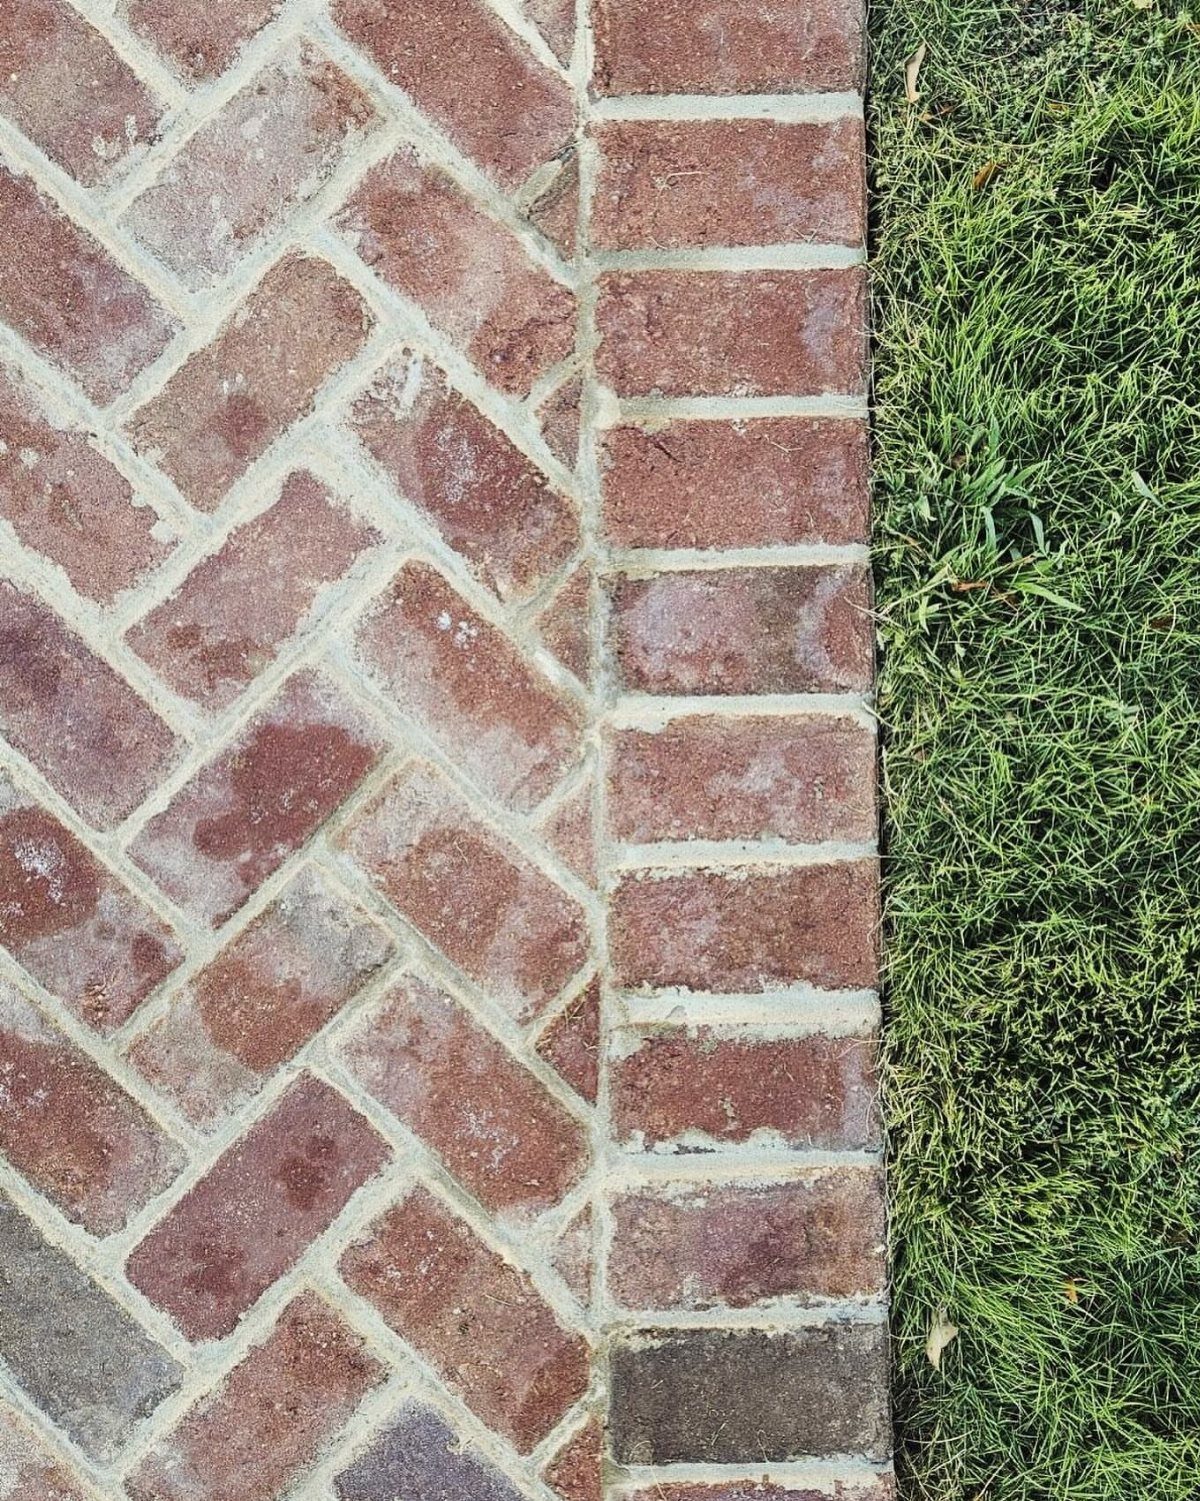
The herringbone pattern locks together underfoot better than any other layout because every brick touches its neighbors at two points, not one. That makes it my choice for any path that takes cart traffic or sits on soil that shifts.
But it wastes brick at the edges; order extra and plan the border knowing you will use full bricks, not cut pieces, for a proper soldier course.
A straight border is what keeps the pattern readable; without it, herringbone looks busy and restless.
4. Running Bond Brick Pathway
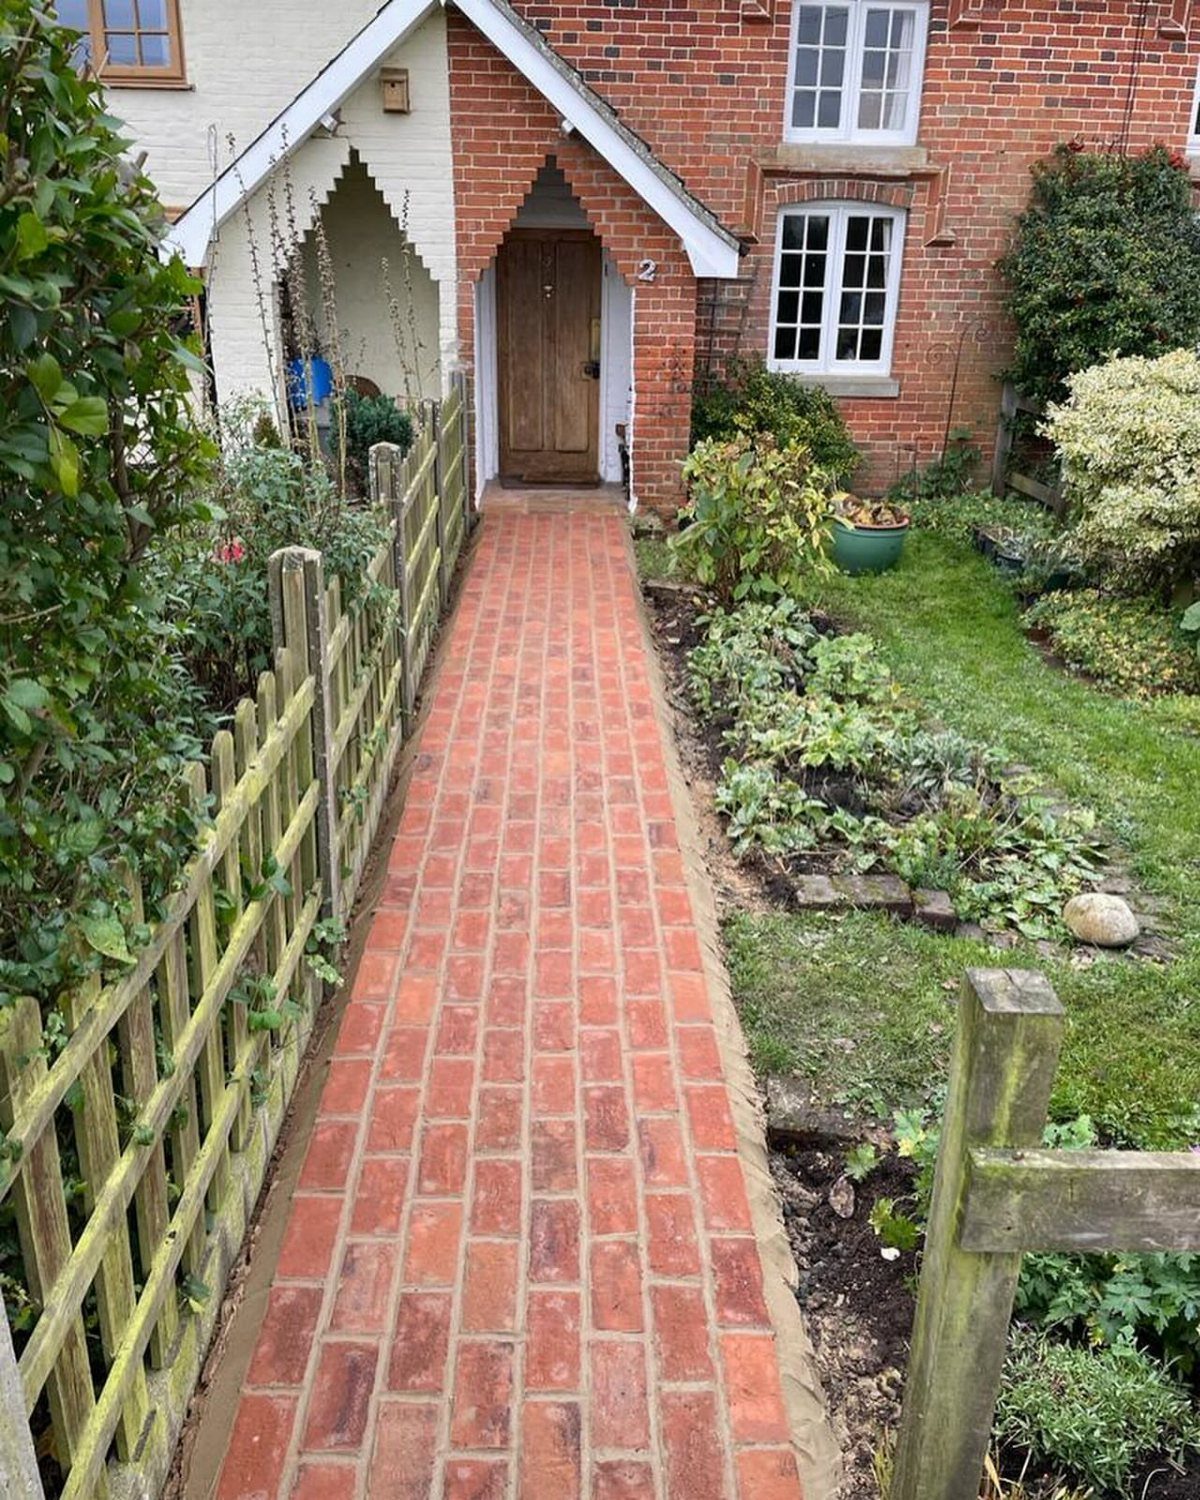
This is the pattern most people picture when they hear "brick path": each brick centered on the joints below, the way a wall runs.
It is the fastest to lay, the easiest to level, and the most forgiving if your sand base is not perfect.
I would choose running bond for a first project or a straight shot to a front door where the pattern plays second to the door itself.
The photo’s path to a cottage door knows this; the brick leads the eye without shouting.
5. Brick Pathway with Matching Archway
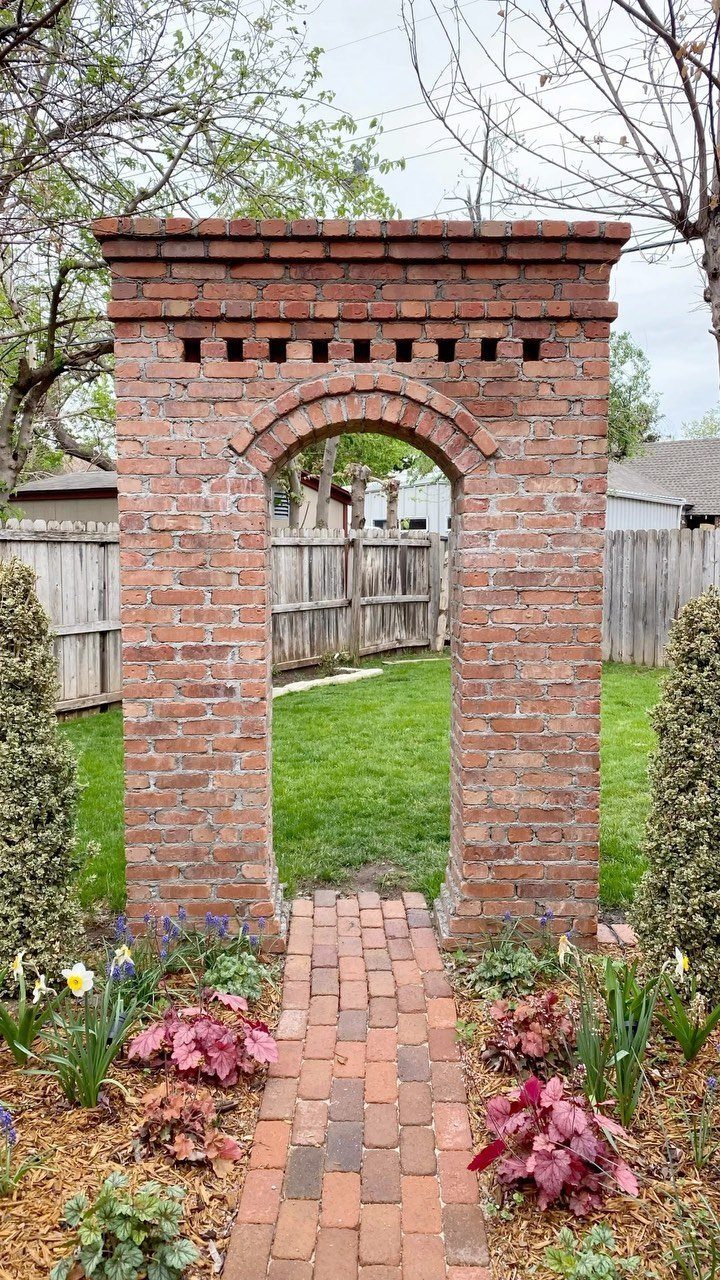
The archway turns a path into a destination, but it needs a footing below frost line and likely a permit; check your local code before you start digging.
Matching the brick in path and arch reads as one thought to the eye; I like it better than mixing materials.
Build the arch first if you can, then run the path to it. Reversing that order leaves you measuring to a gap that may not be where you planned.
6. Brick and Stone Mosaic Pathway
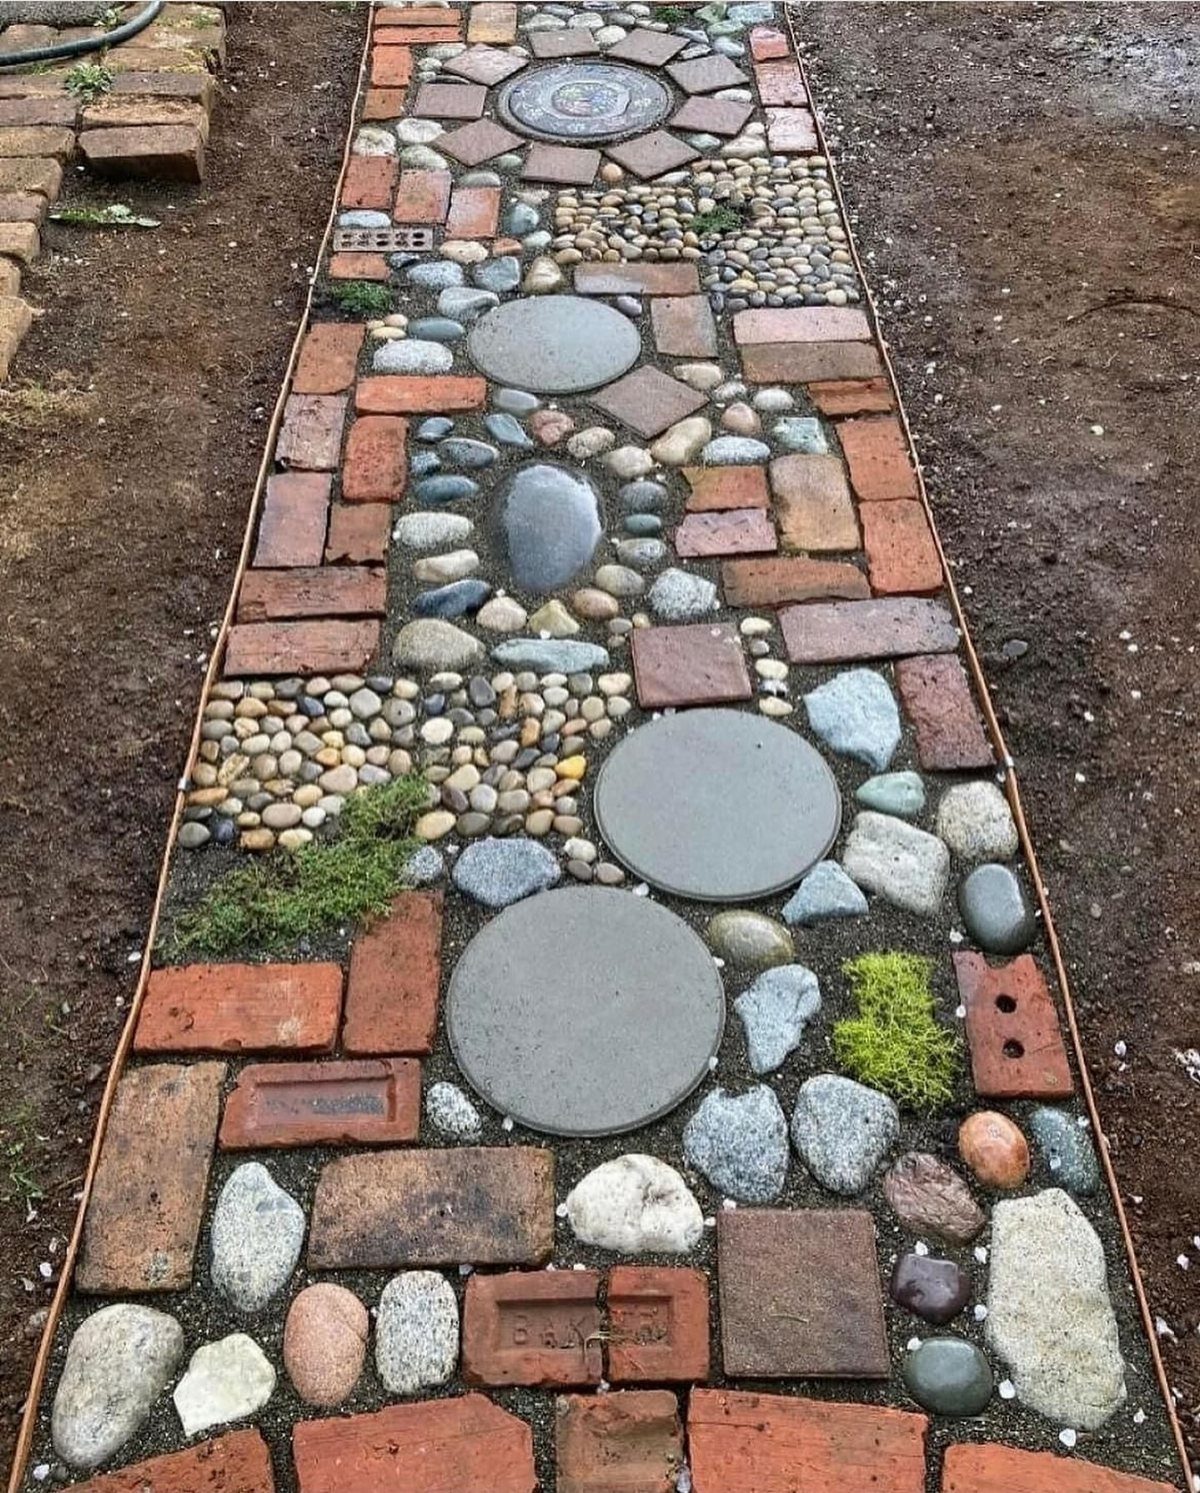
This is the path for found materials and a patient afternoon. The photo mixes brick, round river rock, pebbles, moss, and concrete stepping stones with no repeating pattern, which means no 2 cuts alike and no way to rush.
Set your largest stones first, then brick around them, then fill gaps with smaller rock.
I would leave pockets of soil for moss rather than planting it; the gaps show dark soil ready for it. This path takes longer to lay than a uniform pattern, though the materials themselves often cost less.
Common Mistakes to Avoid
I put 6 inches of gravel where it freezes hard, 4 only where it doesn’t; less and the frost heave will push your bricks out of flat in a couple of seasons.
I add 6 inches to each open side when I order, since loose fill compacts down and you lose volume to the squeeze.
The right gravel is 3/4-inch minus, the mix that includes dust and fines that lock together under pressure. Clean stone drains but does not pack; the powder is what makes it solid.
Have it dumped on hard surface if you can. Shoveling off pavement beats digging out of turf by a lot.
I overlap the seams on landscape fabric by half a foot before any stone goes down; that gap is where the dandelions slip through 3 years later if you cut it close.
It blocks weeds and keeps your base from mixing into mud below.
A plate compactor is worth renting for any run past 10 feet. Walk the base when you finish; a footprint means keep compacting.
Choosing the Right Bricks
Paving brick and wall brick are not the same material, and the difference will show up in 2 winters.
Wall brick is softer, more porous, and made to look pretty vertical; lay it flat underfoot and freeze-thaw cycles will pop it apart.
What you want is a paver rated for severe weather and ground contact: denser body, lower absorption, harder fired. The cost difference up front is small against pulling up and relaying a failed path.
I mark cuts slightly shy of the line I want.
Brick swells in place, and a hair too tight means tapping with a mallet that risks the neighbor you already set. A gap you can close with a gentle seat is faster work than wrestling an overfit piece.
Weed Prevention
Weed prevention starts below the sand, not at it. The fabric under the gravel bed stops roots from below; I seal the joints with polymeric sand to stop them from above.
Both, or the weeds will find the gap. The sand sets hard but flexible when you water it in, and insects have a harder time tunneling through it than through loose joint fill.
Pull what breaks through anyway. One weed left goes to seed, and then the job is manual rather than managed.
I use two lifts of gravel, 2 to 3 inches each, compacting between them.
4 passes with the plate compactor per lift, dampening first so the fines bond. I spread gravel in lifts and pack each one, so the whole bed is solid, not just the top inch where the stones sit pretty.
Frequently Asked Questions
How to make a brick walkway?
I start by staking out the path and excavating to depth, then build up from compacted soil: landscape fabric, 2 lifts of gravel with plate compactor passes on each, then a sand bed leveled flat.
I lay bricks working from one side so I never kneel on fresh work, and finish by sweeping polymeric sand into joints and misting it to set.
On a walk longer than 10 feet, the rental fee for a plate compactor is money I would spend again; hand-tamping that much ground leaves soft spots that show up inside a year.
Can you lay bricks directly on soil?
I would not. Without drainage below, water pools and freeze-thaw heaves the bricks out of flat within a couple seasons.
I put down landscape fabric, then 4 to 6 inches of 3/4-inch minus gravel compacted in lifts, then sand, then brick; the whole stack breathes and drains.