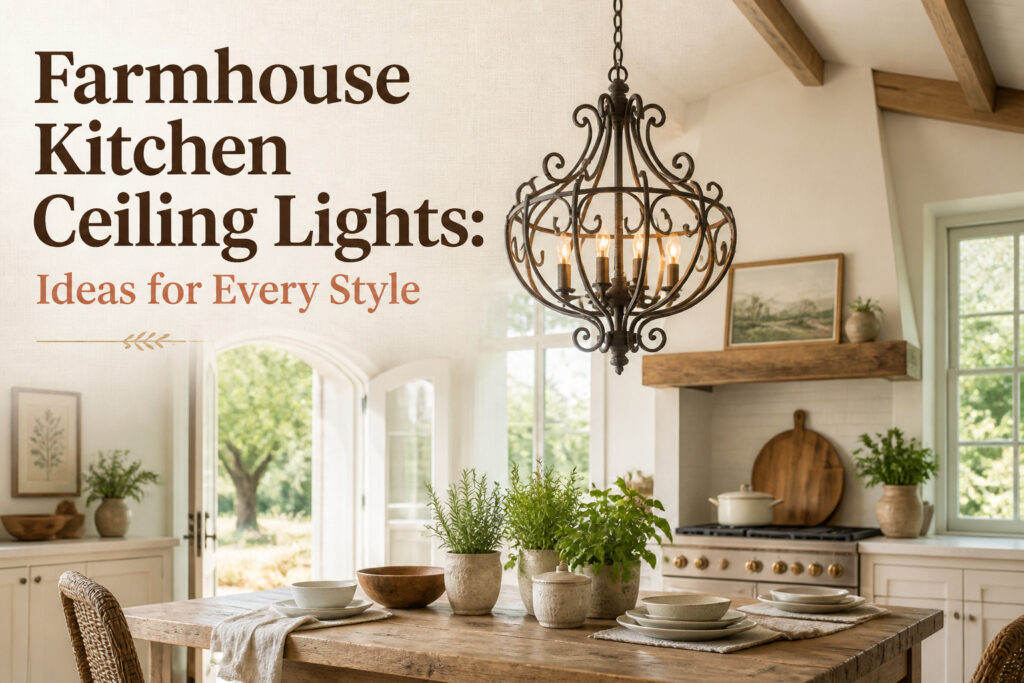
Farmhouse kitchen ceiling lights are fixtures mounted overhead that carry most of the lighting load in rooms with no upper-cabinet wiring.
The catch is that the ceiling sets the tone everything else answers to, and choosing wrong makes even expensive cabinets feel gloomy.
A wrought iron pendant hung 30–36 inches above an island, or a $400 distressed wagon wheel chandelier over a table, proves the difference between atmosphere and afterthought.
[link-whisper-related-posts]1. Pendant Lights
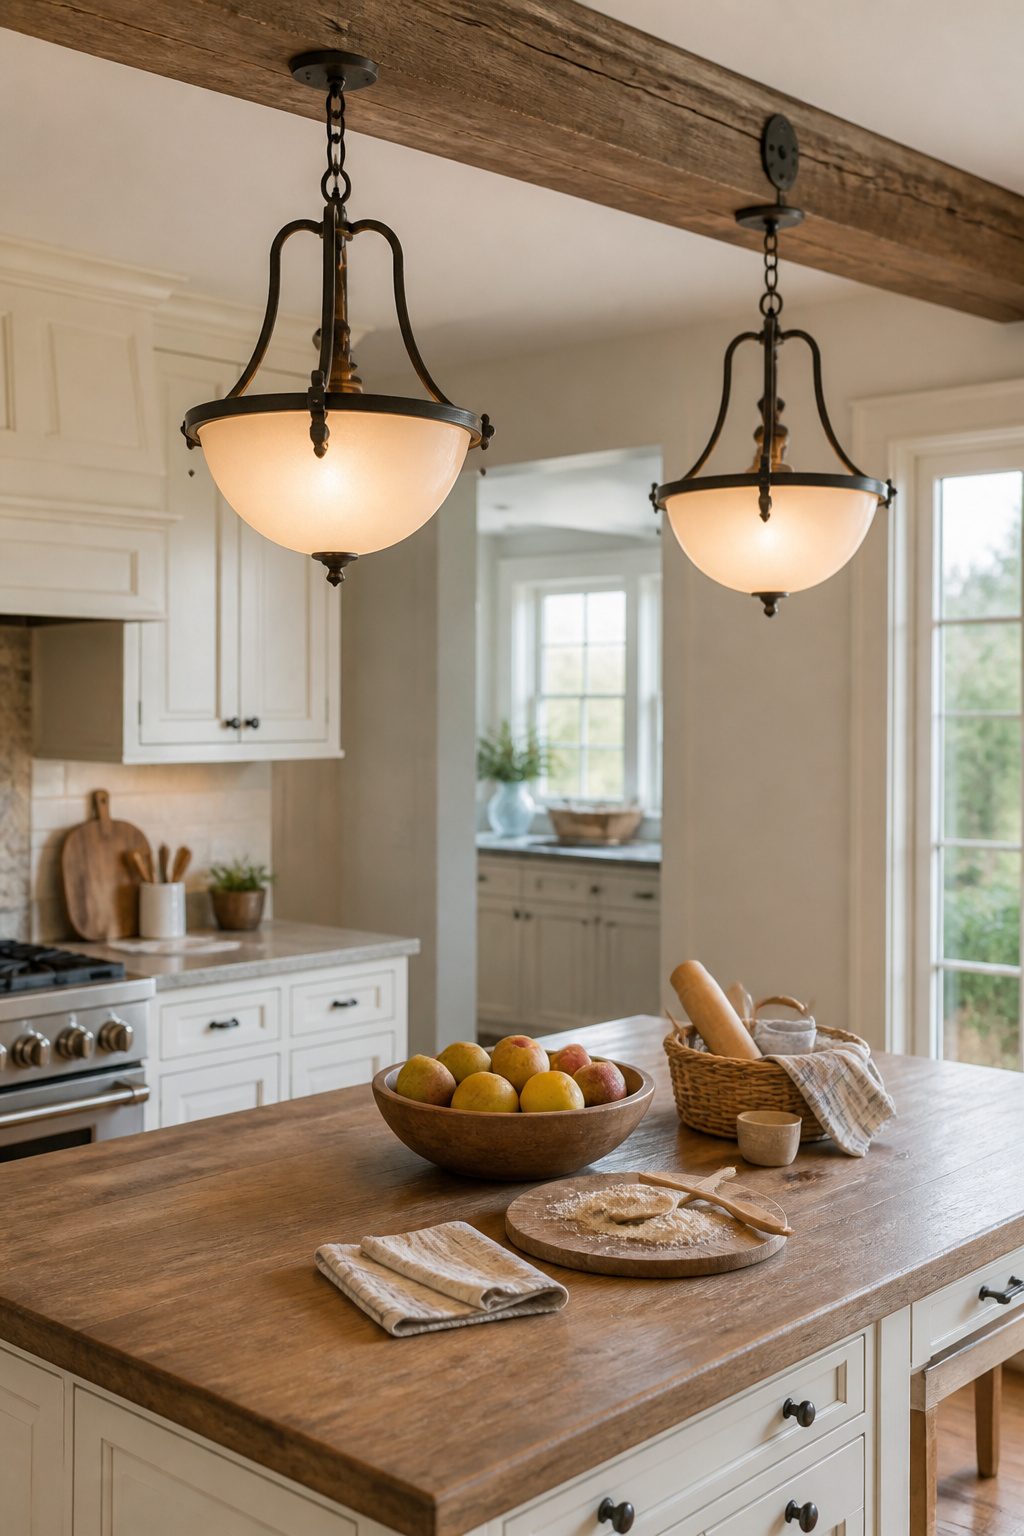
Pendant lights hang down from the ceiling and add the kind of presence that flat fixtures never quite manage.
In a farmhouse kitchen, they work best in groups of two or three strung over an island or a table, where the drop creates a focal point without eating headroom you actually need.
Materials run from wrought iron and wood for warmth to glass shades that throw a little sparkle back up.
Metal finishes shift the whole mood: black reads bold against white cabinets, brushed nickel adds a quiet sheen, white keeps things clean, and oil-rubbed bronze leans into the vintage side of farmhouse.
I tend toward the darker finishes myself, but the white ones brighten a small galley in ways the others do not.
The mistake is hanging them too high or too low.
Over a counter, about 30–36 inches above the surface keeps them out of sightlines without turning them into forehead hazards. Over a dining table, you can drop a little lower since nobody walks through there with a hot sheet pan.

Unique Design:This kitchen light fixtures ceiling hanging is built with reference to the retro industrial style design, creating a unique design style. It is not only a home lighting tool, but also a decorative piece, suitable for hallways, living rooms, kitchens, bedrooms, bars and many other places!

【Focused Task Lighting for Kitchen Islands】 Unlike flat fixtures, this 11.4" wide black pendant light features a deep dome design with a white inner lining. It maximizes light reflection downwards, providing bright, glare-free illumination specifically engineered for kitchen meal prep, sinks, and dining tables.

【Unique Black Pendant Light 】the glass pendant light adopts excellent baking varnish process, outstanding oxidation resistance, hard to rust. Fine workmanship, durable in use.
2. Chandeliers
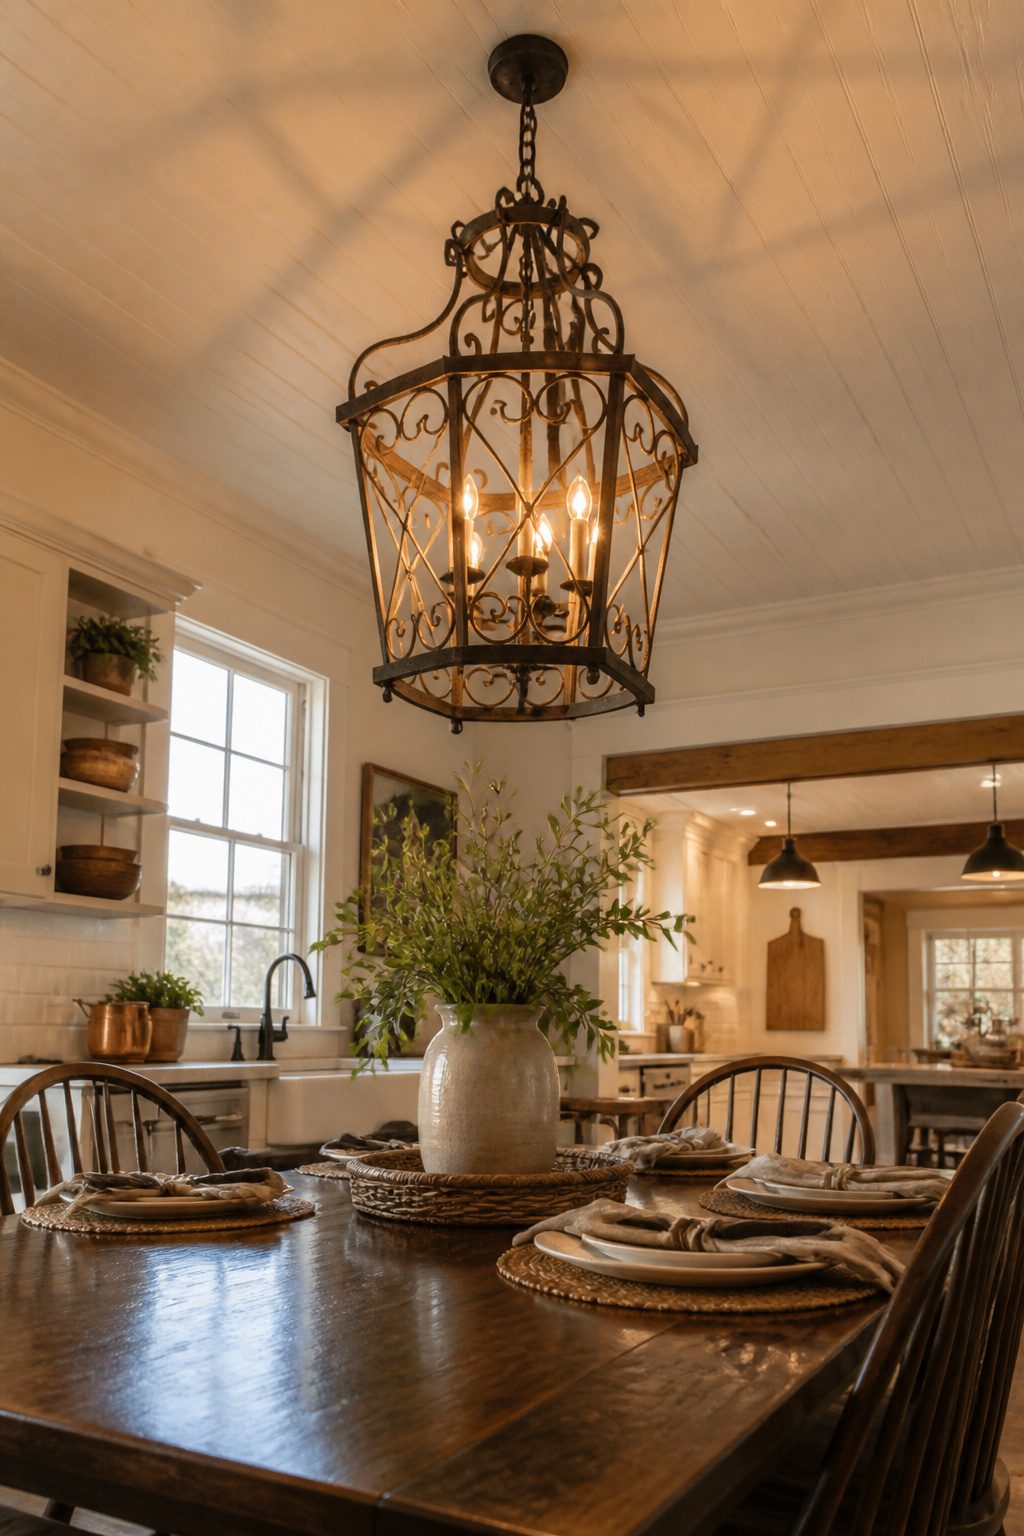
A chandelier over a farmhouse kitchen island or table draws the eye upward and gives the whole room its center of gravity.
Wrought iron, brass, and even crystal versions exist, though the ones that read farmhouse rather than formal tend toward rustic or vintage shapes like lanterns and wagon wheels.
The passages list distressed wagon wheels at $436, rusty black candlestick styles at $429, and weathered scroll-arm pieces at $498, so the sweet spot for a statement piece sits closer to $400 than $200 if you want something that will not look like a compromise.
Sizing matters more than style here. A good rule of thumb is to choose a chandelier about one-third the width of your dining table or island.
Too small and it floats away; too large and it turns the kitchen into a dining room that happens to have a stove.
The light itself is ambient and downward, which means it layers well with task lighting you will need elsewhere, but it will not handle the whole job alone.
I would skip the crystal unless your farmhouse leans shabby-European rather than American-rustic; the patina pendants at $64 prove the look does not require a splurge, though they read accent rather than anchor.

WAGON WHEEL LIGHT FIXTURES: Rustic, simple and industrial style wagon wheel lighting fixture, made of high quality metal wrought iron, decorated with curved light arms, round wagon wheel and flexible light chain, add more farmhouse and retro style to your room.

✔️ Black Chandelier Light Fixture: The modern farmhouse chandeliers for dining room features high quality round frame in metal matte black finish, features an unique large circle drum big wagon wheel, Injects an vintage industrial twist on farmhouse design while lasting retro elegance, show casing the vintage, yet rustic farmhouse style. The black dining room light fixture are perfect for adding infinite beauty and appreciation to your home.(Not waterproof)

Perfect size: 10 Lights black wagon wheel chandelier size is 26.7”, Max Height is 71.7”, Including 2pcs 23.6” adjust Chain, Height adjustable, works for flat, sloped and vaulted ceiling.
3. Flush Mount Lights
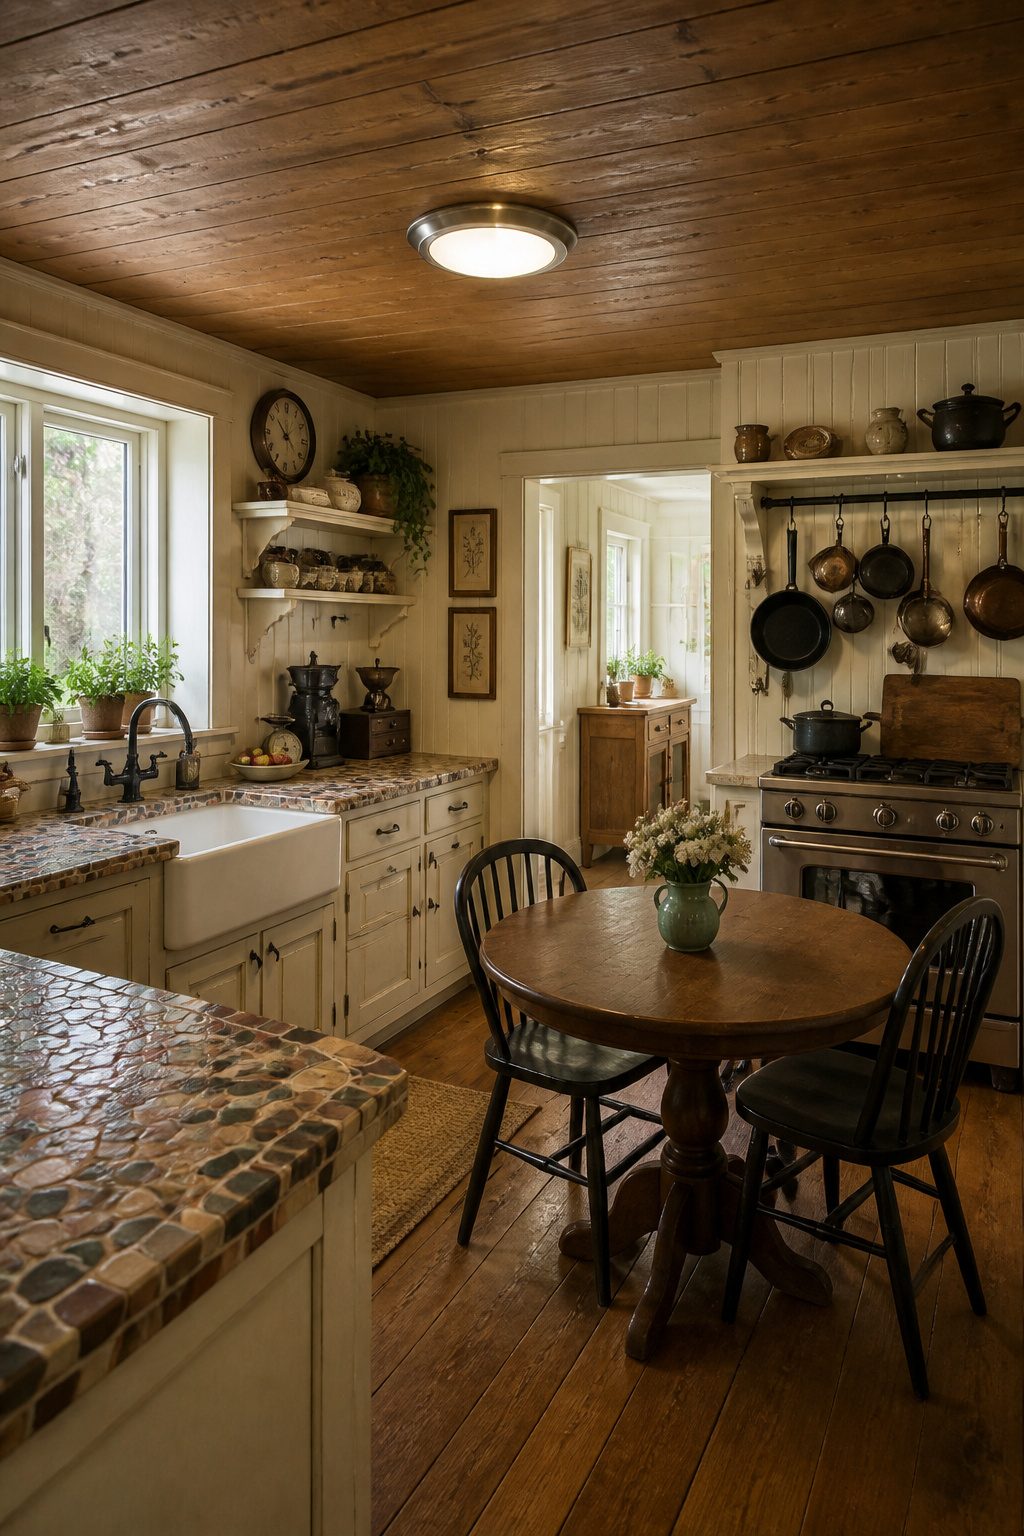
Flush mount lights sit directly against the ceiling, making them the practical default when vertical space is tight.
In my own search, what convinced me was watching how much clearance they actually save in a room where someone tall already has to duck under cabinets.
These fixtures mount flat, so they never risk a bumped head in a kitchen where people move around constantly.
That matters more than it sounds on paper: a low-hanging light in a work zone turns into a daily annoyance, then a hazard.
The real advantage is general illumination without the profile. You can install them along walls or in corners and light the whole space evenly, which is harder to achieve with directional fixtures.
For a farmhouse kitchen, wood and metal versions read rustic without trying too hard; glass ones keep the look lighter. The variety means you are not stuck with a single aesthetic just because the ceiling is low.
Where they fall short is in presence.
A flush mount does not anchor the room the way a pendant or chandelier might, so the rest of your kitchen needs to carry the farmhouse character. If the ceiling is very low, that trade is usually worth making.
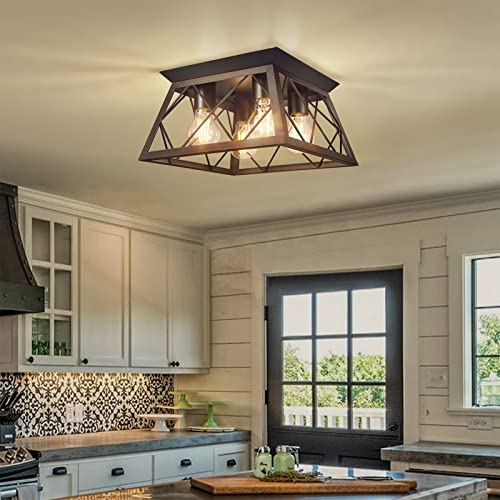
【INDUSTRIAL & FARMHOUSE STYLE DESIGN】This 4 lights farmhouse semi flush mount light fixture features a solid wood frame and dark brown metal canopy, which embodies the charming charm of retro and modern industry. The close to ceiling light fixture provides an industrial and rustic look will add a vintage touch to your space, create striking lighting effects for your home's ceiling.

Flush Mount Design & Farmhouse Style: Black ceiling light features durable metal base and seeded glass shade. Frameless design makes the ceiling light fixture extremely aesthetic, and the glass shade ensures 360° wide-angle lighting for a beautiful and neat light projection. An optimal choice for flush mount ceiling light for farmhouse.

【Modern & Farmhouse Light Fixtures】This 3-light semi flush mount ceiling light features a hexagon metal cage with matte black finish, blending rustic charm with modern farmhouse style, providing bright illumination and decorative appeal for you. Besides, the kitchen ceiling light adopts a classic open frame design, making it easier for you to maintain, clean and replace the light bulbs.
4. Close to Ceiling Lights
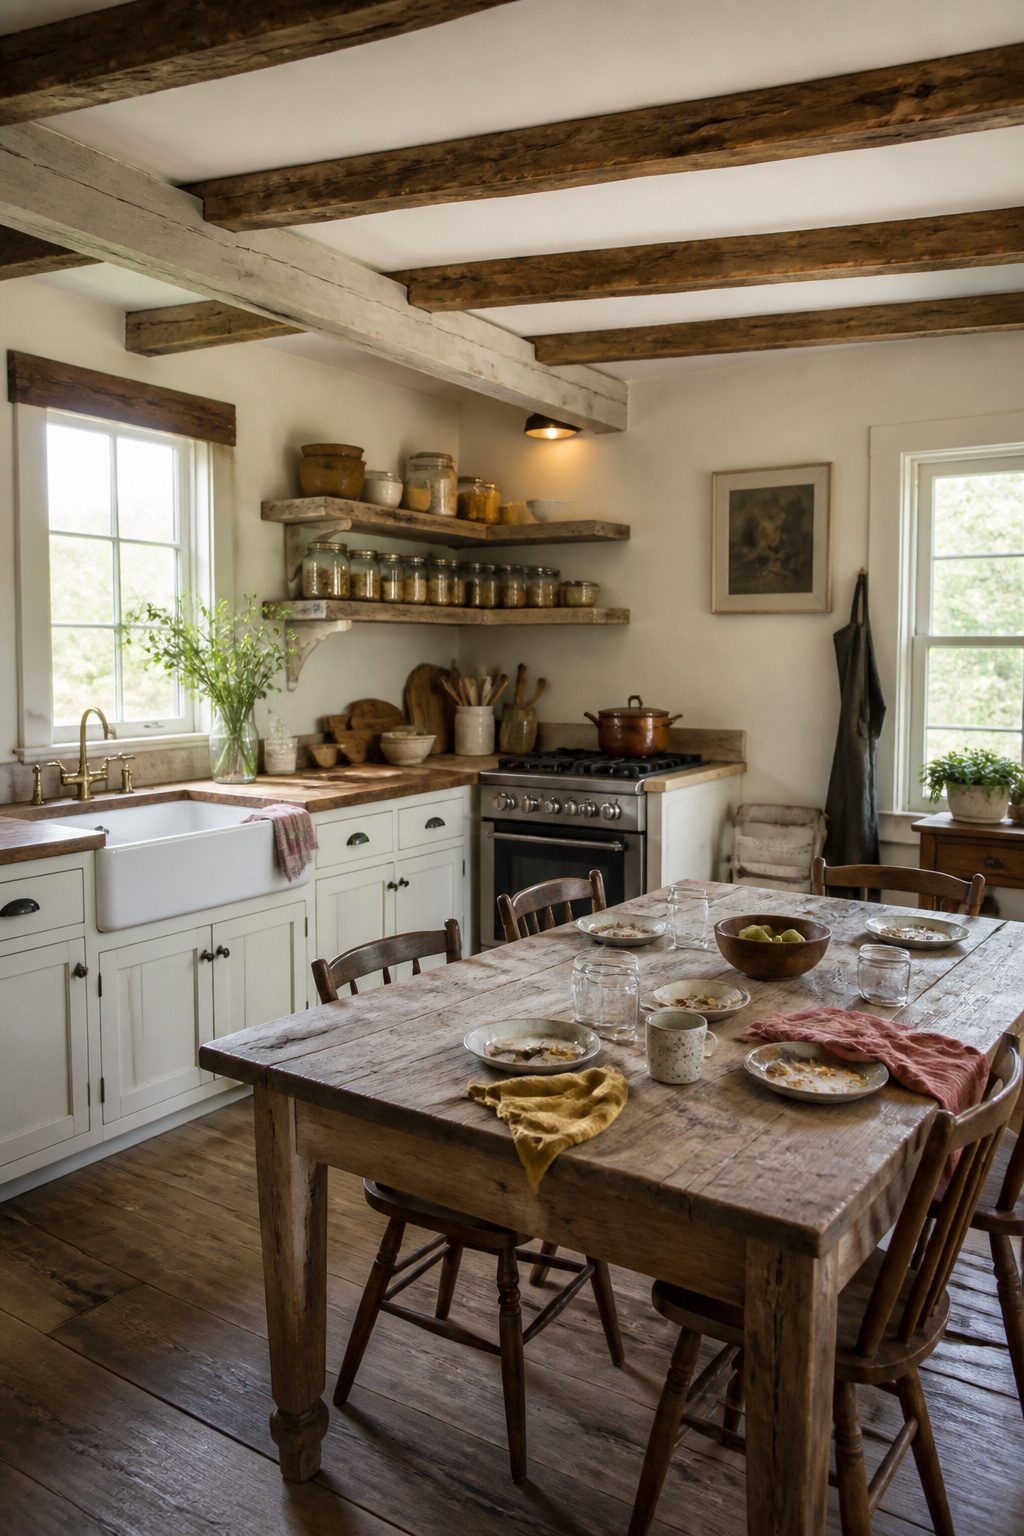
Close to ceiling lights sit flush or nearly flush against the ceiling, which makes them the practical pick when vertical space is tight.
The farmhouse versions keep the rustic charm without the bulk of a hanging fixture, and in a kitchen where people move around constantly, you eliminate the risk of bumping into something overhead.
Wood, metal, and glass designs all exist in this category, so the material choice depends on what else is happening in the room.
A weathered metal dome reads farmhouse without trying too hard; wood brings warmth but needs to sit high enough to avoid grease buildup near the stove.
The real limitation is that these fixtures work best for general illumination rather than task lighting.
Corners and along the walls are the usual placements for evening out the whole space, though a single central mount over a small galley kitchen can do the job if the wattage is right.
For renters, the swap is usually straightforward: the junction box is already there, and the footprint stays small enough that patchwork later is minimal.

【High Performance】 semi flush ceiling lights(Glass Shade Diameter: 9.45'', Canopy Diameter: 4.72'' , Lamp Height: 8.07'') featuring unique clear glass shade and vintage style matte black metal base, bringing a modern twist to its Avant-garde retro design

Semi Flush mount Design& Vintage Style--- This ceiling light is perfect for vintage farmhouse and industrial decors. A Matte Black Base complements the seeded glass and heightens the classic industrial look of this ceiling light, the bubble glass casts a nice shadow on the ceiling, creates a romantic atmosphere to your home.(UL Listed)

Close to Ceiling Lighting Design: Semi flush mount chandelier light with elegant and rustic look, not only a farmhouse lighting, but also a modern beautiful decoration. Indoor ceiling fixtures flush mount design creates a comfortable and modern ambiance to your house
5. Cage Lights
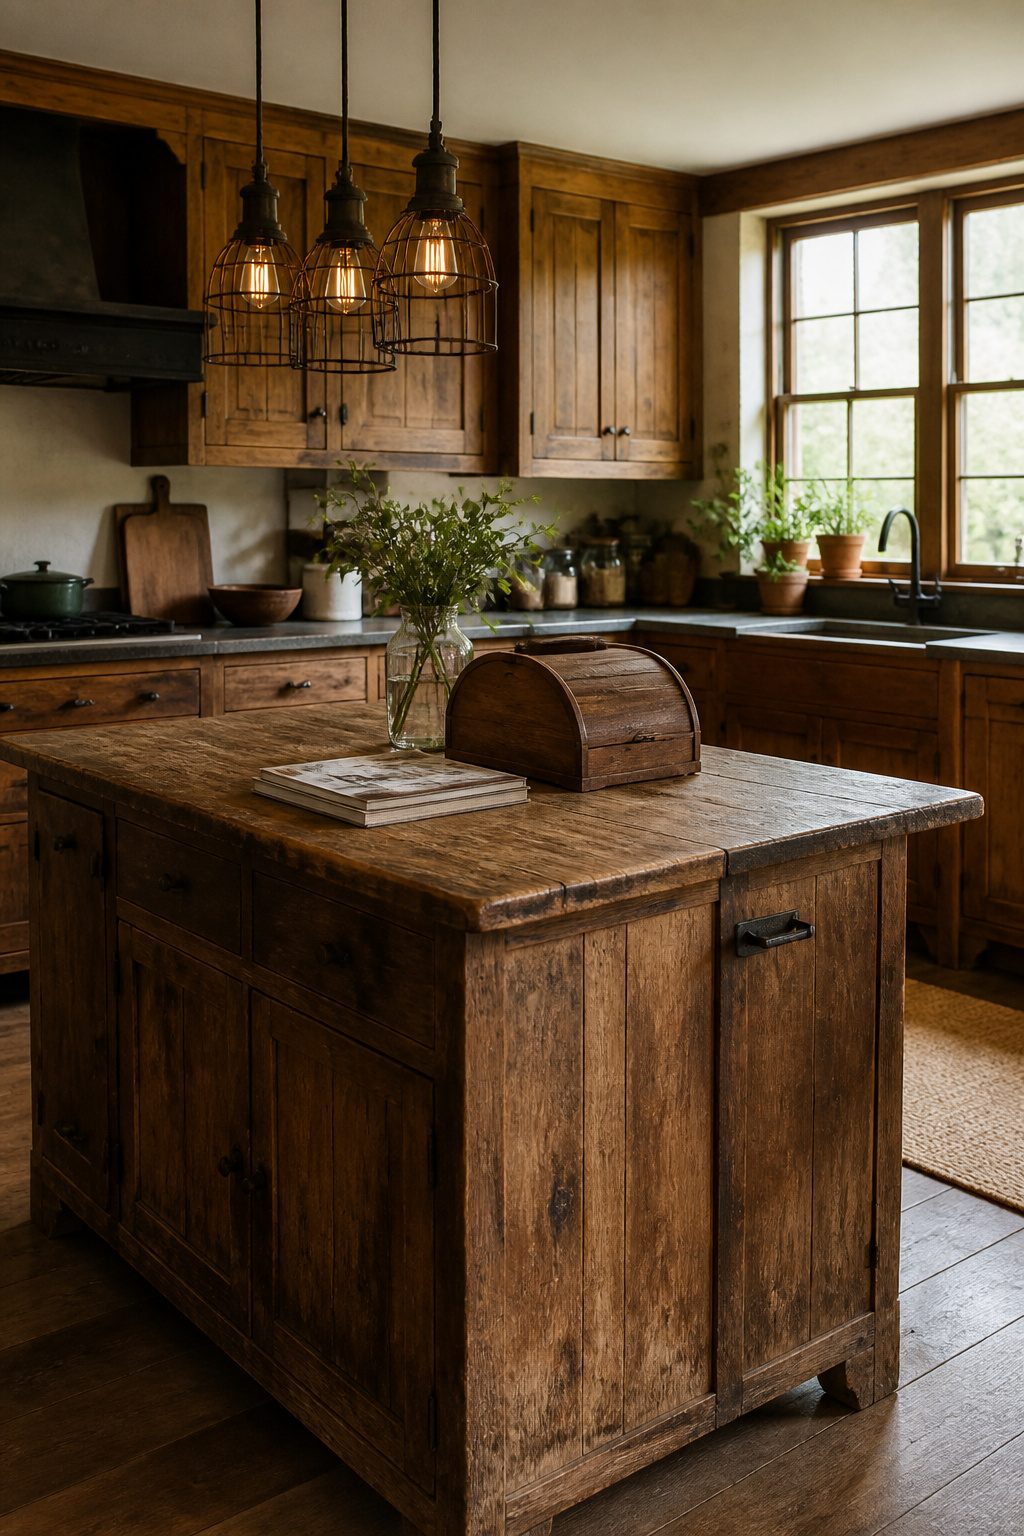
Metal cages around a bulb do something few farmhouse fixtures manage: they let the kitchen feel pulled-together without feeling finished.
The gridwork reads as industrial, but the rust or black patina on the bars softens that into something closer to a barn find.
An industrial-inspired cage design works best when the cage itself is the ornament, so the rest of the kitchen can stay plain.
A flush mount cage light sits tight to the ceiling and still delivers that workshop-meets-farmhouse tension.
Semi-flush versions drop six or eight inches and give the cage more presence over an island or a sink where people actually stand and look up.
Either way, the bulb stays visible, which means choosing an Edison-style filament you actually want to stare at.
The blend of rustic and industrial here is deliberate, not accidental. The farmhouse side comes from the weathered metal and the exposed hardware; the industrial side comes from the geometry and the bare bulb.
It is a forgiving combination. A cage light over a beat-up farmhouse table does not ask the table to be anything other than what it already is.
Prices for cage fixtures run about $118 to $129 in the farmhouse market, which lands them below most pendants with glass or shades. That matters if you are lighting a galley kitchen and need two or three of them.

【Farmhouse Style Pendant Light Fixture】3-light pendant lighting for kitchen with solid wood and black metal finish suit for modern and industrial style. Farmhouse dining table light fixtures with diamond metal shades create a relaxing atmosphere that adds vibrant vibe to any room, especially for kitchen island, dining room, kitchen, dining table, living room, restaurant and more.

Modern and Farmhouse Design: This Dining room light fixture combines wood and metal, merging rustic warmth with modern lines. As standout kitchen island lighting, it brings that coveted farmhouse feel. The farmhouse chandelier balances sophistication and coziness, making your kitchen or dining area the home’s heart

【GENUINE WOOD Farmhouse Lighting】The SOLID WOOD Farmhouse Kitchen Island Lighting is composed of a solid wood frame and a black metal canopy. The pendant light adopts an open geometric cage design, which is simple and smooth to maximize the use of light, and is a perfect display of the country cottage and farmhouse aesthetic!
6. Lights with Shades
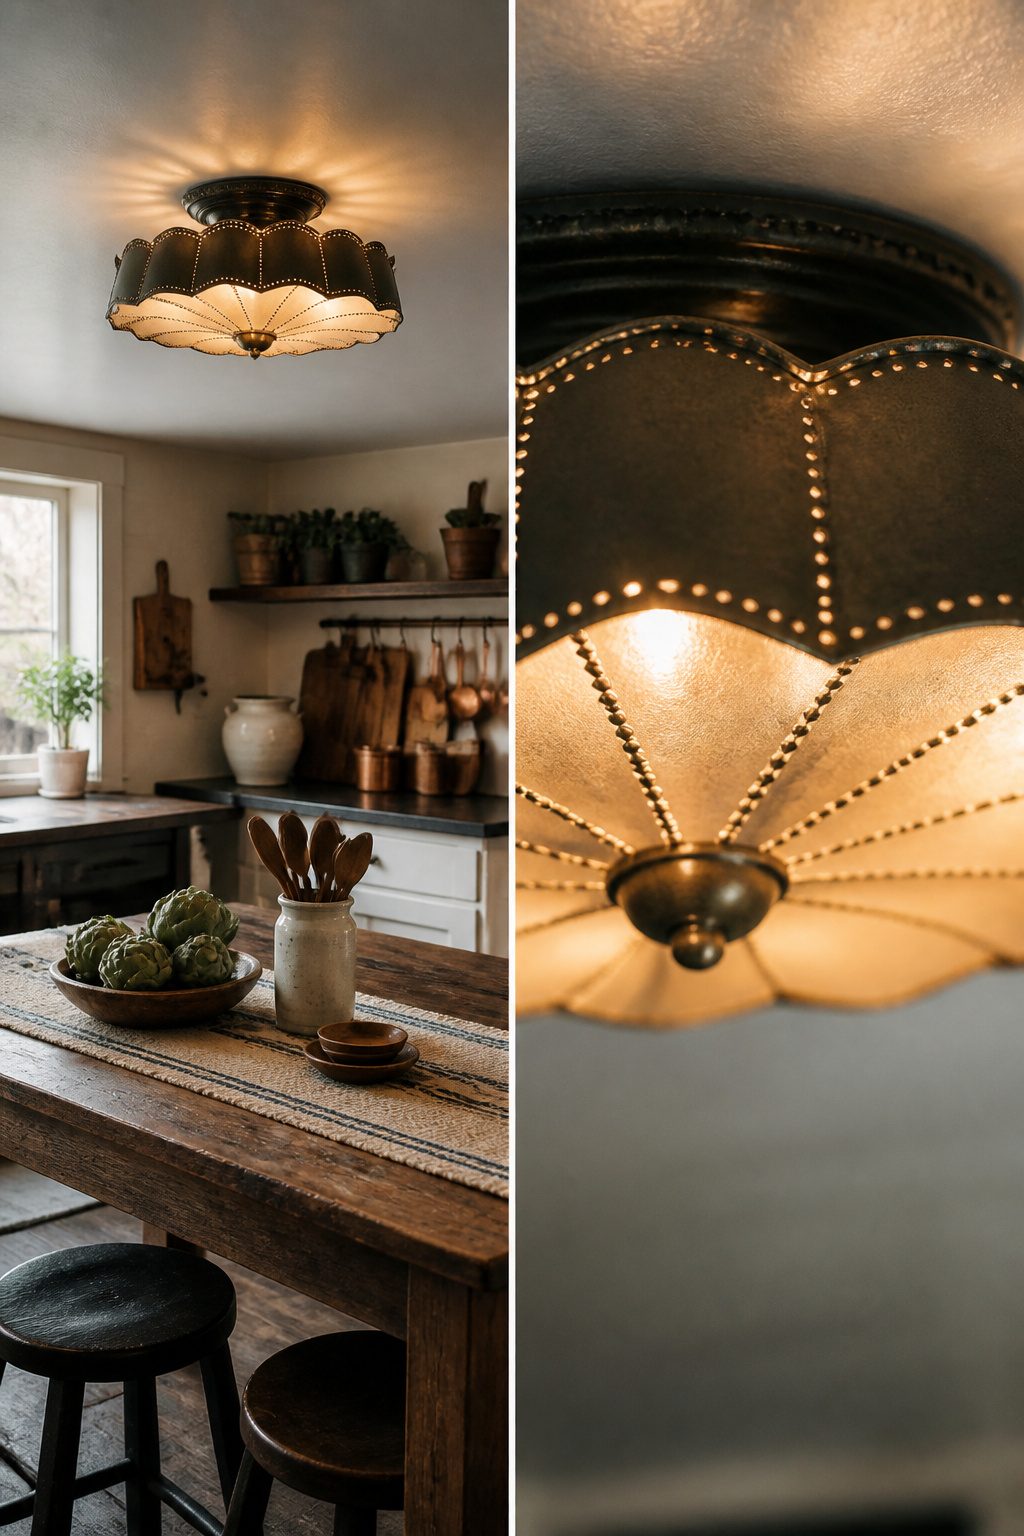
Metal and glass shades do the heavy lifting in a farmhouse kitchen ceiling setup, taking bare bulbs from harsh to hospitable.
The Masco Ceiling Light runs with this idea in wrought iron, its scalloped edge throwing a warm golden glow that reads more cottage than industrial.
That rounded shade with its wavy rim adds a soft, almost fabric-like detail to an otherwise hard material.
The Dasco Ceiling Light takes a different path with a lantern-style shade and a hinged door you can swing open to swap bulbs.
Wood and metal construction keeps the look grounded, and the soft yellow glow it puts out lands in the same cozy territory.
Both fixtures diffuse light rather than blast it, which matters when you’re standing at a counter at 6 a.m. or lingering over dishes after dark.
Between them, the Masco reads more decorative, the Dasco more utilitarian.
For a kitchen where you actually cook, the hinged door on the Dasco wins for the simple reason that you will change that bulb eventually, probably on a step stool with your arms overhead.

Farmhouse Style: These hanging lights in black finish reinterpret the classic lantern silhouette with a modern twist, seamlessly blending with various home decor styles. They effortlessly create eye-catching focal points in bedrooms, hallways, foyers, front porches, and entryways. Whether hung individually or in multiples, these hanging lamps add a touch of rustic charm and elegance to any space

Perfect Rustic Design: The farmhouse black lantern pendant light has a strong wrought iron and brushed classic black look with four candle holders of center, this hanging black lantern chandelier design has a antique vintage and Industrial vibe, it will be a stunning and amzing home lighting.
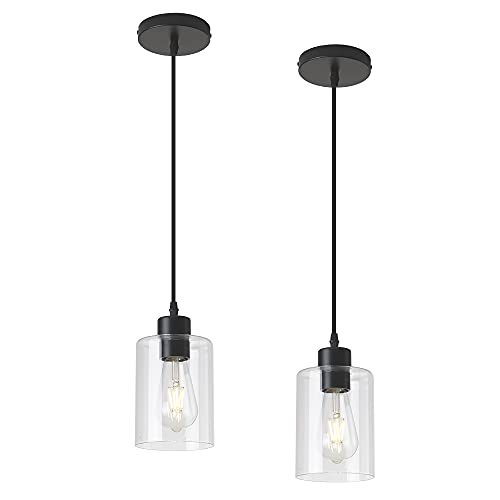
Note sold by KLSS is original design◆DIMMABLE AND WORKS WITH MOST BULBS - Fully dimmable when used with a dimmable bulb and compatible dimmer switch. Uses medium base bulbs including LED, CFL, Halogen and Edison bulbs, compatible with most smart bulbs
What Good Farmhouse Kitchen Lighting Does
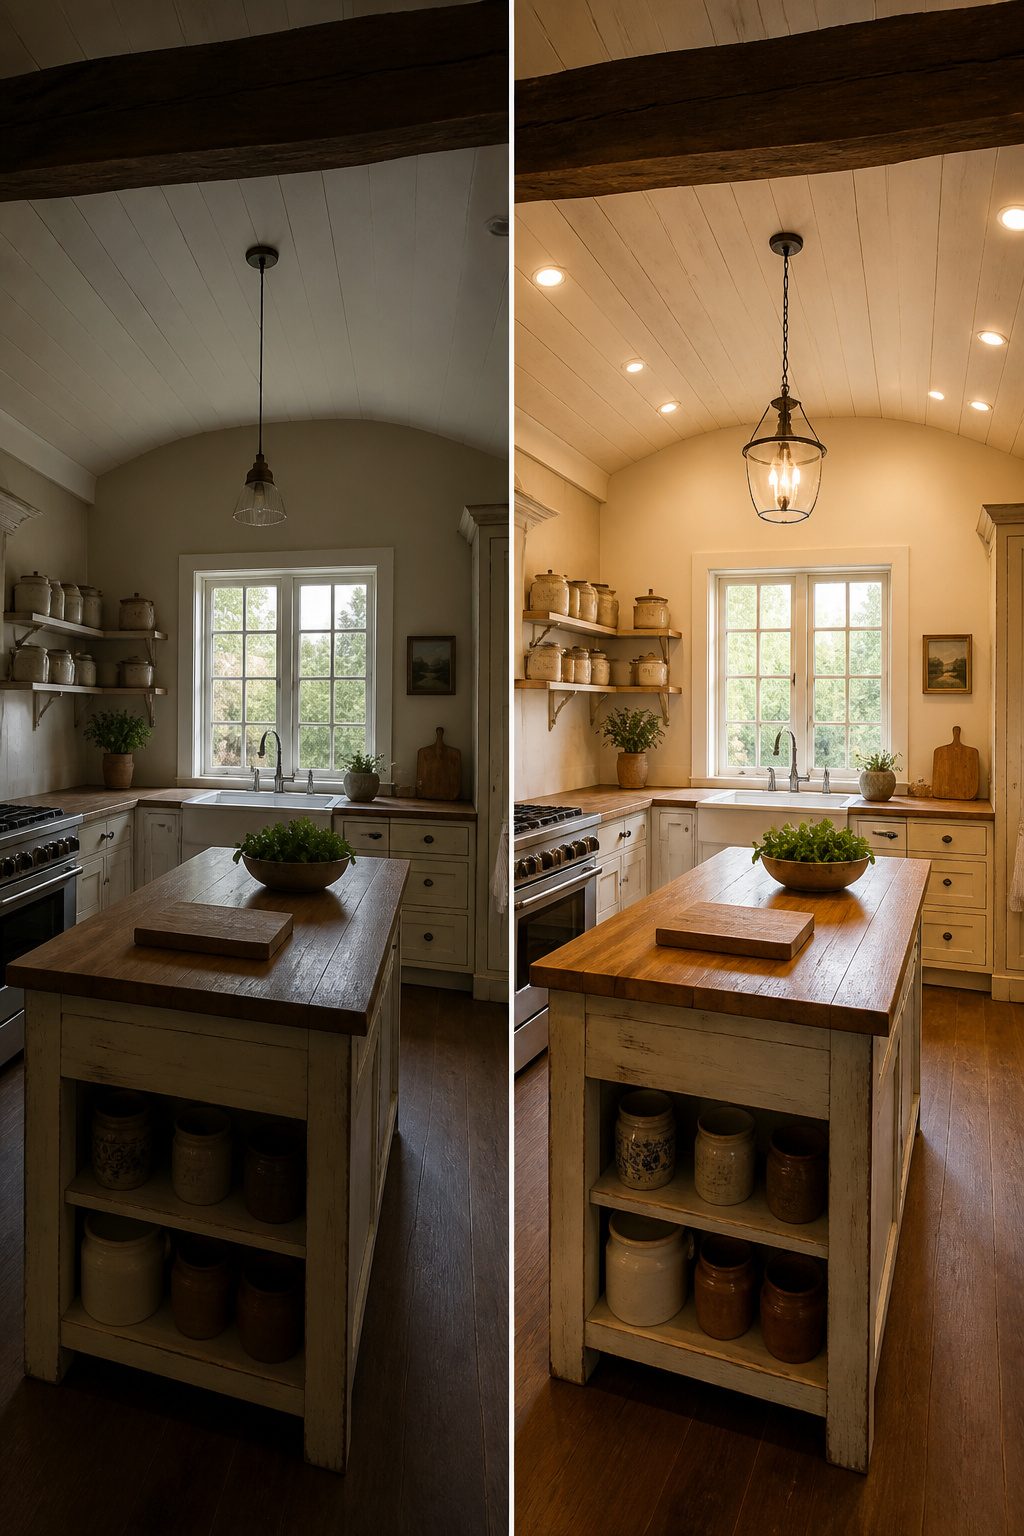
A dim farmhouse kitchen feels gloomy no matter how much money went into the cabinets. Good ceiling light fixes that by pulling warmth out of wood grain and stone counters instead of flattening them under glare.
The kitchen stays inviting enough for guests to linger, but bright enough at the work surfaces that you can tell a shallot from a garlic clove at 6 a.m.
The modern farmhouse kitchen has turned into more than a cookspace; people eat there now, pay bills there, help kids with homework.
That means the light has to do two jobs at once: create atmosphere and handle real tasks like chopping, scrubbing pans, spotting spills on the floor.
Dim lighting hides mess until it becomes work, and it makes a vintage space feel neglected rather than charming.
Ceiling fixtures carry most of this load in a farmhouse kitchen because there is rarely anywhere else to put it.
No upper-cabinet lighting in a 1920s build, and pendant cords over every open shelf look busy fast. The ceiling light sets the tone the rest of the room answers to.

【𝐅𝐚𝐫𝐦𝐡𝐨𝐮𝐬𝐞 & 𝐑𝐮𝐬𝐭𝐢𝐜 𝐃𝐞𝐬𝐢𝐠𝐧】Industrial Wagon Wheel Chandelier made of high quality round frame with a black metal finish. The surface is anti-oxidant, non-fading and easy to clean. Simple open design gives the farmhouse chandelier a rustic modern look, is the focal point in any space. Eight standard E12 lamp bases absolutely stunning size also provide plenty of light,it will gets many amazing compliments

[Double-Ring Iron Frame Design]: Crafted with a unique double-layer round iron frame, this chandelier offers exceptional sturdiness and a pronounced sense of depth. The layered structure creates captivating light and shadow effects

The Wagon Wheel Chandelier honors the farmhouse wooden wagon wheel and combines industrial black-finished metal parts, achieving a luxurious yet stylish appeal, this round chandelier is great for modern farmhouse or industrial interrior design
Materials and Finishes That Hold Up
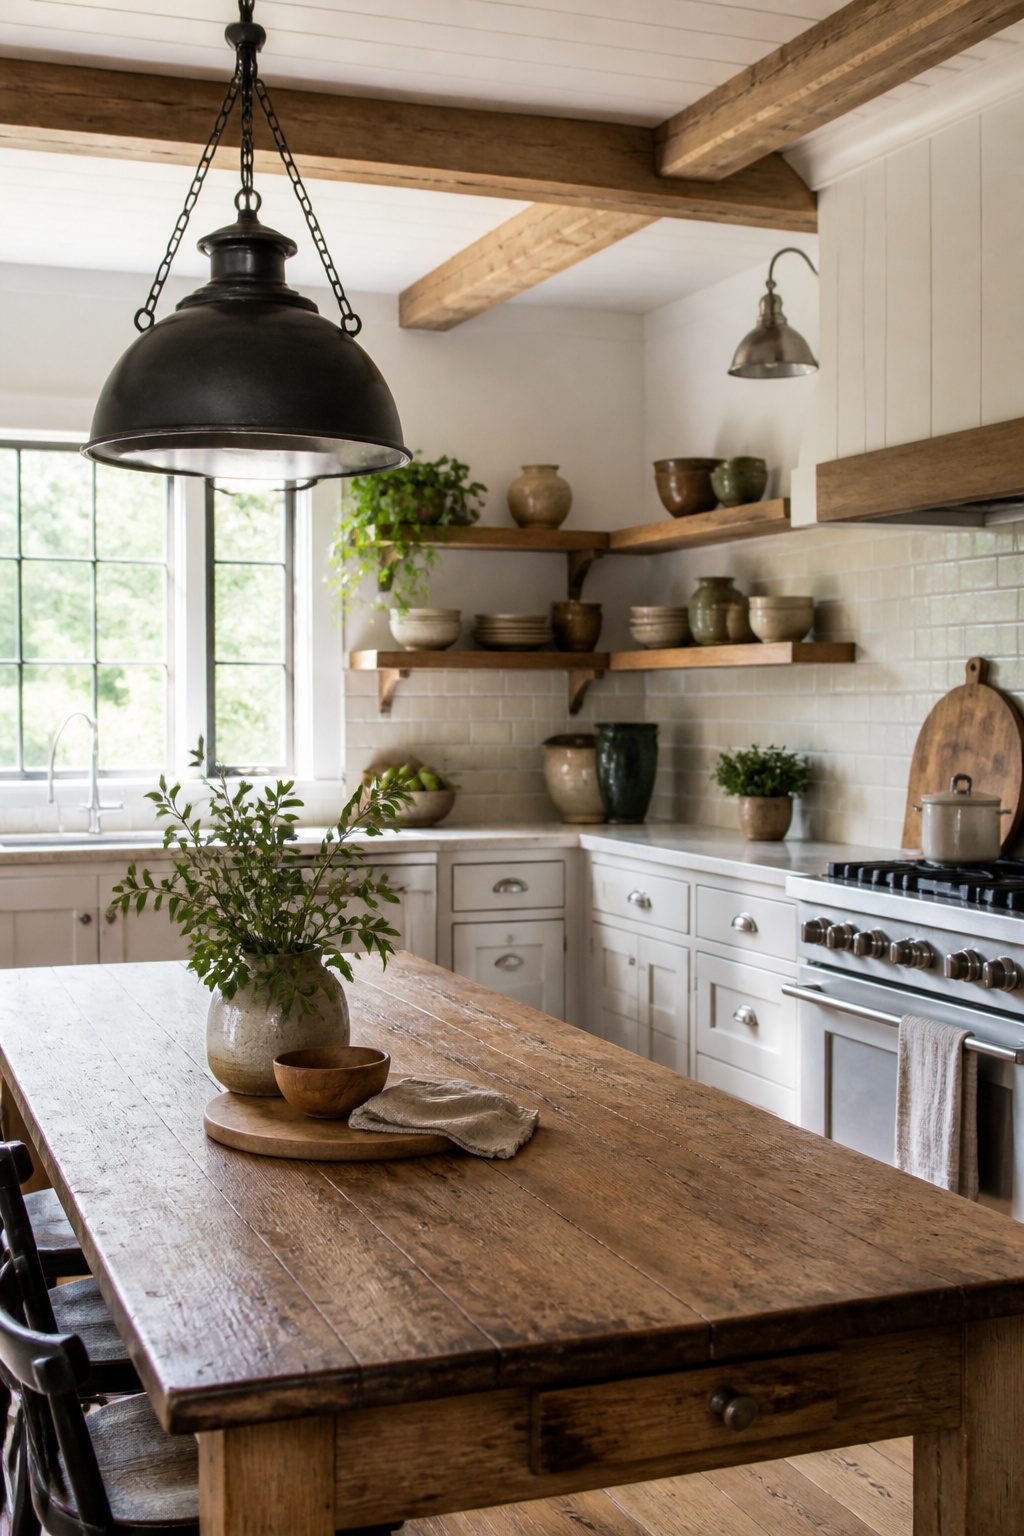
Wrought iron and wood are the materials that read as farmhouse first, and for good reason.
Wrought iron fixtures like the Masco Ceiling Light carry real weight, both literally and visually, with a sturdiness that keeps them from feeling decorative in the cheap sense.
Wood brings in the warmth that metal alone can miss. Glass shades, meanwhile, add a point of contrast and keep the light from feeling too heavy over a work surface.
The finish matters as much as the material. Black works best when you want the fixture to hold its own against lighter cabinetry and countertops, while white blends in and keeps the ceiling feeling open.
Brushed nickel reads more contemporary than rustic, a choice that makes sense if the rest of your kitchen leans modern farmhouse rather than vintage.
Oil-rubbed bronze is the one that actually looks like it came out of an old house, and it pairs naturally with darker wood tones.
Distressed metal and rope details fall in the same category, though they can tip into theme-restaurant territory if the rest of the room is too clean.
The mistake I see most often is matching the light to the cabinets and ignoring everything else.
A black fixture with black hardware and a black faucet is a lot of one note. Mixing the metal, say oil-rubbed bronze against brushed nickel cabinet pulls, gives the room the collected-over-time feel that actual farmhouses have.

Modern Farmhouse: The iron frame, matte black finish and clear glass shades of the ceiling light combine to create a modern farmhouse design.

Square Caged Design: The farmhouse ceiling fan boasts a unique square dark wood grain color cage design, and the intersecting pattern on the cage adds an artistic touch to this caged ceiling fan. The small ceiling fan fits well in most spaces, complementing bedrooms, kitchen and living rooms perfectly, bringing a rich blend of industrial and vintage styles to your home decor
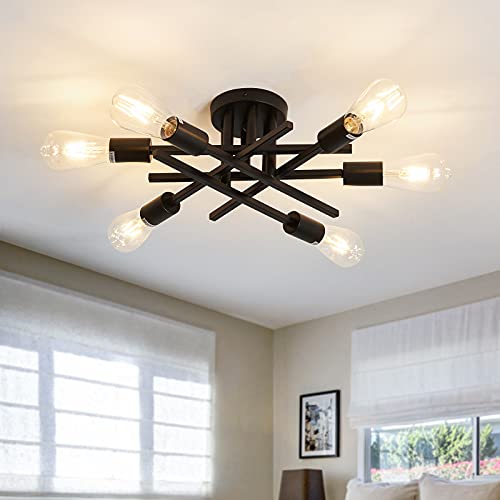
Retro and modern cabin style: industrial chandelier, color: matte black, suitable for modern and retro home.(There is installation video on the page link of lamps for reference)
Installing Ceiling Lights Safely
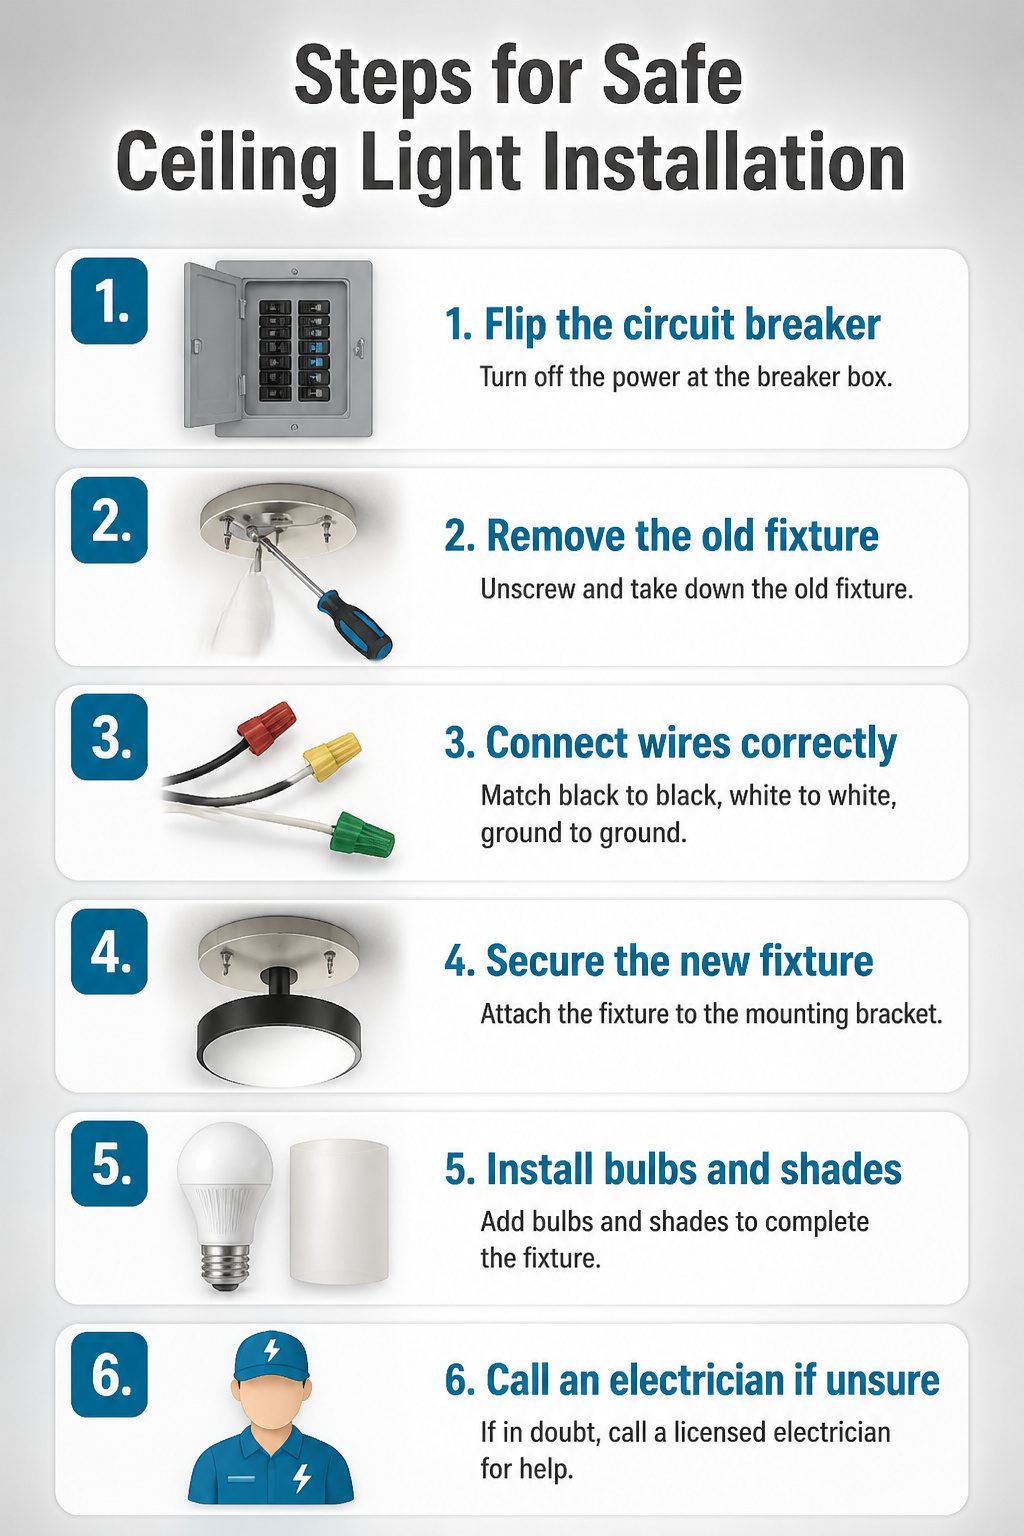
The breaker box is the first stop, not the last. Flip the circuit that feeds the kitchen ceiling fixture, then flip the neighboring one too if you are not certain which breaker does what.
A non-contact voltage tester costs about fifteen dollars and removes the guesswork; hold it to the wires after you pull the old fixture down and before you touch anything metal.
Removing the old fixture usually means backing out two or three screws while the housing takes the weight.
If the mounting bracket stays behind, unscrew it. The new bracket will have its own hardware and its own hole pattern, and the old one almost never lines up.
Wire connections run black to black, white to white, ground to ground or to the box if the house wiring is older.
Twist-on wire nuts are standard, but some new fixtures ship with push connectors that only work if you strip the insulation back to the right length.
Too much bare copper and the wire can wiggle loose; too little and the connector grips insulation instead of metal.
With the connections made and tucked, lift the fixture to the bracket and start the screws by hand. Tighten evenly so the base sits flat against the ceiling, then install bulbs and shades before restoring power.
If your ceiling is plaster and lathe, if the box wiggles, or if you open the canopy and find cloth-wrapped wire or aluminum, stop.
Those are the moments to call a licensed electrician, and there is no shame in it. A qualified installer will wire the fixture correctly and secure it for years of use.

𝐒𝐞𝐦𝐢 𝐅𝐥𝐮𝐬𝐡 𝐌𝐨𝐮𝐧𝐭 𝐂𝐞𝐢𝐥𝐢𝐧𝐠 𝐋𝐢𝐠𝐡𝐭& 𝐎𝐩𝐞𝐧 𝐃𝐞𝐬𝐢𝐠𝐧:The light fixtures ceiling mount is an innovative lighting solution that is perfect for spaces with low ceilings. The lampshade with cage structure makes the light transmittance of the whole black chandelier very high, which meets the lighting requirements of most scenes. In addition, the ingenious combination of wood decoration and metal frame on the lampshade and the perfect interweaving of industrial style and farm style can play a very good decorative rustic light fixtures role no matter where in the room.

Modern Glass Semi flush mount ceiling light

Contemporary Design: The farmhouse Semi flush mount ceiling light Adoption of Classic Round metal skeleton cover ,When the light is on, scattering elegant patterns across your ceiling, Add gorgeous color to your home
Frequently Asked Questions
What are the best kitchen ceiling lights for a farmhouse kitchen?
Pendant lights, chandeliers, flush mount lights, close to ceiling lights, cage lights, and lights with shades all work well, depending on your ceiling height and how you use the space.
Pendants and chandeliers anchor the room and create focal points over islands or tables, while flush and close to ceiling fixtures save headroom in tight spaces.
Cage lights blend industrial and rustic notes, and shaded fixtures soften light for early mornings and evening tasks.
How do I install ceiling lights in my farmhouse kitchen?
Start at the breaker box, flipping off the circuit that feeds the kitchen ceiling fixture and any neighboring one if you are unsure.
Remove the old fixture, install the new mounting bracket, then connect black to black, white to white, and ground to ground or the box.
Lift the fixture to the bracket, tighten screws evenly so the base sits flat, then add bulbs and shades before restoring power.
What materials are best for farmhouse kitchen lighting?
Wrought iron and wood read as farmhouse first, with iron adding weight and visual sturdiness and wood contributing warmth that metal alone can miss.
Glass shades provide contrast and keep the light from feeling too heavy over work surfaces. Finishes shift the mood: black holds its own against light cabinets, oil-rubbed bronze looks authentically vintage, and brushed nickel suits modern farmhouse spaces.