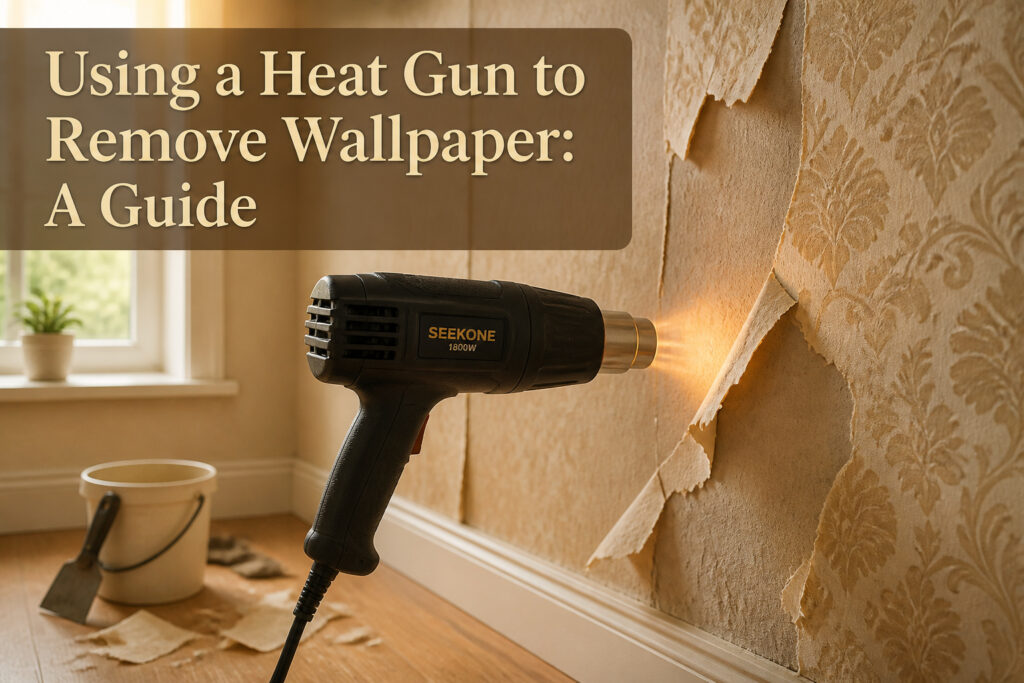
Using a heat gun to remove wallpaper means softening old adhesive with dry heat instead of saturating the wall with steam or chemicals. The catch is temperature control: hold the nozzle too close or too long and you will scorch the paper, or worse, release toxic lead fumes if your house predates 1978. A SEEKONE 1800W set between 250°F and 500°F, swept in 10–15 second passes from three to six inches out, gives the glue time to loosen without punching through drywall.
[link-whisper-related-posts]Prepare the Room and Yourself
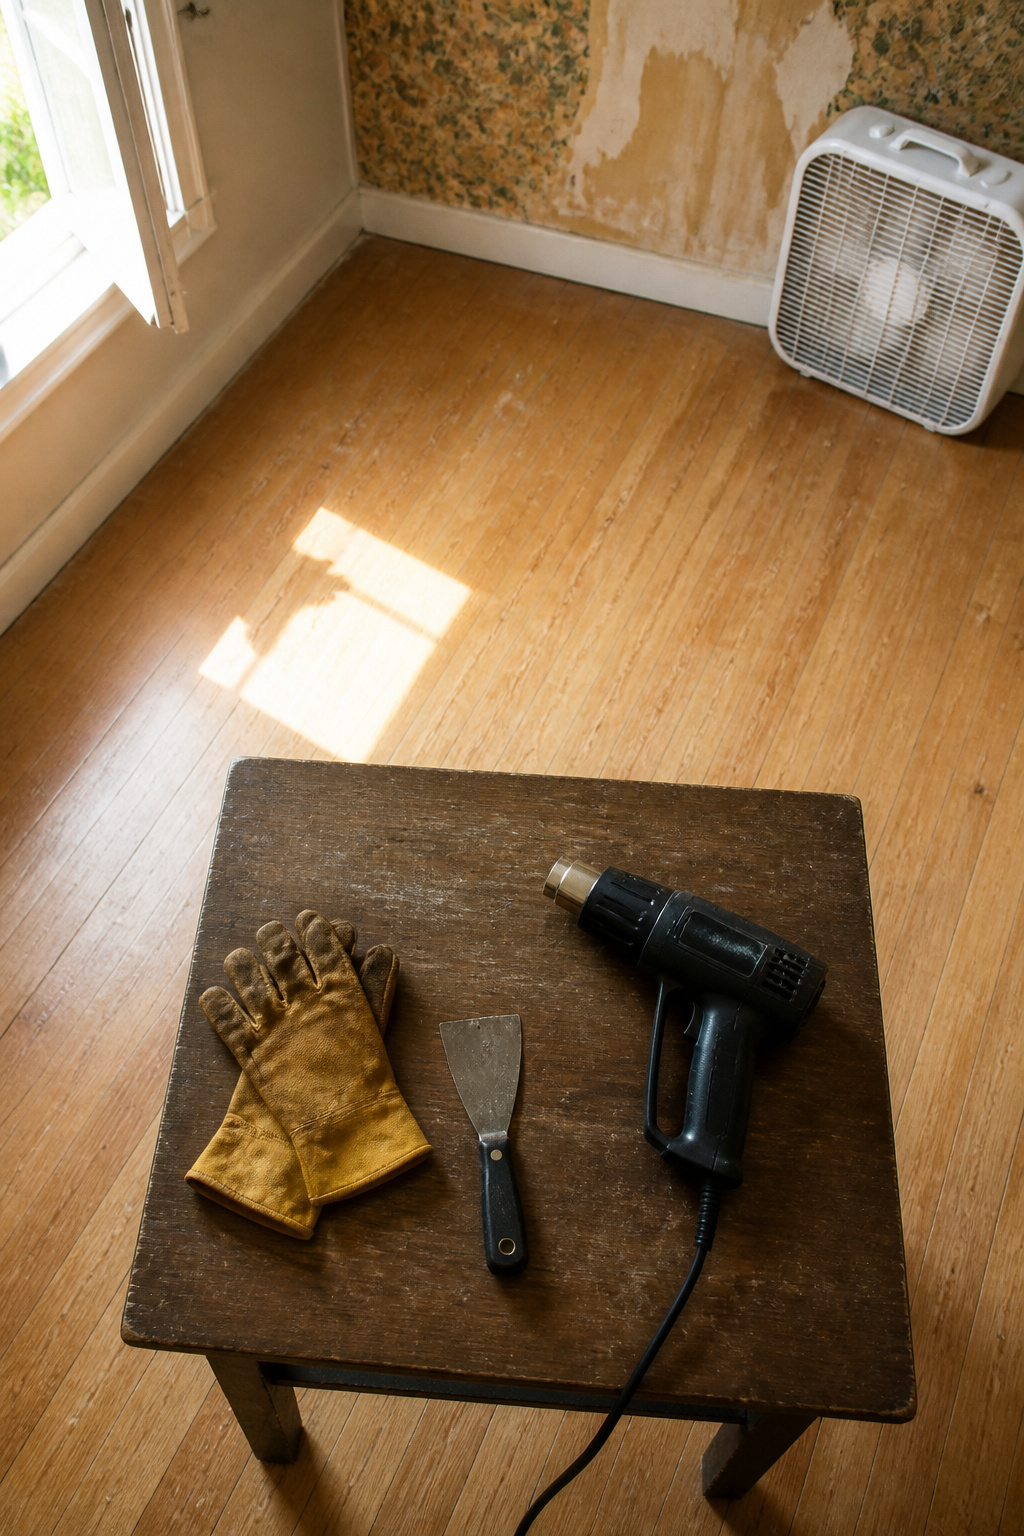
Wallpaper adhesive releases fumes when it gets hot, so the first move is opening windows and getting a fan running before the plug ever goes into the outlet. You’ll want leather gloves too, not the thin cotton kind, because a heat gun nozzle stays dangerously hot after it is switched off and you will bump it at least once. A putty knife is the other essential; the wider blade gives you leverage without punching through drywall. I settled on a SEEKONE 1800W after seeing it named consistently across teardowns, though any gun with variable temperature will do the job.
The real pause comes if your house dates to before 1978. Lead paint under wallpaper turns toxic above 1100°F, which sounds like a margin until you realize how easy it is to hold the gun still for a few seconds too long. A lead test kit costs maybe ten dollars and buys you certainty before any heating starts. If the test comes back positive, keep the temperature low and your passes short, or reconsider the project entirely.
Set the Heat Gun to 250–500°F
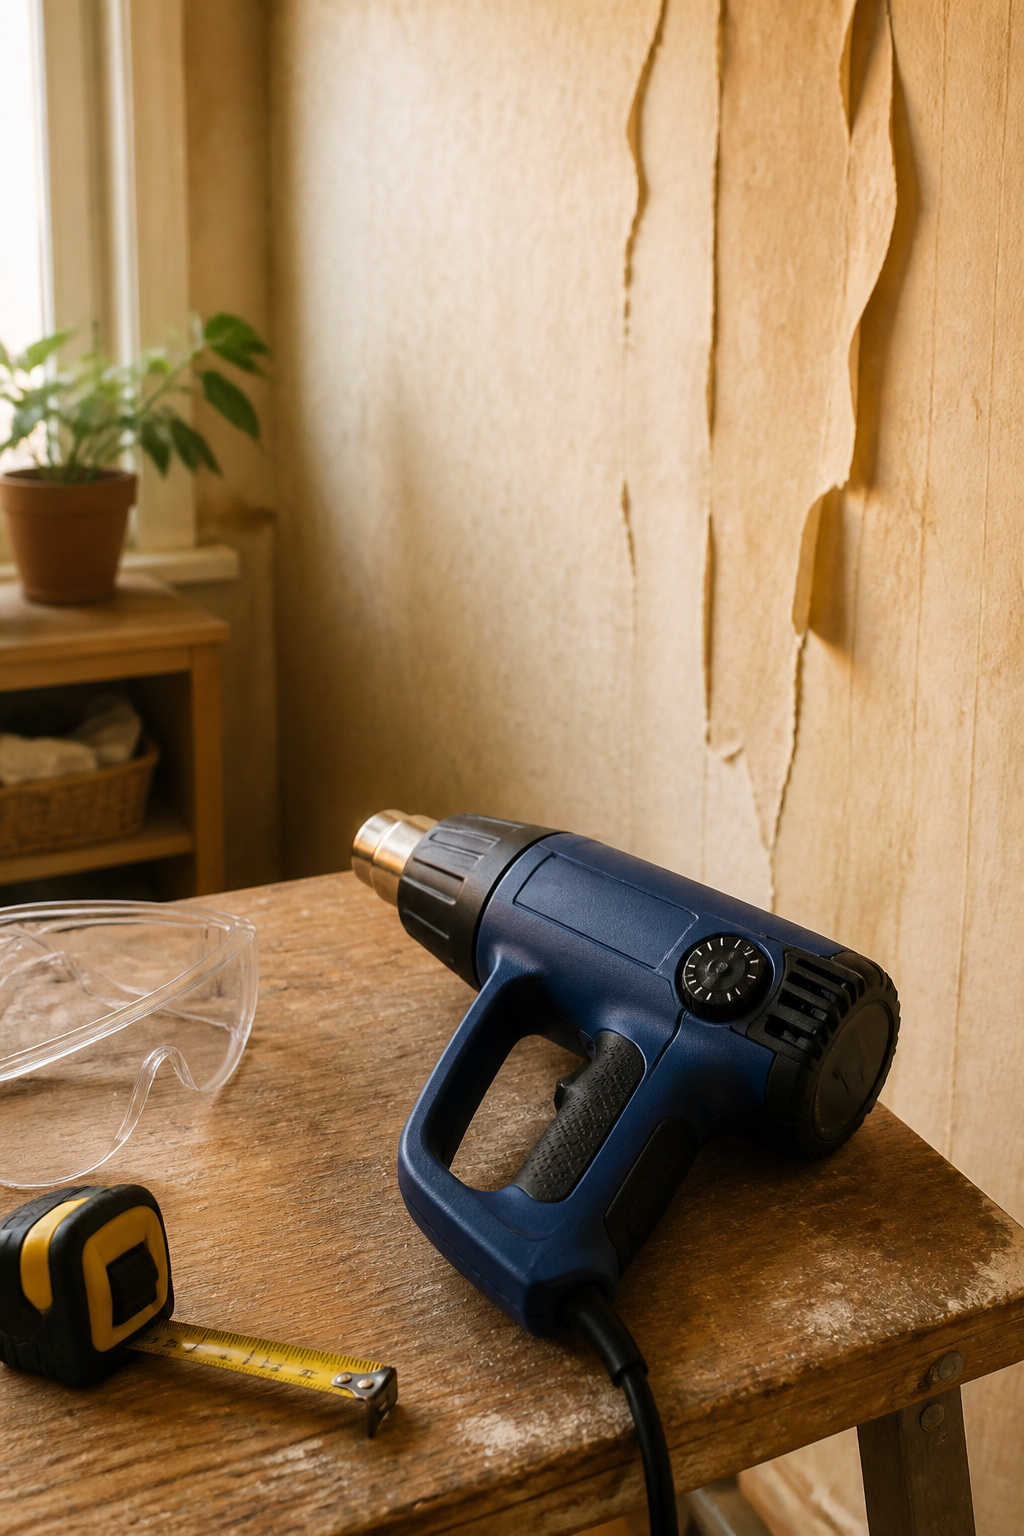
The heat gun needs a moment to reach temperature, and that pause is where most people either rush or overthink. Set the dial between 250°F and 500°F, with paper-based wallpaper forgiving the lower end and vinyl-coated layers needing the extra push toward the top. I start low and creep upward, because scorch marks from a too-hot gun are permanent, and another thirty seconds of patience costs nothing.
Three to six inches of clearance from the wall is the workable range. Closer than that and the paper can smolder; farther and the adhesive barely softens. The sources split on exact distance, which tells you the real variable is the gun itself and how fast you keep it moving. A constant slow sweep, back and forth, beats holding still and hoping the right spot gets warm enough.
If the wallpaper has a vinyl face, the heat has to penetrate through or around it. Scoring helps some, though one experienced hand argues it does more damage than good. My read: skip scoring on plain paper, try it on the coated stuff if the low end of the range isn’t lifting edges after fifteen seconds. The gun will tell you soon enough whether it’s working.
Heat the Wallpaper in 10–15 Second Passes
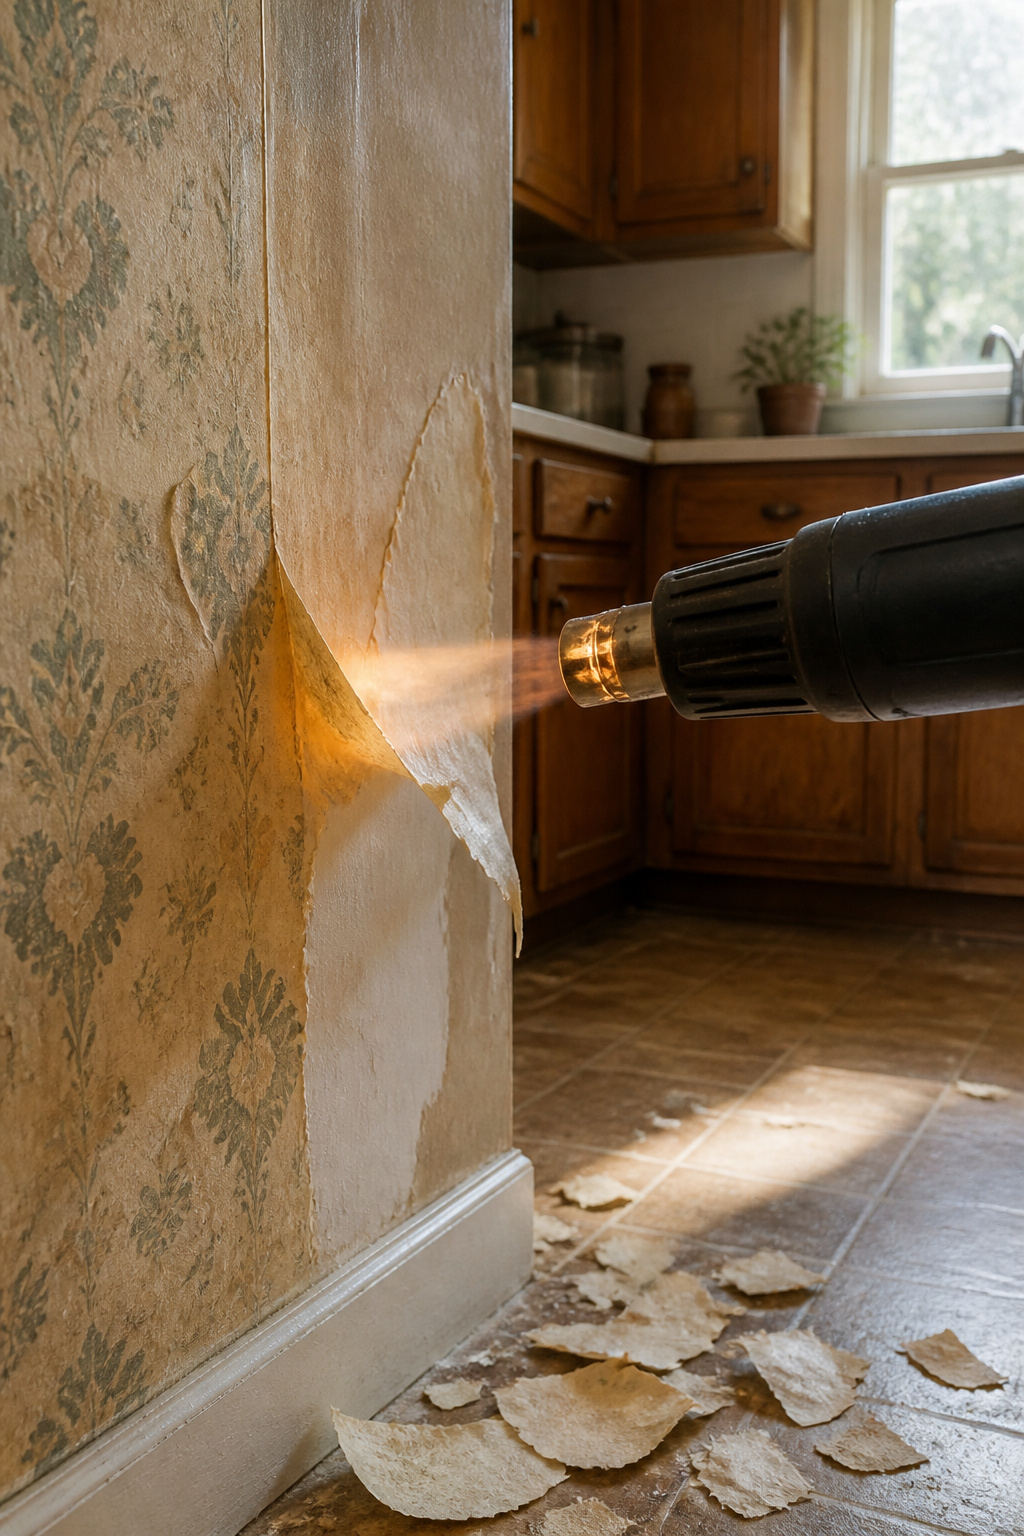
Three to six inches is the distance that actually matters. Any closer and the paper can scorch or smolder before you notice; much farther and the adhesive barely softens. I keep the heat gun moving in a slow arc, back and forth across a one-foot strip, counting to about 10–15 seconds before testing the edge with a scraper.
The heat works by reactivating the dried paste underneath without saturating the wall. Drywall soaks up steam like a sponge and weakens the gypsum underneath. Dry heat melts the glue right where it sits, letting the paper release in larger sheets if your timing is right.
Vinyl wallpaper changes the math. The plastic face seals the adhesive away from the heat, so the warmth never reaches the glue layer. A scoring tool fixes this, perforating the surface so the hot air can penetrate. Paper-based wallpaper usually skips this step, but skip it on vinyl and you will cook the top layer while the backing stays stubbornly stuck.
Scrape the Paper and Backing
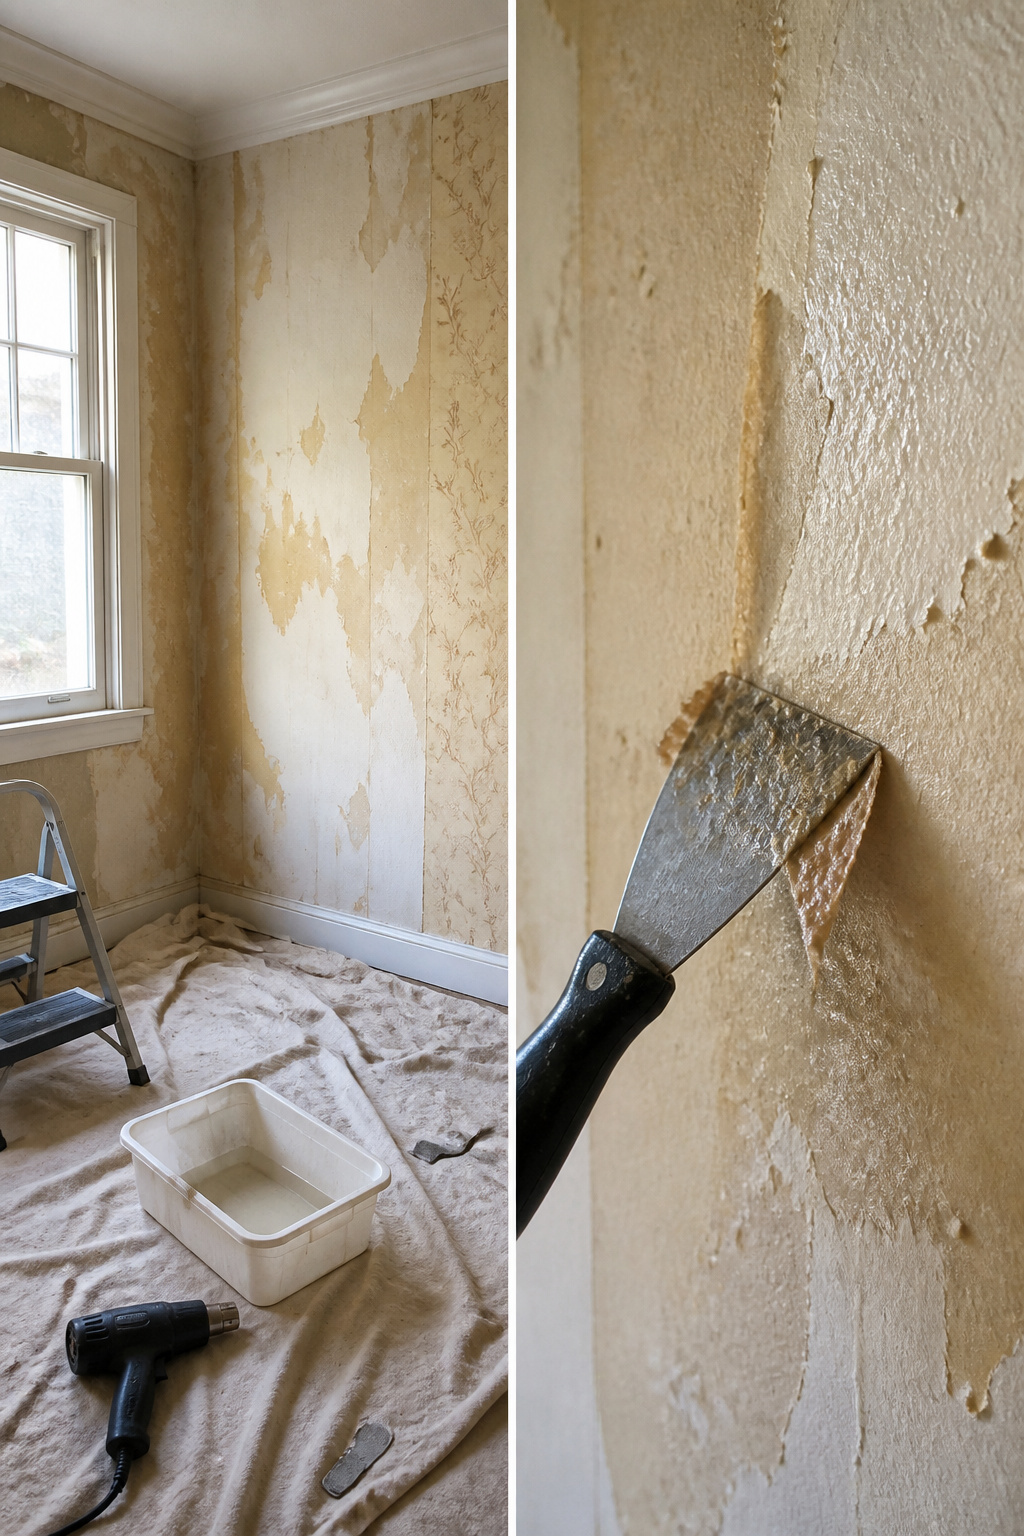
A putty knife or wallpaper scraper lifts the surface paper once the heat has done its job, but the backing almost always stays glued down like it was meant to last forever. That second layer is where the real work lives. Lightly mist it with warm water, sometimes with a bit of vinegar or dish soap mixed in, and let it soak for 10–15 minutes before you scrape again.
The two-stage reality is what trips people up: they celebrate when the printed vinyl peels away, then discover the paper backing still clinging to the wall. Multiple layers make it worse. In older houses you may find one paper laid over another, each with its own adhesive timeline, and none of it was "sized" to let go cleanly. When that happens, the drywall underneath can end up a complete wreck no matter how careful you are. If patches simply refuse to lift after scoring and soaking, the glue may be from an era when adhesive doubled as superglue. At that point, keeping the scraper flat and working in small sections saves more wall than attacking it with force ever will.
Clean Adhesive Residue From the Wall
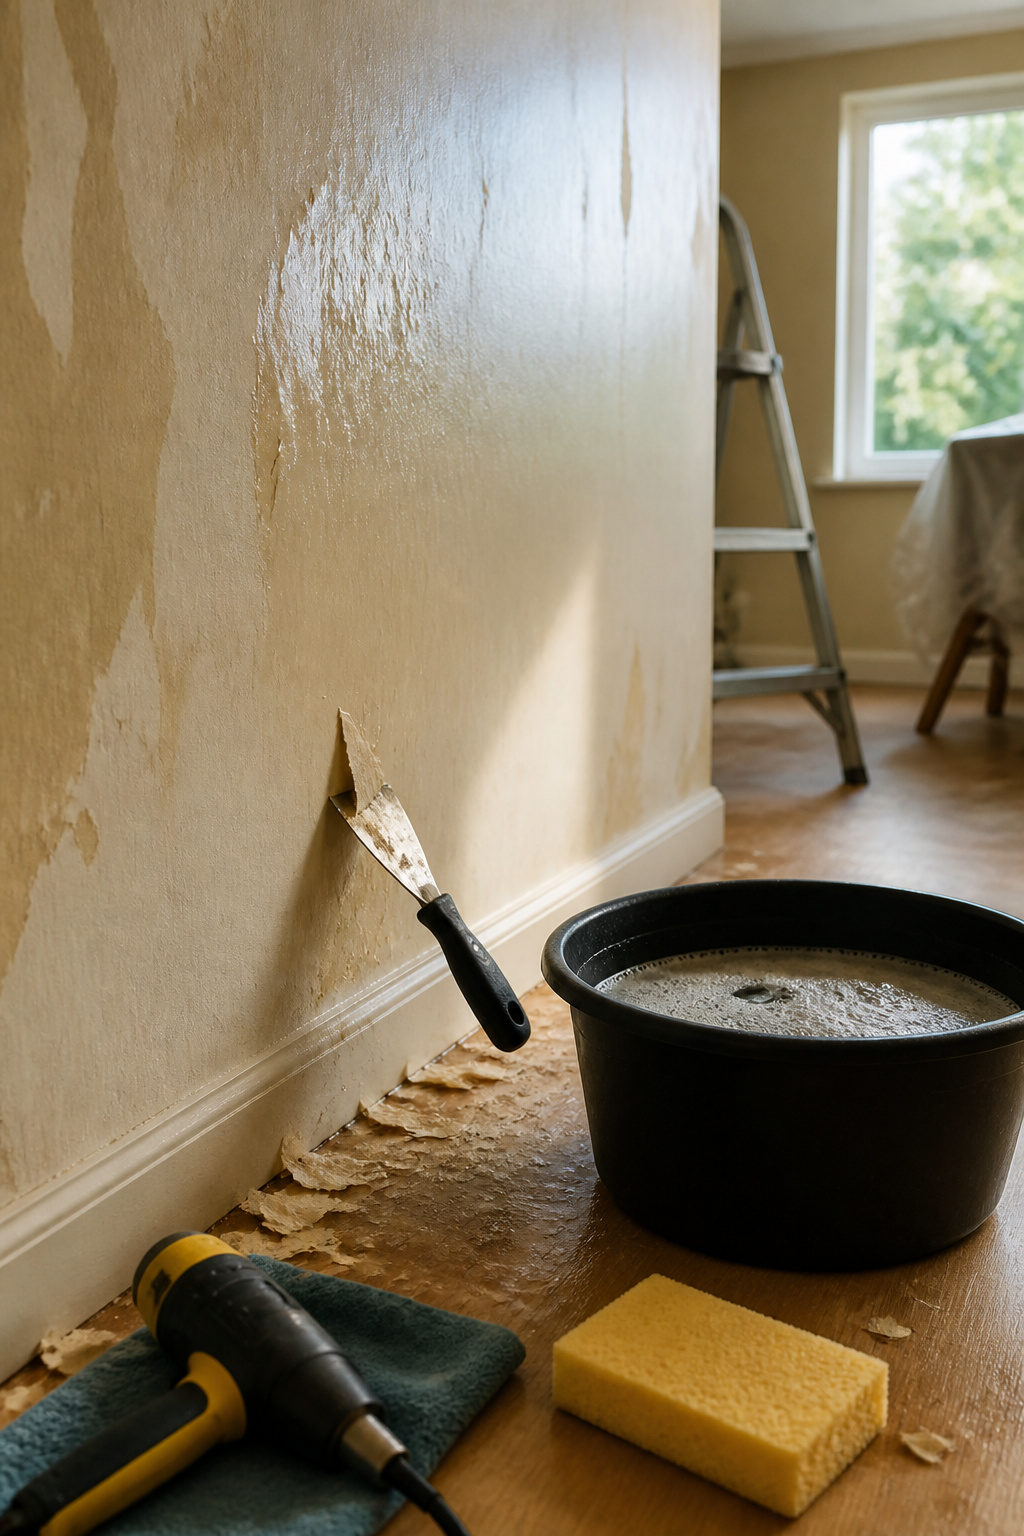
Even after the paper and its backing come off, the wall still carries a thin film of old adhesive that will ruin paint if left alone. The heat gun removes this residue too, though the technique shifts slightly. I hold the nozzle a few inches farther back than before and sweep it in wider arcs, just enough to soften the glue without scorching the drywall underneath. A plastic scraper lifts the gummy spots, and then a sponge wrung out in hot water finishes the surface.
For patches that stay slick, 1 tablespoon of dish soap in a bucket of hot water breaks down what heat alone will not. Cheap soap works as well as anything branded. The water turns murky fast; swapping it out saves time compared to pushing glue around with a dirty sponge. Once the wall feels clean and slightly tack-free under a dry palm, it is ready for primer or fresh paper. Skipping this step means bumps and peeling later, and by this point in a weekend project, nobody wants to backtrack.
What You Need to Gather First
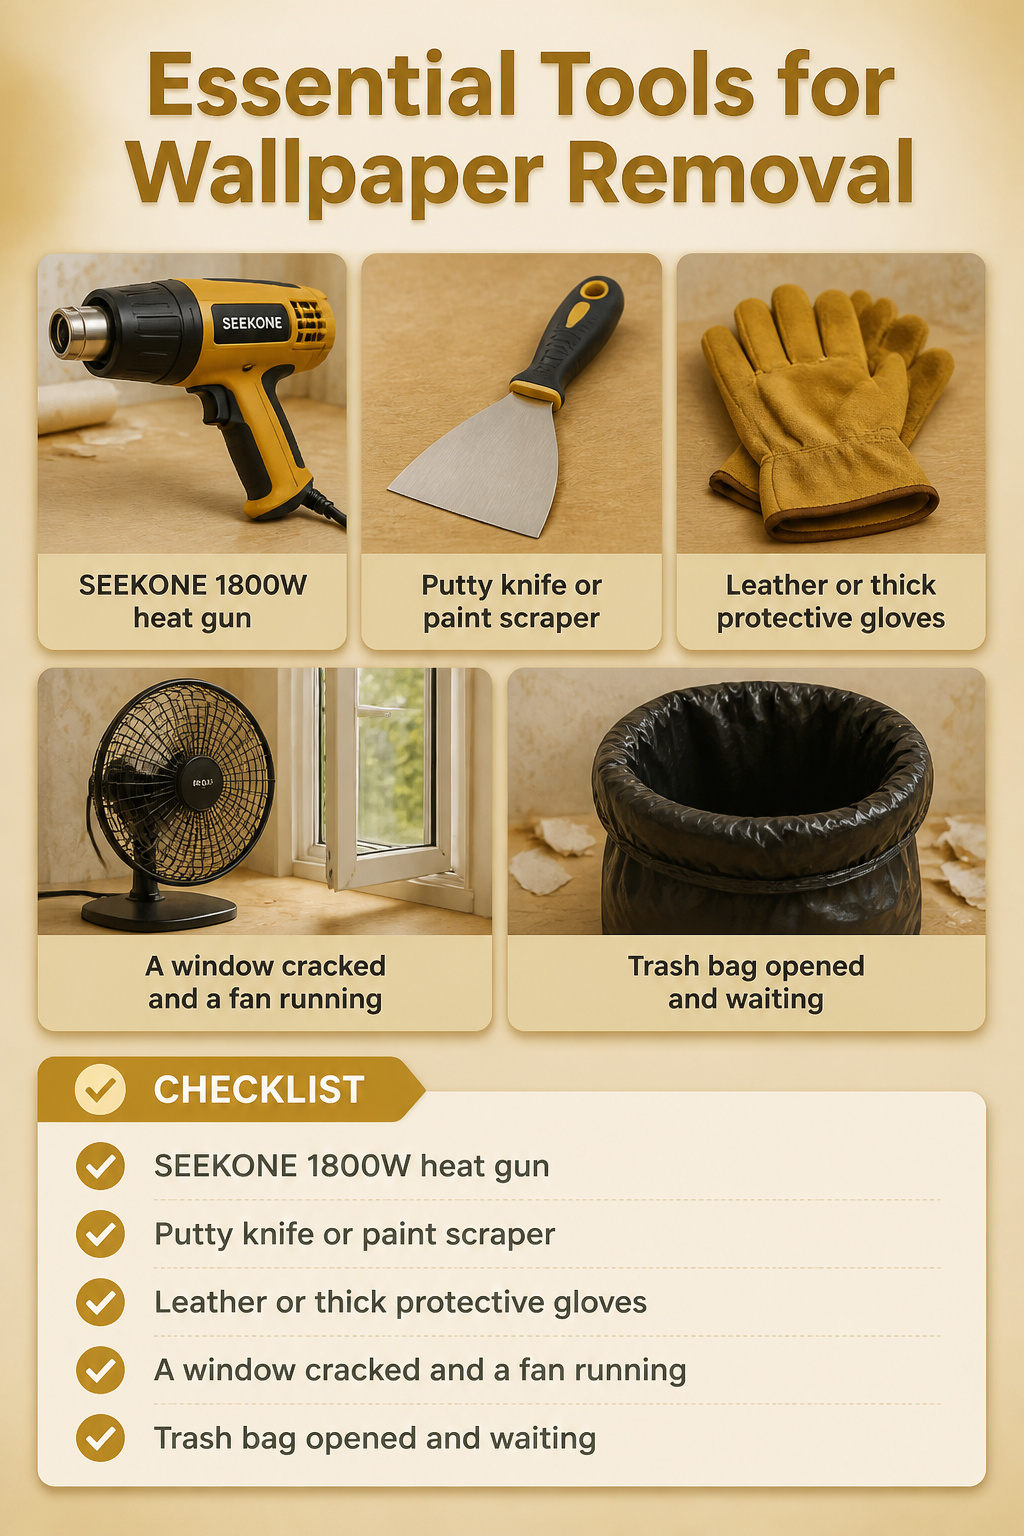
A heat gun does the heavy lifting, but the job goes smoother when the rest of the gear is already within reach. Here’s what to round up before you start:
- SEEKONE 1800W heat gun or something in that wattage range; lower-powered models just take longer to soften the adhesive
- Putty knife or paint scraper for working the paper loose once the heat hits it
- Leather or thick protective gloves, because the nozzle stays hot after you power down, and you’ll be catching edges of paper that carry heat with them
- A window cracked and a fan running; the warmed glue releases odors you don’t want sitting in your lungs all afternoon
- Trash bag opened and waiting, since the strips come off fast once you find the rhythm and the floor piles up quicker than you’d think
Heat Gun or Steamer
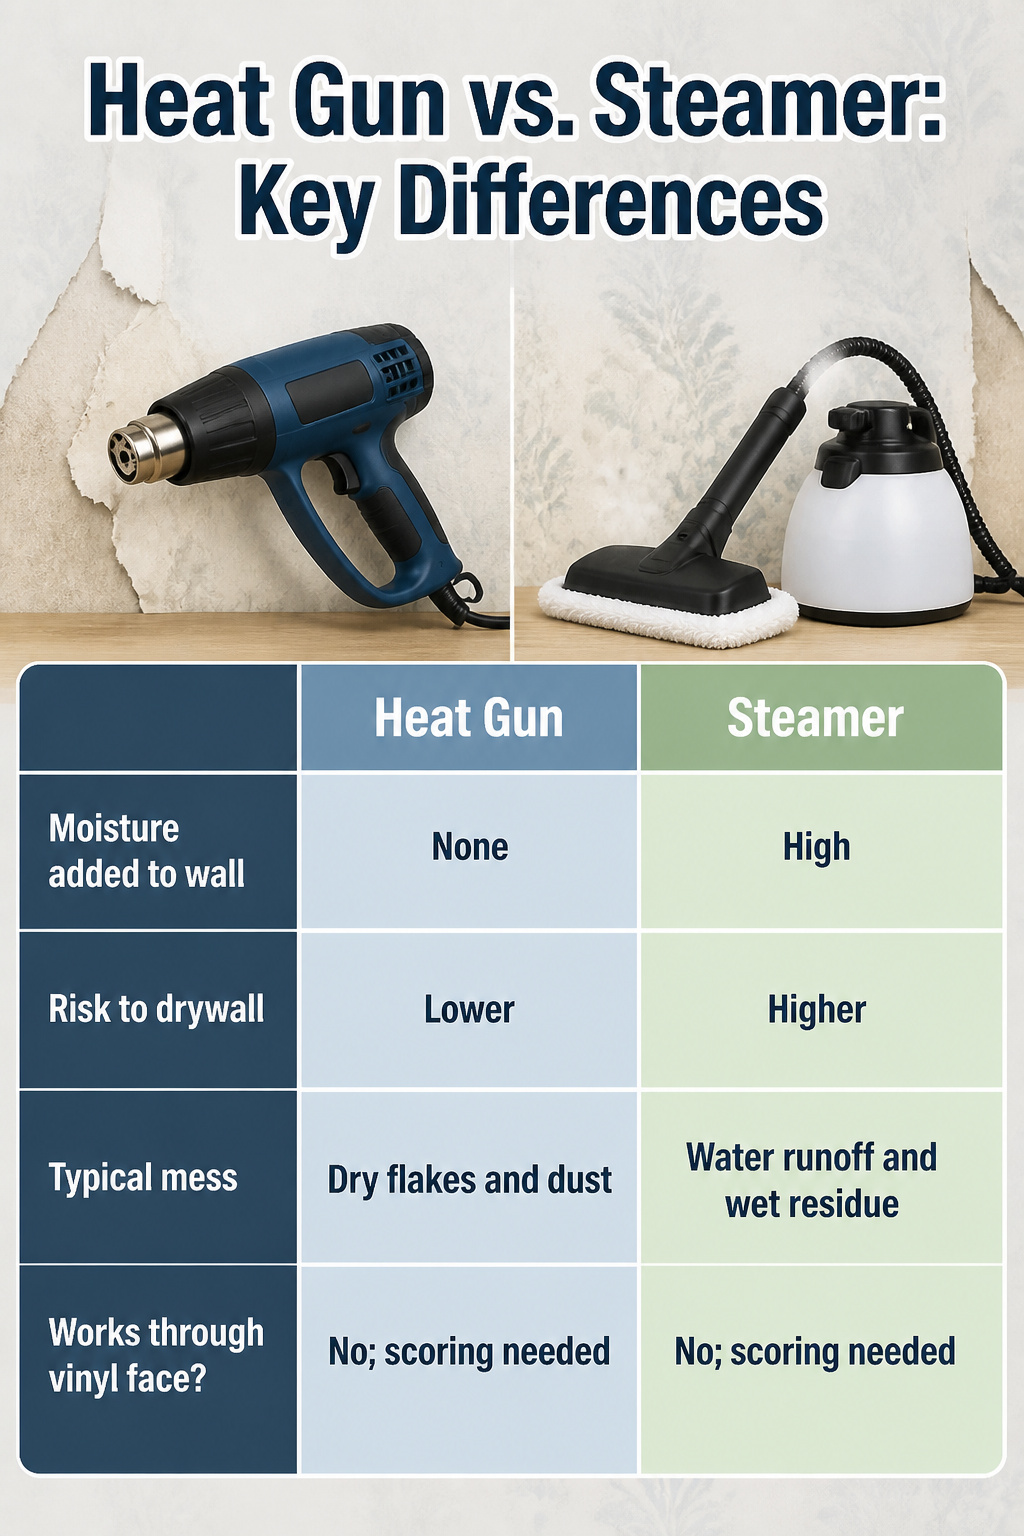
Dry heat reactivates old paste without driving moisture into the gypsum board underneath, which is why a heat gun tends to leave drywall in better shape than a steamer does. Steamers saturate the wall, and that moisture can weaken or ruin the board over time. The tradeoff is speed versus cleanup: steamers loosen large areas fast but leave condensation running down the wall, while a heat gun demands more passes but keeps the mess limited to flakes of paper and dried glue.
Vinyl wallpaper complicates either method. The plastic face seals the backing away from heat or steam, so scoring or peeling the vinyl layer first is usually necessary. Paper wallpaper, by contrast, lets heat pass straight through to the adhesive.
| Heat Gun | Steamer | |
|---|---|---|
| Moisture added to wall | None | High |
| Risk to drywall | Lower | Higher |
| Typical mess | Dry flakes and dust | Water runoff and wet residue |
| Works through vinyl face? | No; scoring needed | No; scoring needed |
For a weekend project in a lived-in house, the heat gun wins on wall damage and cleanup. A steamer can make sense if you are stripping multiple layers of paper-backed paper in one pass and have time to let the drywall dry afterward, but for most renters and first-home owners dealing with one room, dry heat is the safer bet.
Safety and the Fumes Nobody Talks About
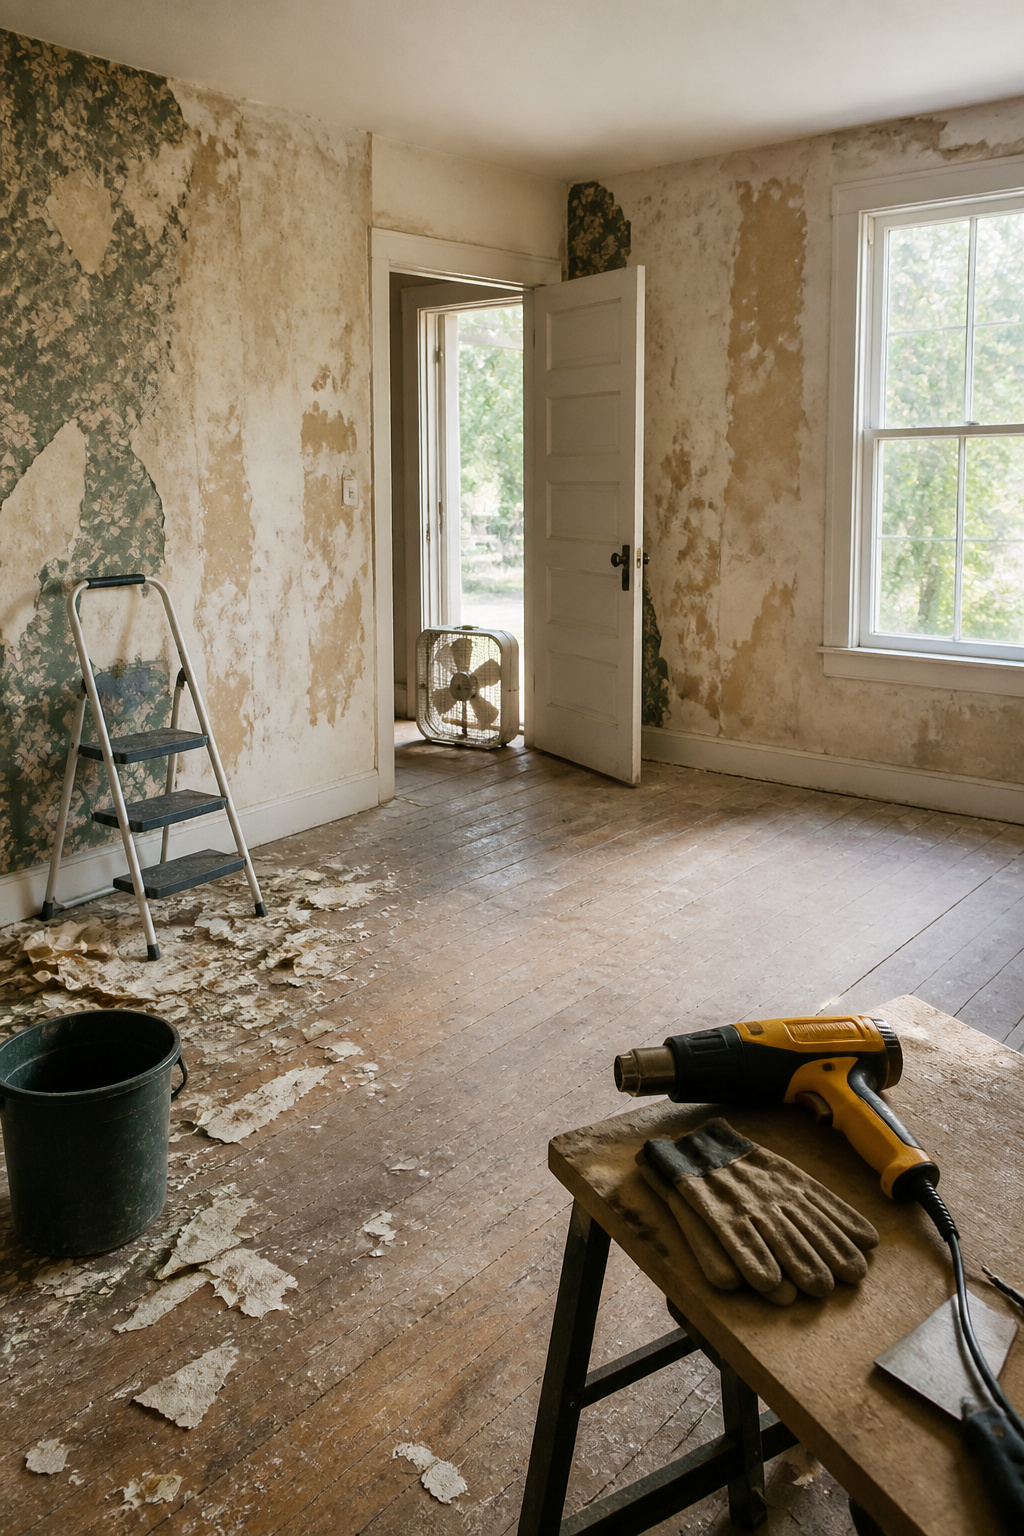
Wallpaper adhesive releases fumes when heated, and every guide makes the same point for a reason: the air in that room turns thick fast. Open the windows before the gun comes on, run a box fan in the doorway if you have one, and keep the cross-draft moving the whole time. The heat gun nozzle reaches temperatures that will blister skin on contact, so leather gloves belong on your hands from the first pass, not after you’ve already learned the hard way. The nozzle stays hot minutes after shutoff, and it will mark laminate flooring or a wooden stool if you set it down without a metal stand or a concrete surface nearby.
For houses built before 1978, there is a specific risk underneath the paper. Lead paint under wallpaper can release toxic fumes when heated above 1,100°F, which is why the low setting matters beyond just saving the drywall. A lead test kit costs a few dollars and takes five minutes; running it on a patch of exposed wall before you start is the kind of cheap insurance that only looks unnecessary until it isn’t. The test is not about paranoia. It is about knowing whether your weekend project has a ceiling on how hot you can safely go.
When the Paper Fights Back
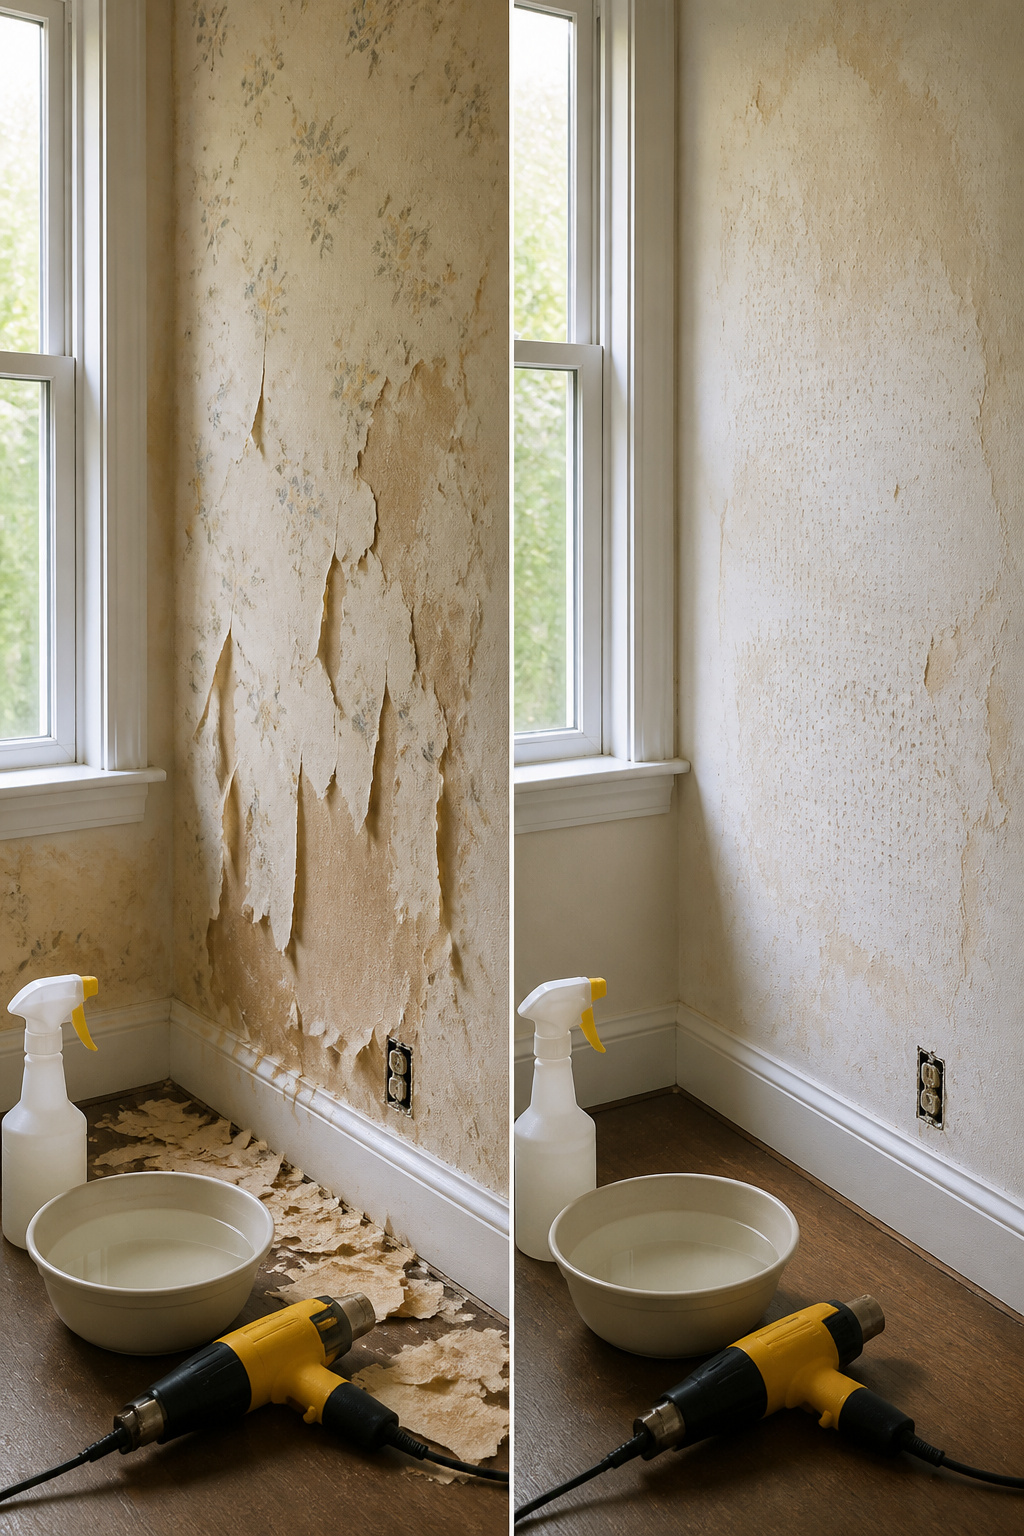
The top vinyl layer lifts clean with heat, but a second layer of paper backing glued straight to the wall is where the weekend starts to stretch. I found this out pulling a corner near the fridge, watching the vinyl separate like it was supposed to, then hitting paper that had bonded to the drywall like it was the finish coat itself.
Some walls were sized before the paper went up, and that backing practically walks off on its own after a light mist of warm water. Others were not, and the adhesive has cured into something closer to contact cement. You can spend hours scoring and soaking those, or you can skip the scoring tools entirely, run the heat gun ahead of your putty knife, and peel the vinyl in one motion while the glue is still warm. The backing left behind gets a separate pass: spray it with plain water, wait for the bubbles to show you where the adhesive is alive, and scrape. If it does not bubble, prime over it rather than fight cured glue that will take the paper face of the drywall with it.
Patience here is not a virtue; it is a measurement. Ten to fifteen minutes of soak time is the difference between backing that releases and backing that shreds into a hundred pieces you will be picking off with your fingernails.
Other Ways to Strip a Wall
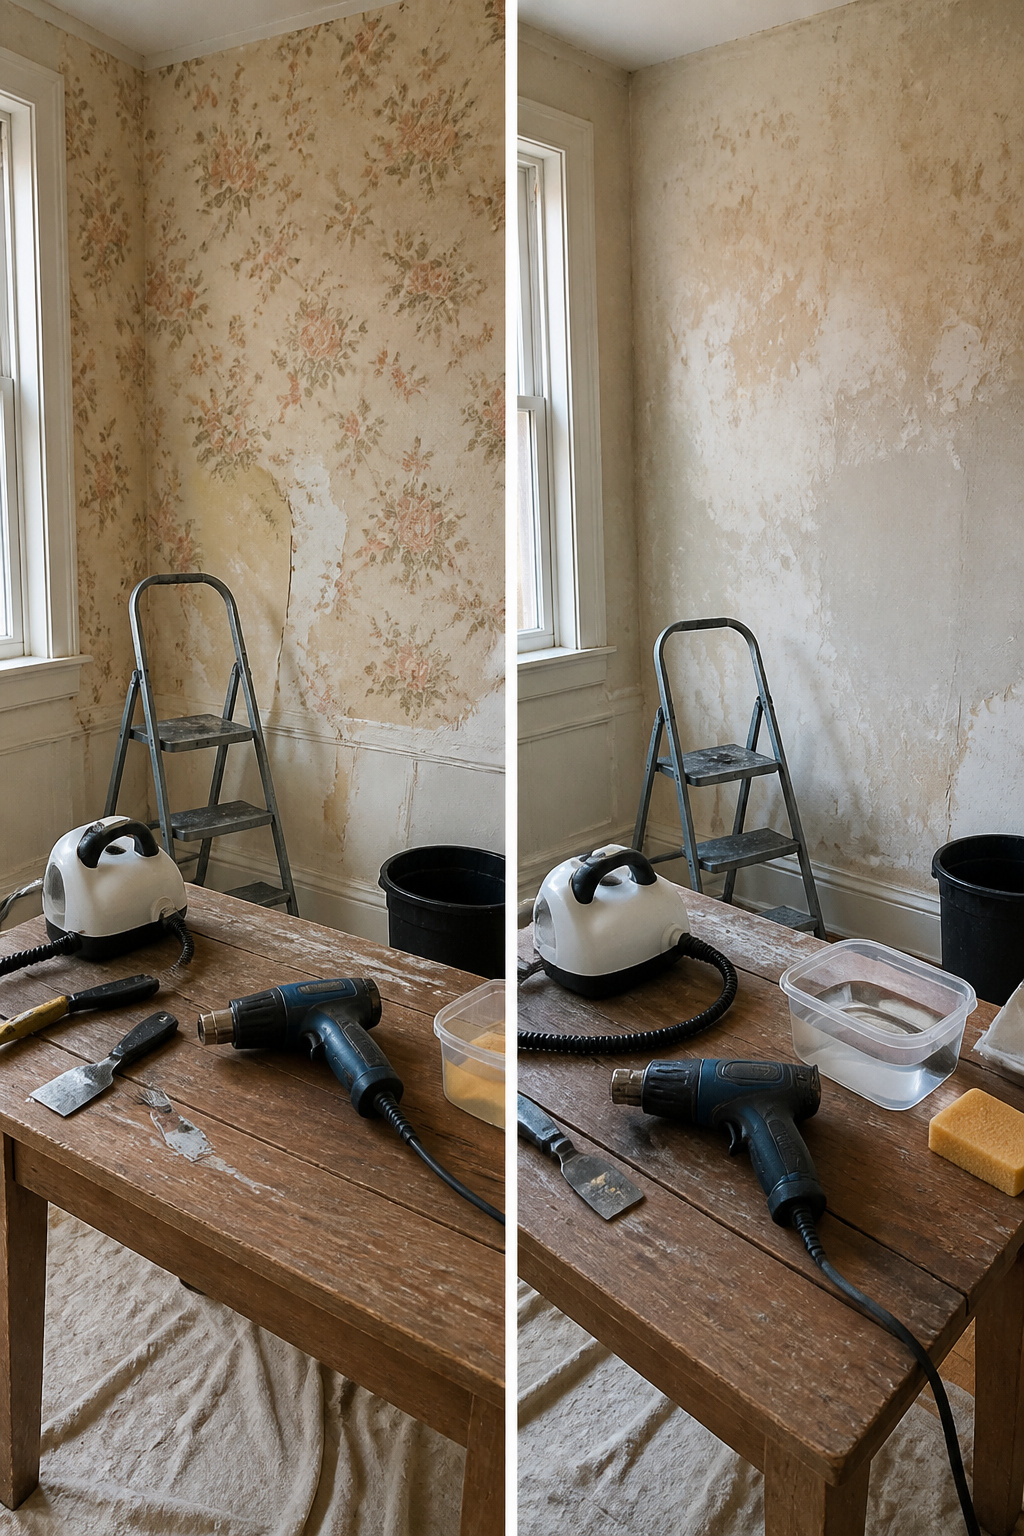
Steamers and chemical strippers both soften wallpaper paste, but each carries a cost the heat gun avoids. A steamer pumps moisture through the paper, which can saturate drywall and ruin the gypsum underneath. Drywall turns to sponge, then crumbles, and you are patching walls instead of painting them. Chemical strippers demand ventilation, waiting time, and a rinse cycle before primer will stick. The heat gun skips both problems: dry heat reactivates the old adhesive without adding water or fumes to the room. For a weekend project with a few hundred dollars in the budget, that difference matters. Renters especially might prefer the tool that does not risk the wall itself.
Frequently Asked Questions
What temperature should I set my heat gun to?
Set the dial between 250°F and 500°F. Paper-based wallpaper softens at the lower end, while vinyl-coated layers need the extra heat toward the top. Starting low and creeping upward prevents permanent scorch marks.
How far should I hold the heat gun from the wallpaper?
Keep the nozzle 3–6 inches from the wall. Closer than that and the paper can smolder; farther and the adhesive barely softens. The exact distance depends on your gun and how fast you keep it moving in a constant sweep.
Does using a heat gun remove the glue as well?
Yes. After the paper and backing come off, you can use the heat gun to soften leftover adhesive residue too. Hold it slightly farther back, sweep in wider arcs, then lift the gummy spots with a plastic scraper and finish with a hot water sponge.