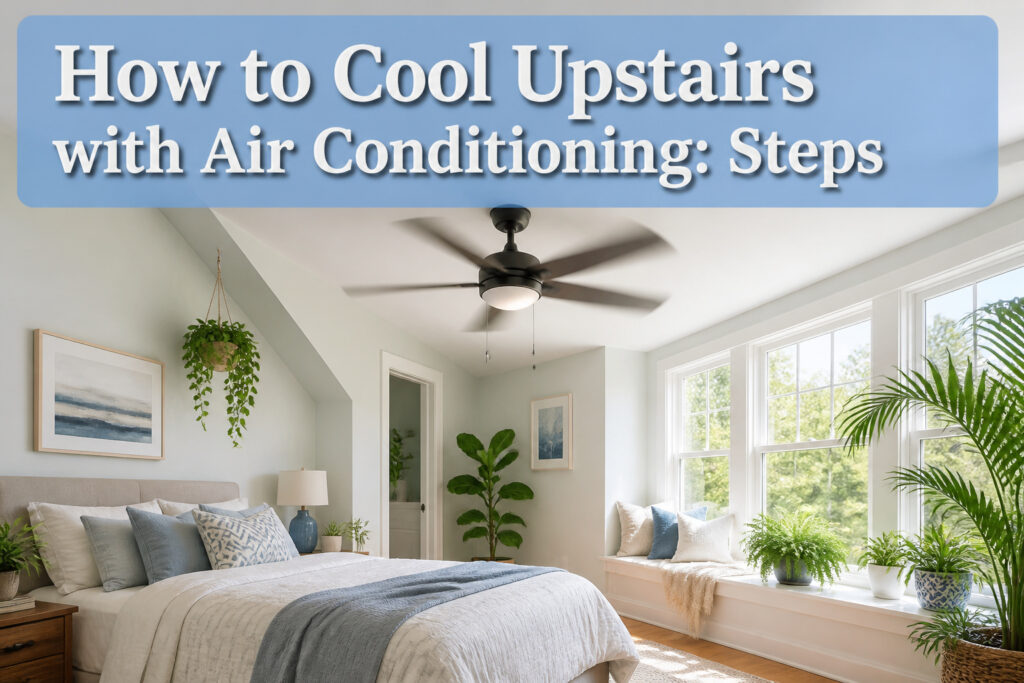
Cooling an upstairs bedroom to match the downstairs takes anywhere from a free damper adjustment to a $5,000 mini-split install, and most people spend months on the wrong end of that range. The mistake is treating the symptom, a hot bedroom, instead of the condition that created it: a single thermostat downstairs deciding when the whole house is comfortable, even though the second floor runs 5 to 10 degrees warmer by mid-afternoon. Sealing leaky ducts first can improve efficiency by 20 percent or more, which is often enough to close the gap without touching the equipment.
[link-whisper-related-posts]1. Check Ductwork for Leaks and Blockages
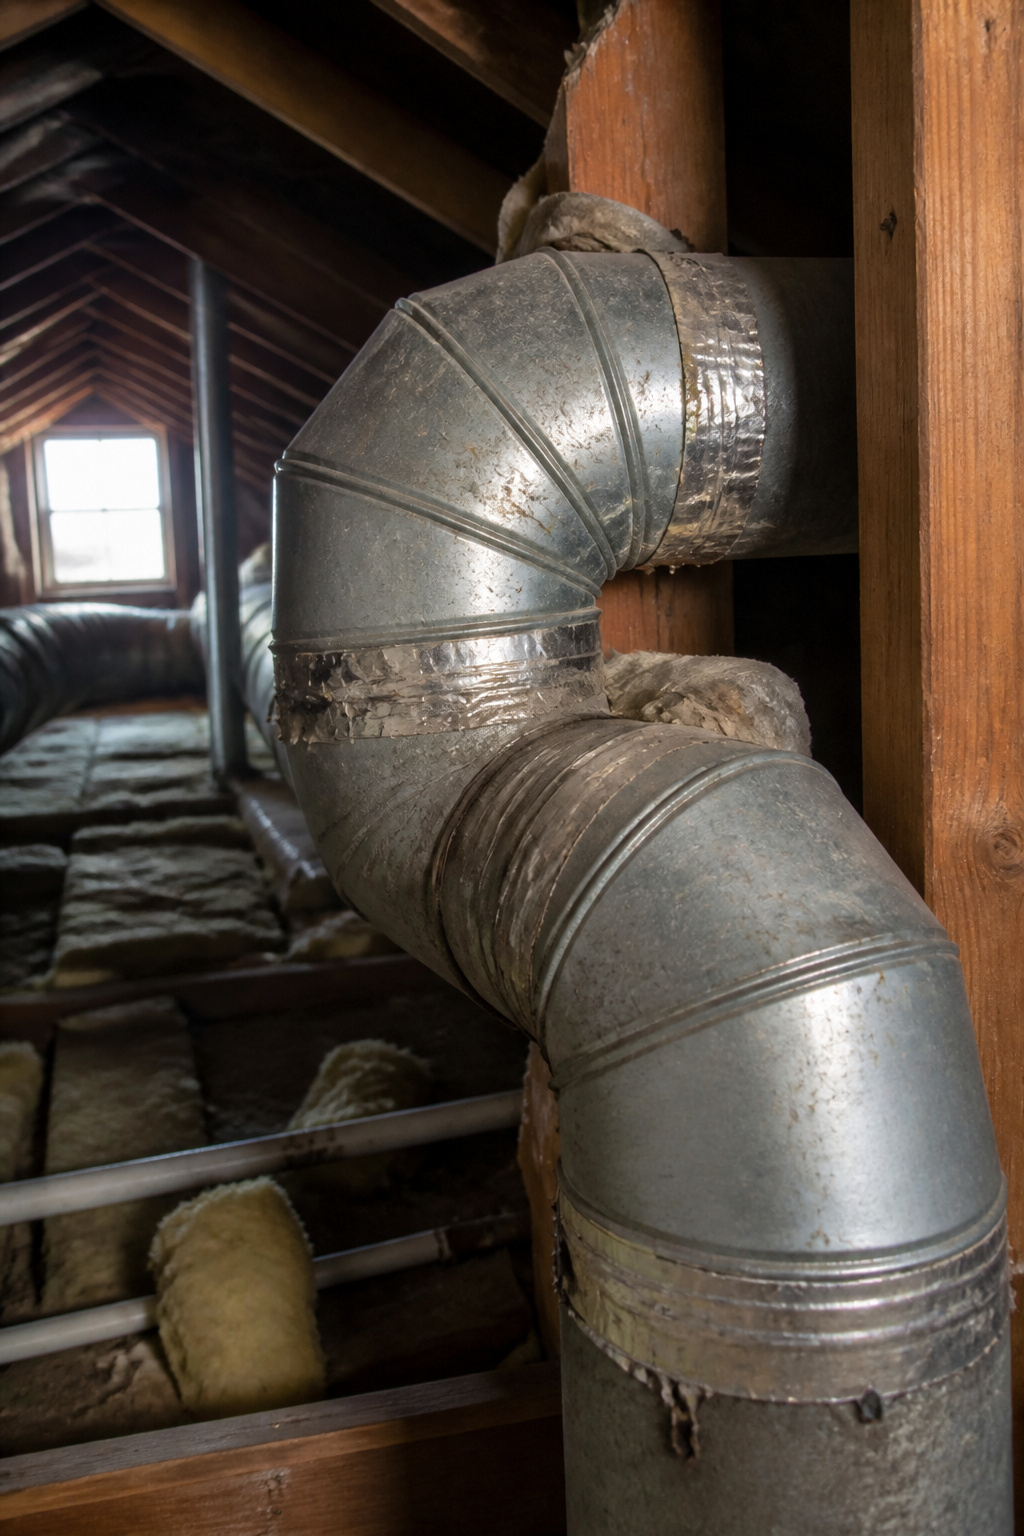
Cool air upstairs depends on ducts doing their job, and most older systems leak somewhere. Sealing leaky ducts can improve HVAC efficiency by 20 percent or more, which is often the difference between a bedroom that sleeps comfortable and one that doesn’t.
Start simple. With the system running, hold your hand at each upstairs supply register. Weak airflow compared to downstairs, or a register barely pushing air at all, points to a distribution problem: closed dampers, blockages, or pressure thrown out of balance. Many trunk lines have manual dampers you can adjust yourself to redirect more air upward. Return pathways upstairs matter too, without them the supply air has nowhere to go.
Leaks are harder to spot. Torn flex duct, disconnected joints, or gaps where ducts meet registers bleed cooled air into attic or wall cavities before it ever reaches the room. Aluminum foil tape or mastic sealant handles accessible gaps; deteriorated ductwork needs replacement. Hidden ducts in walls and ceilings take specialized equipment to seal internally. An HVAC technician can measure CFM at each register, balance dampers properly, and determine whether your ductwork is sized for the house. I would call one before tearing into finished spaces chasing a leak I could not see.

Foil-grip 1402 is a pressure sensitive, 40-year cycle, duct joint and general purpose rolled sealant

SUPERIOR SEALING: Fiber-reinforced formula ensures leak-free HVAC systems, improving energy efficiency and performance
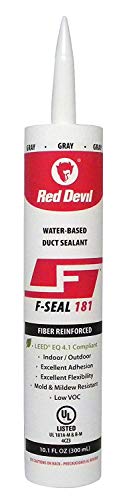
SUPERIOR SEALING: Fiber-reinforced formula ensures leak-free HVAC systems, improving energy efficiency and performance
2. Assess Attic and Roof Insulation
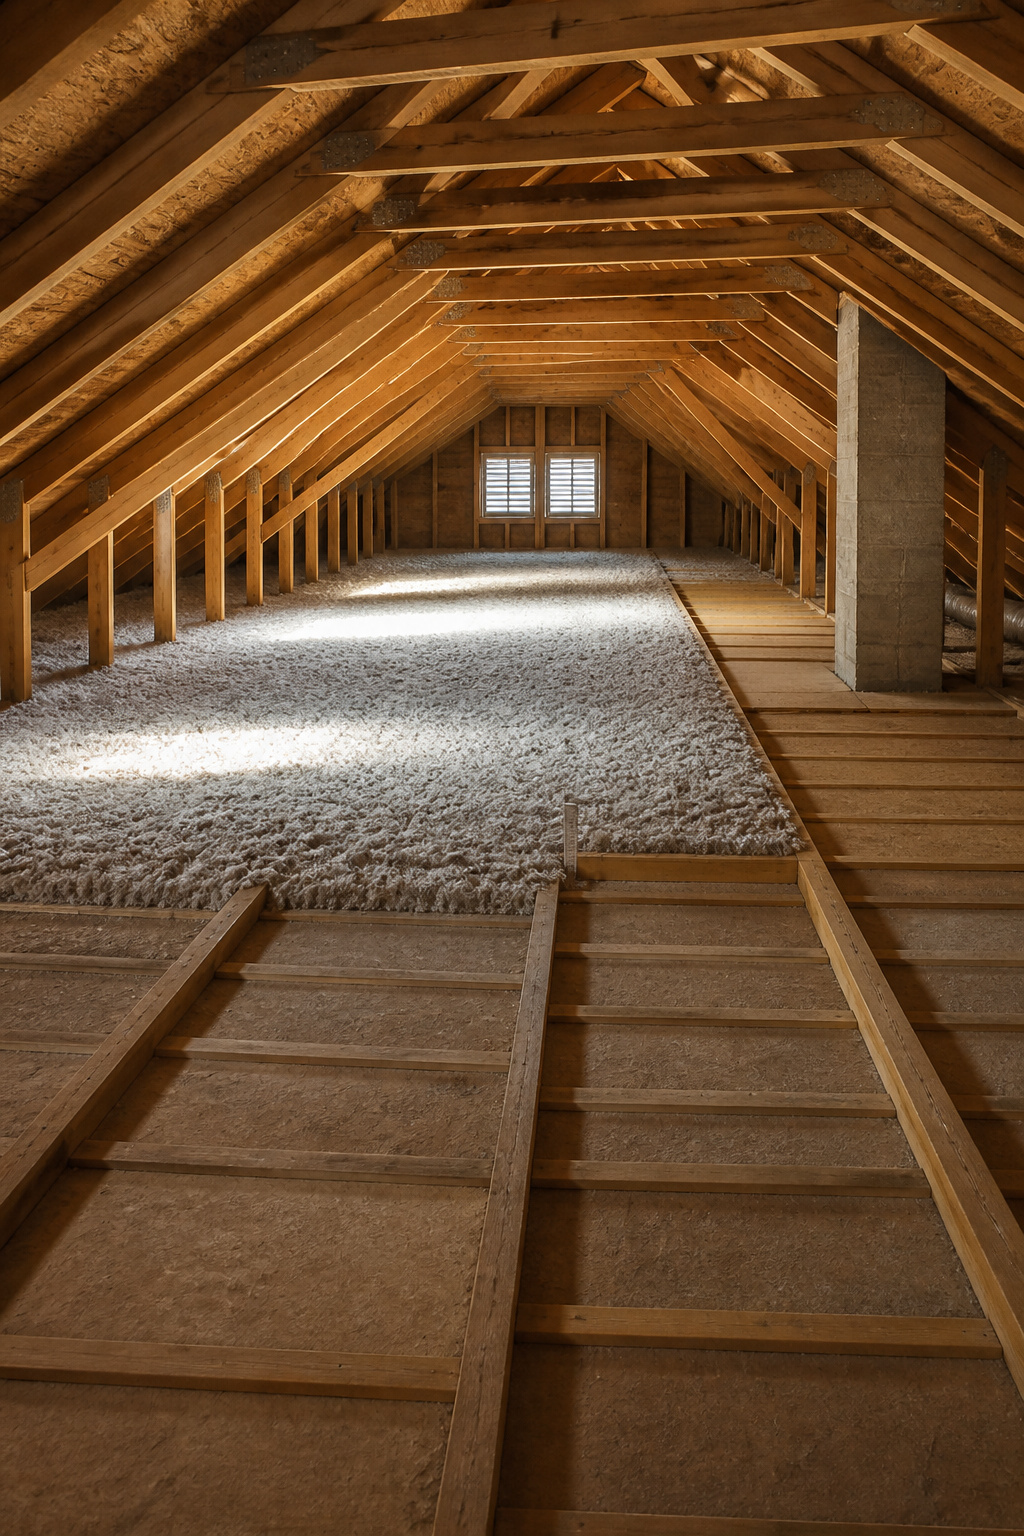
The attic above your upstairs rooms can hit 130 to 150 degrees on a sunny summer day, and every bit of that heat wants to radiate downward through your ceiling. What stops it is the insulation between you and that oven, and in most older homes, there simply is not enough.
ENERGY STAR recommends R-49 to R-60 for attics in Zone 4 climates, which works out to about 14 to 18 inches of blown-in cellulose or fiberglass. Many houses were built with R-19 or less, which is not even close. Bringing it up to spec often drops upstairs temperatures by 5 degrees or more on hot days, before your air conditioning upstairs ever kicks in.
While you are up there, look for compressed or displaced insulation, air leaks around lights and plumbing penetrations, and whether your soffit and ridge vents are actually moving air. Insulation blocks heat, but ventilation carries away what gets through anyway. Both matter, and neither one fixes the other.

【Attic Insulation Cover】Attic Door Insulation Cover works during the entire year, hot summers and cold winters; Creates a seal at the attic door to prevent dust or pollutants from entering your home

Thermal Resistance: R-49 value, meets attic insulation codes for heat retention.

Coverage: One bag covers 77.5 square feet, containing 8 batts (9.69 sq ft per batt).
3. Evaluate Thermostat Placement
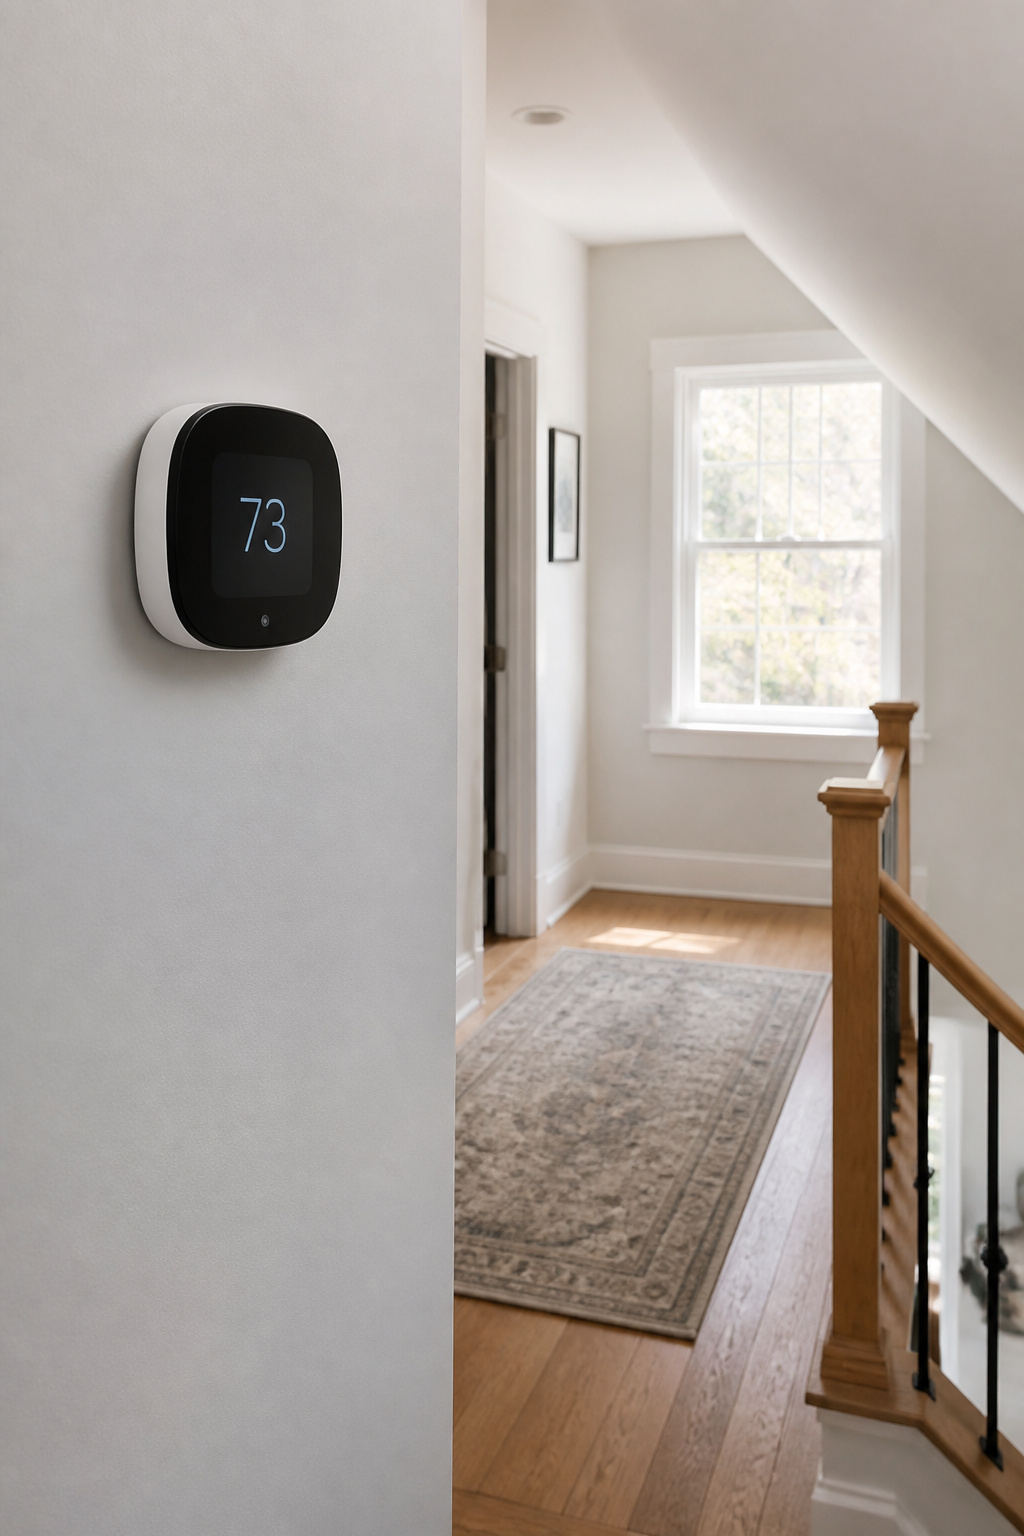
A single thermostat sitting on the first floor is almost always the reason the second floor turns into a sauna by mid-afternoon. The sensor reads the air at chest height in a hallway or living room, and that temperature can run 5 to 10 degrees cooler than what you feel walking up the stairs. The system shuts off, satisfied, while the bedrooms still bake.
Moving the thermostat upstairs is the simplest fix if your wiring allows it, though you trade a cool downstairs for a tolerable upstairs. A second thermostat, paired with zoning dampers in the ductwork, splits the difference: each floor calls for cooling when it actually needs it, and a central panel opens or closes ducts accordingly. An HVAC specialist sizes the zones and handles the install.
Smart thermostats with remote sensors are the renter-friendly middle path. The main unit stays downstairs, but a sensor in an upstairs bedroom tells the system the real temperature, so cooling runs until both floors are done.

Next-Gen Ventilation: Intelligent register booster fan automatically responds to HVAC-driven temperature changes to improve airflow, helping eliminate hot and cold spots for consistent comfort in every room.

【Improve Uneven Heating & Weak Airflow】This 4" x 10" vent booster fan is designed to improve HVAC airflow in rooms with weak airflow and uneven heating. It helps circulate warm air more effectively, making it ideal for upstairs bedrooms, home offices, basements, and other rooms that feel colder than the rest of your home. Also suitable for improving airflow during the cooling season.

Next-Gen Ventilation: Intelligent register booster fan automatically responds to HVAC-driven temperature changes to improve airflow, helping eliminate hot and cold spots for consistent comfort in every room.
4. Seal Air Leaks Around Windows and Doors
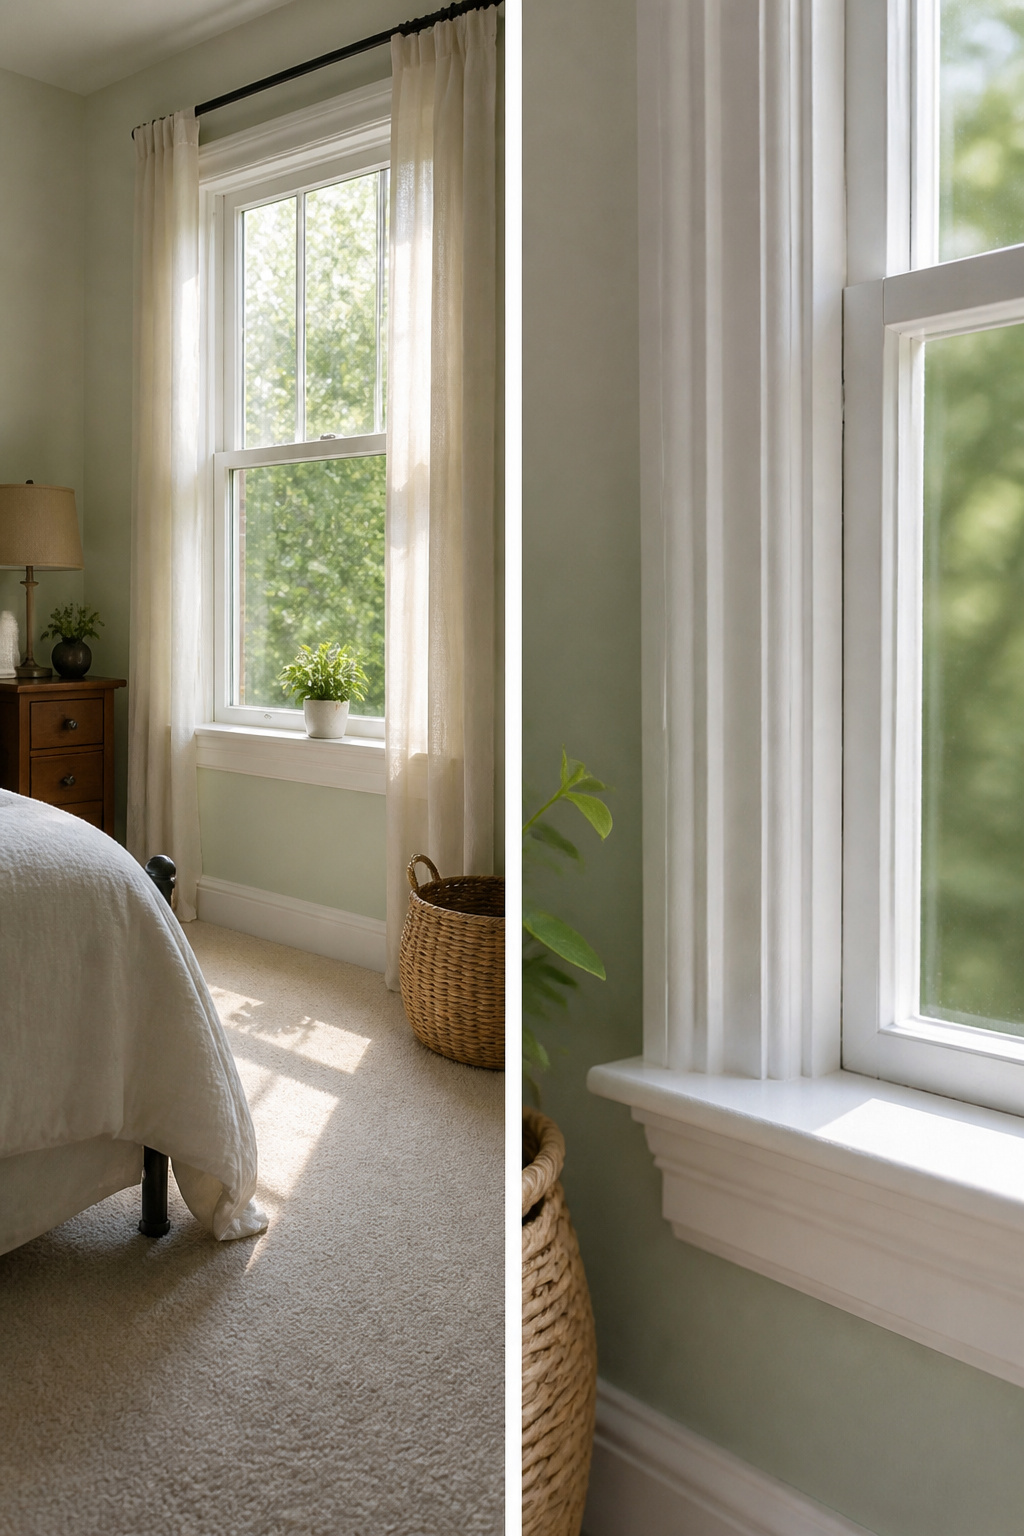
A house that has not been professionally air sealed, especially one built before recent construction standards, is probably full of gaps. EnergyStar.gov estimates that 25 to 40 percent of the energy Americans spend heating and cooling is lost to air leakage, and for an upstairs fighting the stack effect, those gaps matter more than they do downstairs.
The hot air entering through cracks around window frames, door jambs, and sill plates does not stay on the first floor. It rises, which means the second floor is where you feel it. Weatherstripping compressible foam or vinyl tape along the top and sides of upstairs windows, plus a door sweep or threshold seal where the bedroom door meets the frame, closes the paths of least resistance. Caulk handles the fixed gaps: where the window casing meets the wall, or where trim leaves a crack over a settled frame.
In older homes the trouble spots repeat. Double-hung windows with rope-and-pulley weights leave channels that never fully close. Attic hatches in upstairs hallways leak if the trim was never sealed. Even a plumbing penetration for a bathroom exhaust fan can pull attic air through if the gap around the duct was left open. Sealing these is cheap, the work of a weekend, and it survives a real budget.

One-piece all-steel construction

WALL OR CEILING VENT: Two-way deflector fits a duct opening size of 10 in. x 6 in; overall dimensions are 11-3/4 in. x 7-3/4 in; inner grille will be approximately 1/4 to 1/2 in. smaller for a proper fit
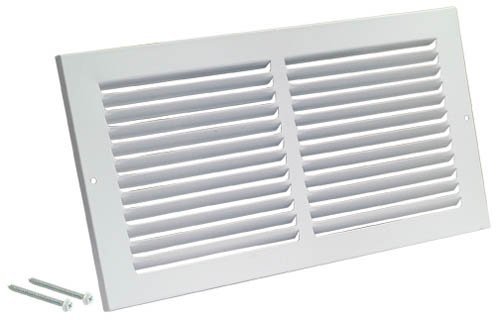
Made for 10" x 6" Duct Opening (Actual Dimensions: 11 3/4" x 7 3/4")
5. Adjust Airflow with Dampers and Vents
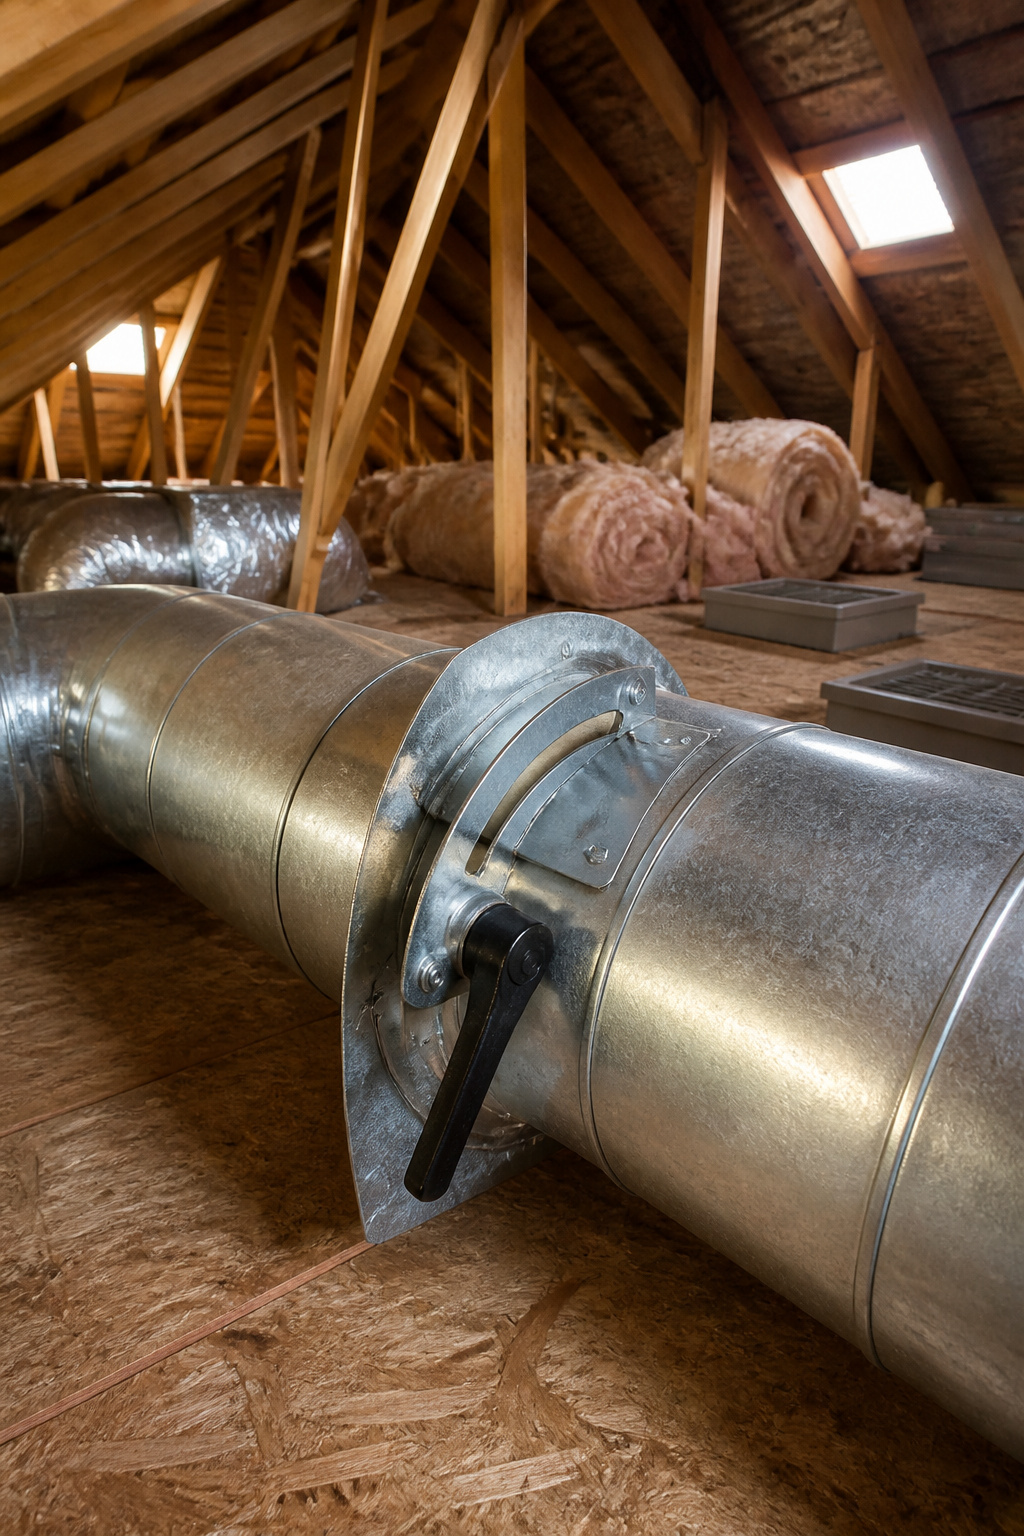
The first place to look is the exposed ductwork in your basement or attic for a toggle switch marked "Summer" and "Winter" with directional arrows. If your house has this manual damper system, flipping it takes thirty seconds and costs nothing. That seasonal setting is the right way to redirect airflow; closing downstairs vents to force air upstairs is not.
We don’t recommend closing vents downstairs to cool the upstairs. This can restrict airflow to your system, causing it to work harder, and potentially resulting in a frozen evaporator coil.
— Trane
A frozen coil means a warm house and a repair bill, not the quick fix you wanted. Partially closing some first-floor registers can work in a pinch, but fully closing them builds too much static pressure and risks duct leaks or worse. The same goes for shutting vents in unused rooms; it throws off system balance rather than helping. If the seasonal damper doesn’t exist and partial register closure doesn’t move enough air, the ducts themselves may need balancing by a technician who can measure CFM at each register.

Package Dimensions: 18.034 cms (L) x 17.272 cms (W) x 18.034 cms (H)
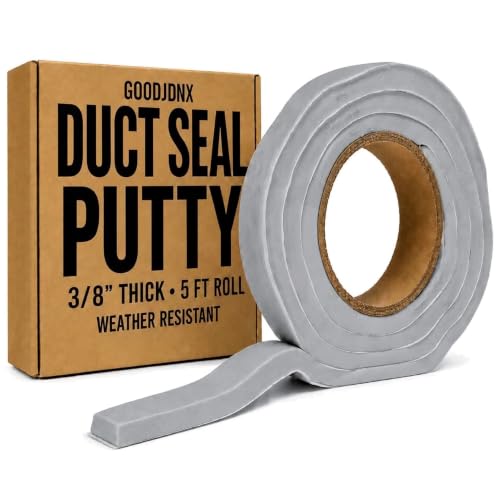
① SEALS HVAC, PIPE AND ELECTRICAL GAPS FAST WITH CONTINUOUS ROLL Seal air gaps around HVAC openings, pipe openings, electrical conduit entries, cable entry points, ducts, vents, and wall penetrations with this duct seal putty. The continuous roll design reduces waste, speeds installation, and helps create a clean, professional-looking seal.

Primarily used for superior vapor sealing of metal ducts.
6. Add Ceiling Fans for Circulation
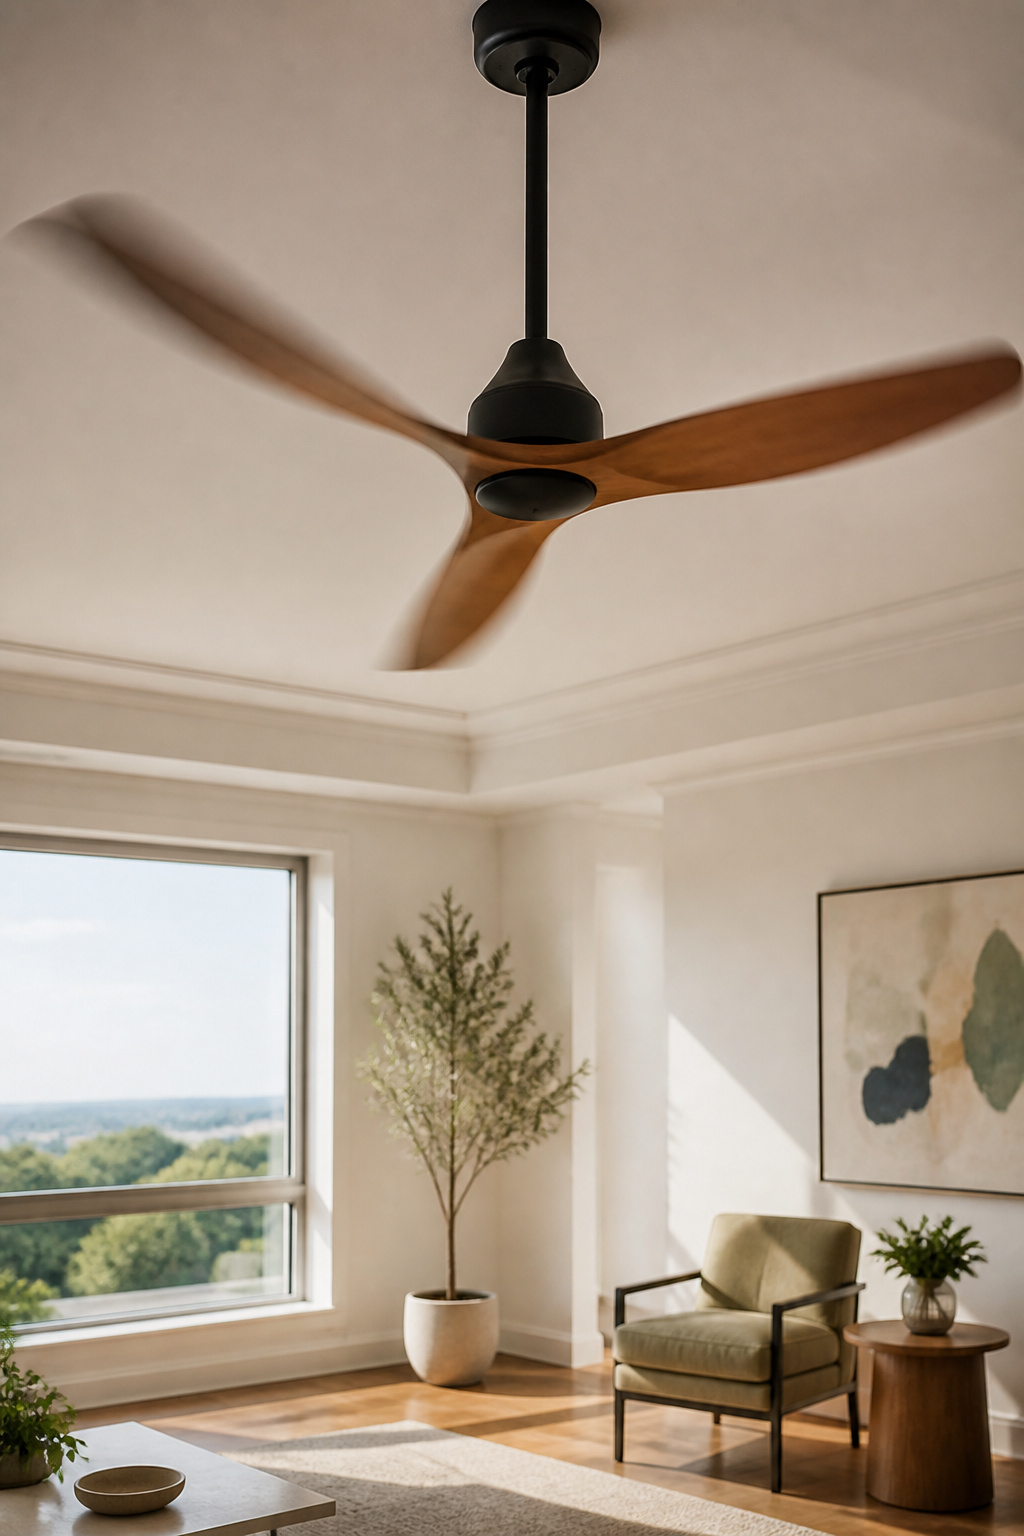
Ceiling fans do not lower the temperature of a room. What they create is a wind-chill effect, moving air across skin so the same thermostat setting feels several degrees cooler to whoever is in the room. Upstairs, where heat collects and the air conditioning may already be struggling, this distinction matters more than it does downstairs.
The small switch on the motor housing reverses blade direction. For summer cooling, set the fan to spin counterclockwise, pushing air straight down. The downdraft is what produces that breeze you can feel. Run it clockwise in winter if you want to pull rising warm air back toward the walls, though that matters less on a second floor where the heat is already pooled.
Sizing follows a simple rule: the longer the blade span, the more air a fan moves. A bedroom usually needs at least 44 inches; larger open spaces want 52 inches or more. Hallways and landings, the transitional spaces upstairs that trap stagnant air, are where I notice the difference most. A fan there keeps the upper floor from feeling like a separate climate zone.
Turn it off when you leave. Fans cool people, not rooms, and running one in an empty space is just electricity spent on nothing.

HOW IT WORKS - Reduces up to 94% of heat transfer at your attic door. Save Big on your Utility Bill.

Core Functionality: This attic door insulation cover saves energy by preventing heat loss in winter and blocking hot air in summer. Its reflective aluminum surface blocks radiant heat, lowers energy bills, and helps maintain comfortable indoor temperatures year-round

AT-5 is 30"W x 60" x 13"H and fits attic ladders with a 30" x 60" opening and 1x5 or 1x6 side rail.
7. Install Window Treatments to Block Heat
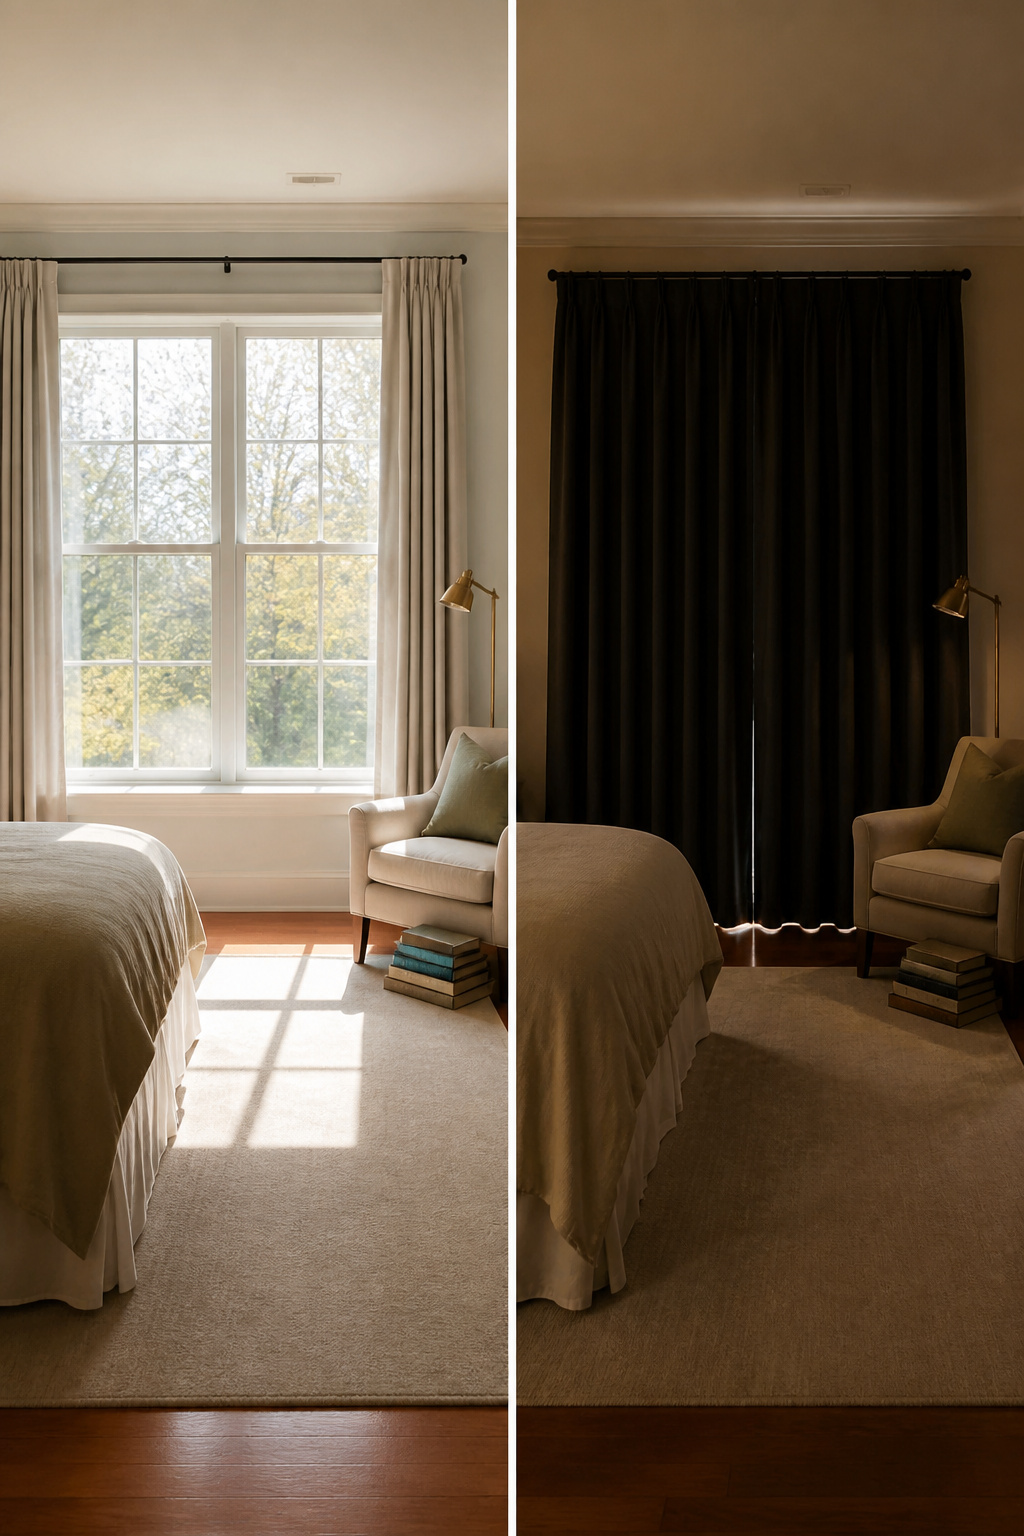
West- and south-facing windows upstairs turn rooms into greenhouses by mid-afternoon. The Department of Energy estimates that about 76 percent of sunlight hitting standard glass enters as heat, which means the second floor keeps collecting warmth long after the thermostat downstairs has settled.
Blackout curtains are the fastest fix I have found for a rental. Hang them on the existing rod, pull them shut before the sun hits the glass, and the bedroom stays workable through a July evening. For a longer-term option, reflective window film blocks UV without killing the view, though it takes a Saturday of soapy-water application and a lot of patience with the squeegee. Exterior shading helps too, but awnings or external screens are only practical when you own the siding.
If the windows are old single-pane or early double-pane units, replacement with low-E coated glass can cut solar heat gain by 30 to 50 percent compared to standard glass. That is a project-year cost, not a weekend one, and it only pays off if you are staying put. For most renters and first-home owners, the combination of blackout curtains and reflective film handles the worst of it for under a hundred dollars, which leaves the heavy investment for the house you know you will keep.

2026 Fan Stability Upgrade: Built with dynamic fan balancing, motor start-up verification, and noise & vibration screening to support smoother airflow, quieter operation, and long-term reliability.

Dual Fans High Airflow: DEWENWILS register booster fan is equipped with dual high-performance fans to supercharge your HVAC system's airflow, pushing conditioned cool or warm air deep into hard-to-reach spaces like upstairs bedrooms, home offices, and basements. Say goodbye to frustrating hot spots in summer and cold drafts in winter, and enjoy consistent, cozy comfort in every room of your home without overworking your heating or cooling system

【INNOVATIVE AROMA DIFFUSER DESIGN】Enhance your space with our uniquely designed register booster fan featuring an aroma pad place. Simply place your favorite essential oil pad on the fan, and let the gentle breeze fill your room with soothing fragrances. Create a spa-like ambiance that promotes relaxation and restful sleep—perfect for unwinding after a long day. Important Note: Essential oils, cotton pads and droppers are Not included.
8. Consider a Ductless Mini-Split System

A ductless mini-split mounts on the wall and cools only the room it serves, no ductwork required. That matters upstairs, where adding ducts to finished walls can turn a weekend project into a month of plaster repair. The outdoor compressor connects to one or more indoor heads through a small line set, and each head gets its own remote or smart thermostat. My neighbor installed two heads for her upstairs bedrooms and now her teenager keeps his room at 68 while she sleeps at 72 downstairs, neither one paying for the other’s preference.
Figure $2,500 to $5,000 installed, with the high end hitting multi-head setups or tricky line runs through finished interiors.
Window units and portable ACs cost less upfront but run louder and block the sash or chew floor space. A mini-split’s compressor sits outside, so the indoor head hums quieter than most refrigerators, and it stays put year-round instead of wrestling into a window every June. Efficiency runs higher too: no cold air bleeding through duct gaps, and you cool only the rooms you’re actually using.

WALL OR CEILING VENT: This rectangular return air grille is designed for a 14 in. x 6 in. duct opening; overall dimensions are 15-3/4 in. x 7-3/4 in; grille has 2 vent rows and fits most standard wall or ceiling return air setups

WALL OR CEILING VENT: Air vent deflectors feature a duct opening that measures 12 x 6 inches, and can be used for wall or ceiling mount. The overall dimension measures 13-3/4 x 7-3/4 in inches (WxL) and features 2 vent rows
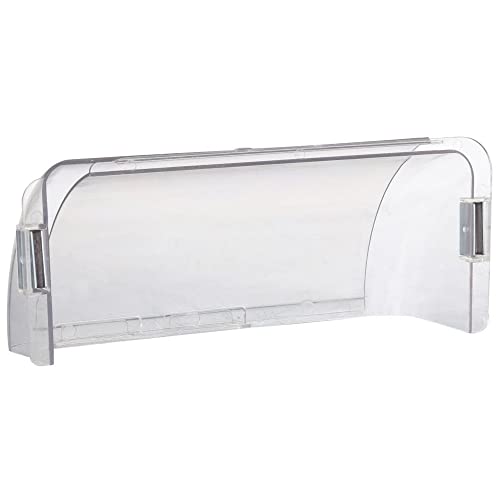
IMPORTANT: The deflector attaches with magnets so the register must be made of metal. It will not stick to plastic or wood registers.
9. Explore Zoned HVAC Systems
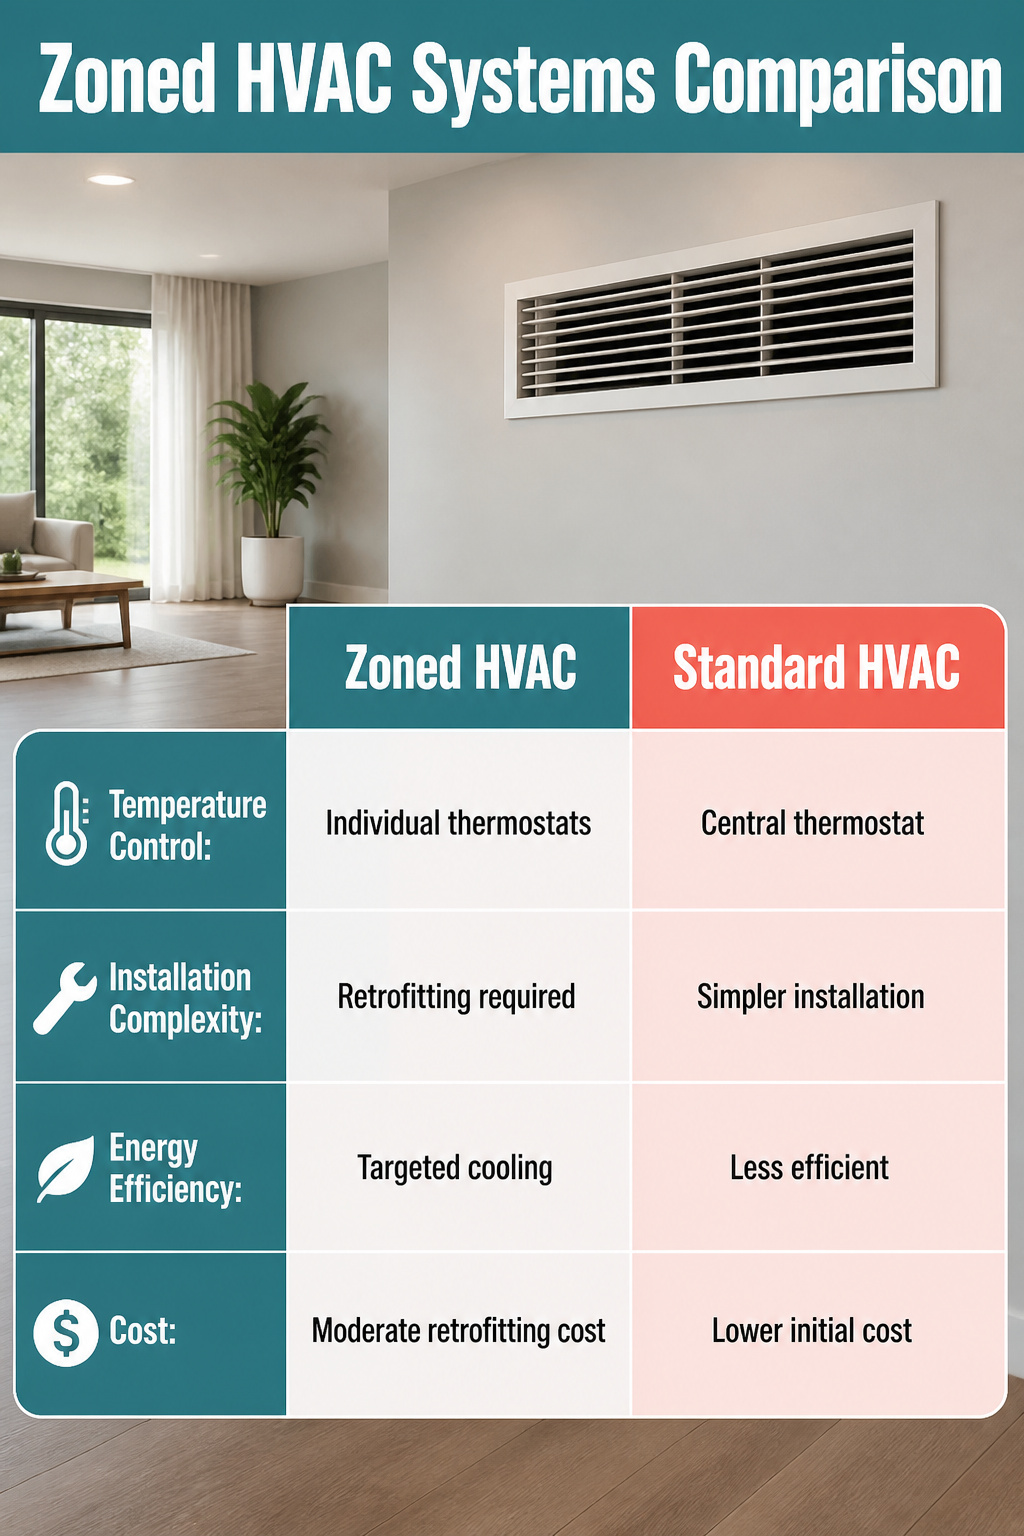
A standard HVAC system treats every room as one zone, which means the thermostat downstairs decides when the whole house runs. In a two-story home, that setup almost guarantees the second floor stays hotter: cold air sinks while heat rises, and the roof dumps solar gain straight into the attic above your head. A zoned system splits the house into at least two independent areas, usually by floor, so the upstairs thermostat can call for cooling without freezing out the downstairs.
The mechanic is straightforward. Motorized dampers inside the ductwork open and close to direct conditioned air only where it is wanted. One outdoor unit and one indoor coil still do the work, but the control logic decides which floor gets served when. That targeted approach trims waste, because you are not paying to overcool the first floor just to nudge the second floor down a degree.
Compared with adding a second heat pump or air conditioner, zoning runs on the same equipment you already have, just governed smarter. The fit depends on whether your ducts can be retrofit with dampers and whether your existing unit has enough capacity to handle peak load in either zone alone. An HVAC technician can map that out.

APPLICATION: Rectorseal duct seal compound is a gray, soft, non-toxic, putty-type compound that adheres to most clean dry surfaces; Duct Seal can be hand-molded to any form and reused if necessary

Kit Includes: One quart can that contains 915 ml or 30.9 fl. oz. of No. 7 Mastic

VAPOR SEAL TAPE: 2.0 mil aluminum foil backing (4.0 mil total thickness) with a strong, pressure sensitive acrylic adhesive is ideal as a vapor seal tape for duct closure.
10. Keep Up Regular Maintenance
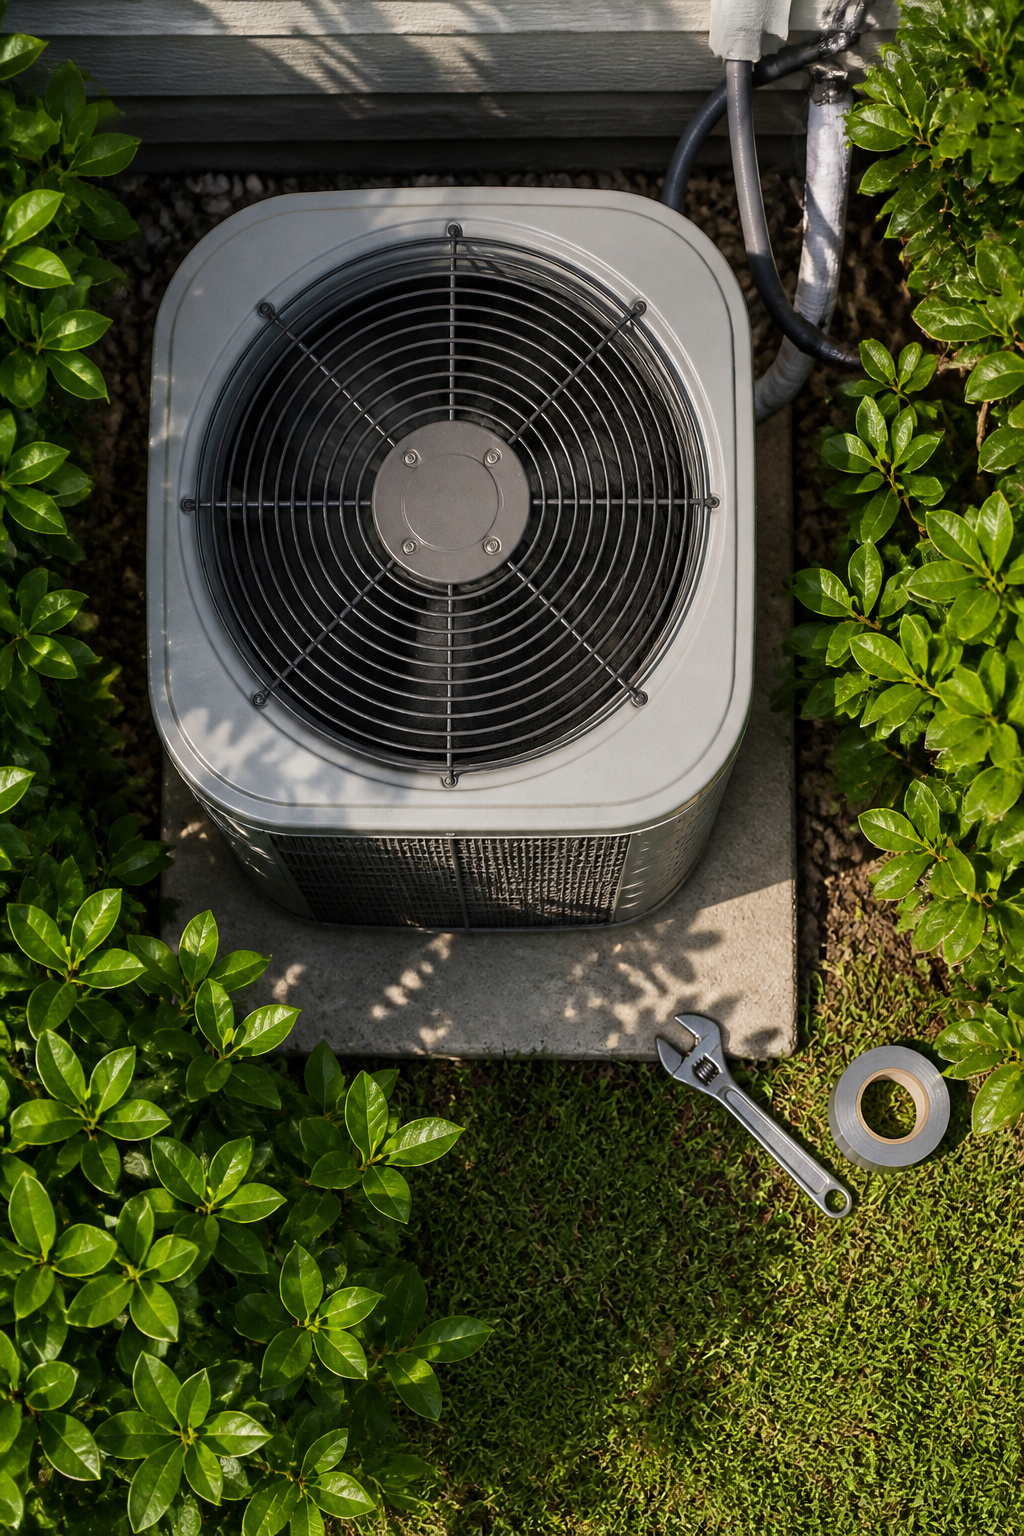
A dirty air filter is the quietest way to waste money on air conditioning upstairs. The passages say every 30 to 90 days for a standard one-inch filter, and that range matters more than the exact number. I live in a house with a shedding dog and pollen that coats the porch, so I have learned to check the filter monthly and replace it when the white mesh turns gray, not when the calendar says so. That habit alone keeps the airflow from choking before it ever reaches the second floor.
Duct leaks are harder to catch on your own. Cool air escapes into joist spaces and wall cavities, and the upstairs pays the price. An HVAC technician can pressurize the system and find gaps you would never see, then seal them with mastic or foil tape. Some leaks sit inside finished walls where you cannot reach them; that is when internal sealing or replacing a section of ductwork becomes worth the cost.
The annual tune-up is where a professional checks both of these at once. They clean the coils, verify refrigerant levels, and spot the small failures that become big ones in July. I used to skip this and just swap the filter myself, but the year my capacitor died on the hottest Saturday of August taught me that the sixty-dollar maintenance call prevents the six-hundred-dollar emergency.
Why Upstairs Runs Hot
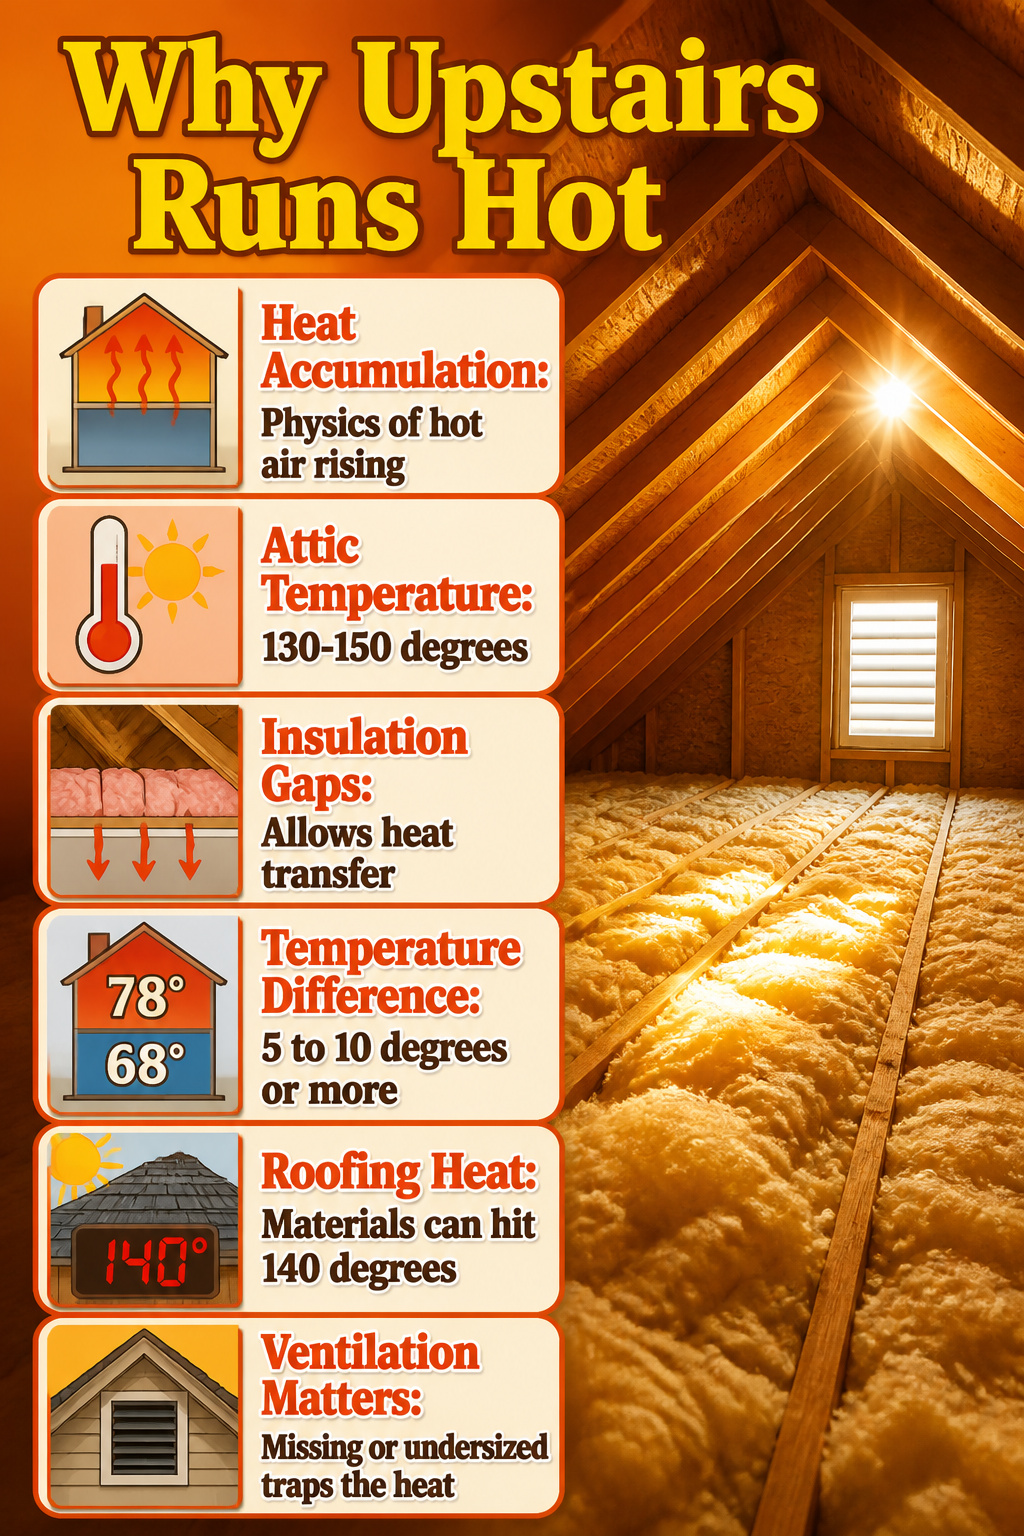
Hot air rises, and your upstairs collects every degree that physics sends upward. Solar gain pounds the roof all afternoon, and in many homes, especially those built before modern energy codes, the attic above reaches 130 to 150 degrees on a sunny day. Without adequate insulation, that heat radiates straight down through the ceiling.
The gap between floors can be dramatic. In a well-designed home with balanced ductwork and proper insulation, upstairs might run only 2 to 3 degrees warmer. In typical older homes, the difference is often 5 to 10 degrees or more. Roofing materials themselves can hit 140 degrees, and when attic ventilation is missing or undersized, that thermal load has nowhere to go.
Single-zone systems compound the problem by treating one thermostat as king of the whole house. The downstairs sensor reads comfortable while the upstairs bakes. Ductwork issues, which I’ll get to later, only widen the split.
Mini-Splits, Window Units, and Portables Compared
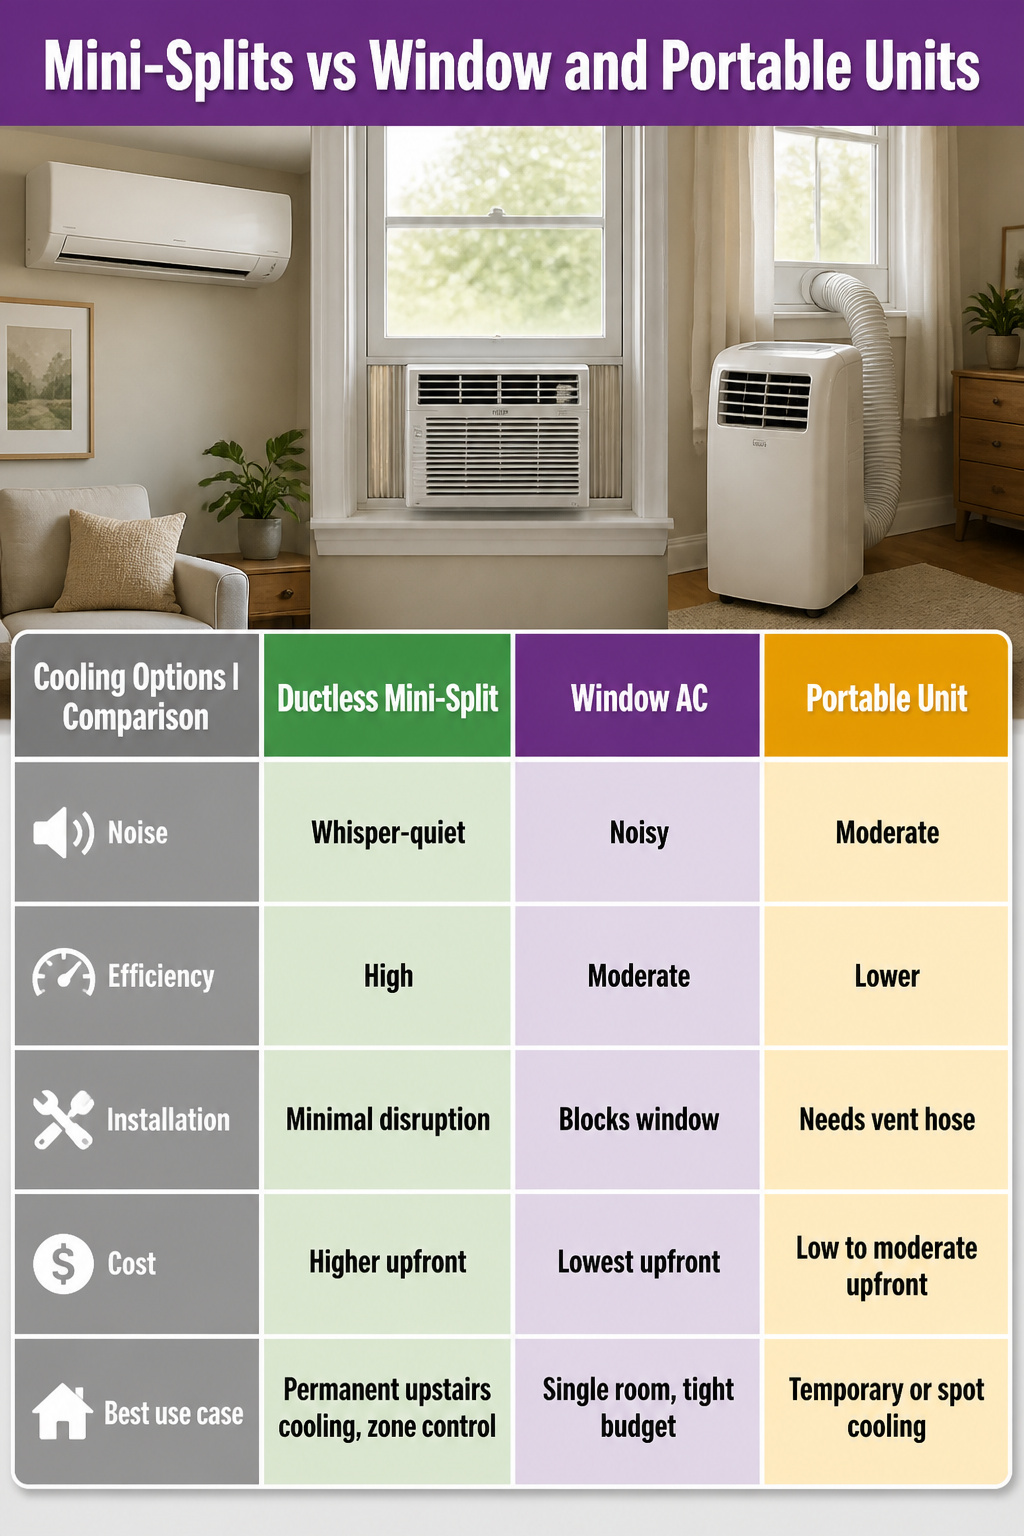
Choosing between cooling options for upstairs means weighing what you actually have to work with. Window units are loud and block the sash, but they cool a single room for the least money up front. Portable units roll where needed and need no mounting, yet they chew floor space and vent through a hose that never quite seals. Ductless mini-splits cost more to install but run quietly enough for bedrooms and nurseries, let each room set its own temperature, and skip the ductwork entirely, which matters in older homes where adding vents means tearing into walls.
| Ductless Mini-Split | Window AC | Portable Unit | |
|---|---|---|---|
| Noise | Whisper-quiet | Noisy | Moderate |
| Efficiency | High | Moderate | Lower |
| Installation | Wall-mounted, minimal disruption | Blocks window, seasonal install/remove | None, but needs hose vent |
| Cost | Higher upfront | Lowest upfront | Low to moderate upfront |
| Best use case | Permanent upstairs cooling, zone control | Single room, tight budget | Temporary or spot cooling |
If you are staying put and the upstairs never cools evenly, the mini-split is the only option that does not trade comfort for convenience.
Frequently Asked Questions
How do you evenly cool a two-story house?
Seal and insulate the whole house first, then balance the airflow between floors. The article notes that sealing leaky ducts alone can improve HVAC efficiency by 20 percent or more, and bringing attic insulation up to R-49 to R-60 often drops upstairs temperatures by 5 degrees before the AC even runs. A zoned system or smart thermostat with remote sensors keeps one floor from freezing while the other bakes.
How can I make my second floor cooler?
Start with air sealing and insulation, since the attic above upstairs rooms can hit 130 to 150 degrees and radiate heat downward through an underinsulated ceiling. Weatherstrip windows and doors, seal gaps with caulk, and check that your attic has 14 to 18 inches of blown-in insulation. After that, redirect more airflow upstairs through manual dampers or partial register adjustments, but never fully close downstairs vents, which risks freezing the evaporator coil.
What to do if air conditioning is working downstairs but not upstairs?
Check the ductwork for leaks, blockages, and closed dampers, since weak airflow at upstairs registers usually points to a distribution problem. Measure whether the trunk lines have manual dampers you can adjust to redirect air upward, and verify that return pathways upstairs exist so supply air can circulate. If the system still cannot balance, an HVAC technician can measure CFM at each register and determine whether the ductwork is properly sized for the house.
How can I reduce the heat in my two-story house?
Seal air leaks and improve attic insulation, because hot air rises and the stack effect pulls outdoor heat straight to the second floor. ENERGY STAR recommends R-49 to R-60 for attics in Zone 4 climates, yet many older homes were built with R-19 or less. While you are sealing, look for compressed insulation, blocked soffit vents, and gaps around attic hatches or plumbing penetrations that let 130-degree attic air leak into conditioned space.
Do I need a second AC unit to cool the upstairs?
Not always, but a second unit can be more energy-efficient than forcing one system to overwork. A ductless mini-split costs $2,500 to $5,000 installed and cools only the rooms you use, without tearing into finished walls for ductwork. Compared to making the downstairs uncomfortably cold just to nudge the upstairs down, a dedicated upstairs unit takes load off your main system and gives each floor independent control.