A kitchen storage setup can run from a few dollars in plastic bins to a plywood build with wooden dividers that takes an afternoon with a saw.
The one that belongs in your drawer depends on whether you need wire racks to see everything at a glance or bamboo trays with compartments to keep items upright and separated.
[link-whisper-related-posts]1. Wooden Dividers
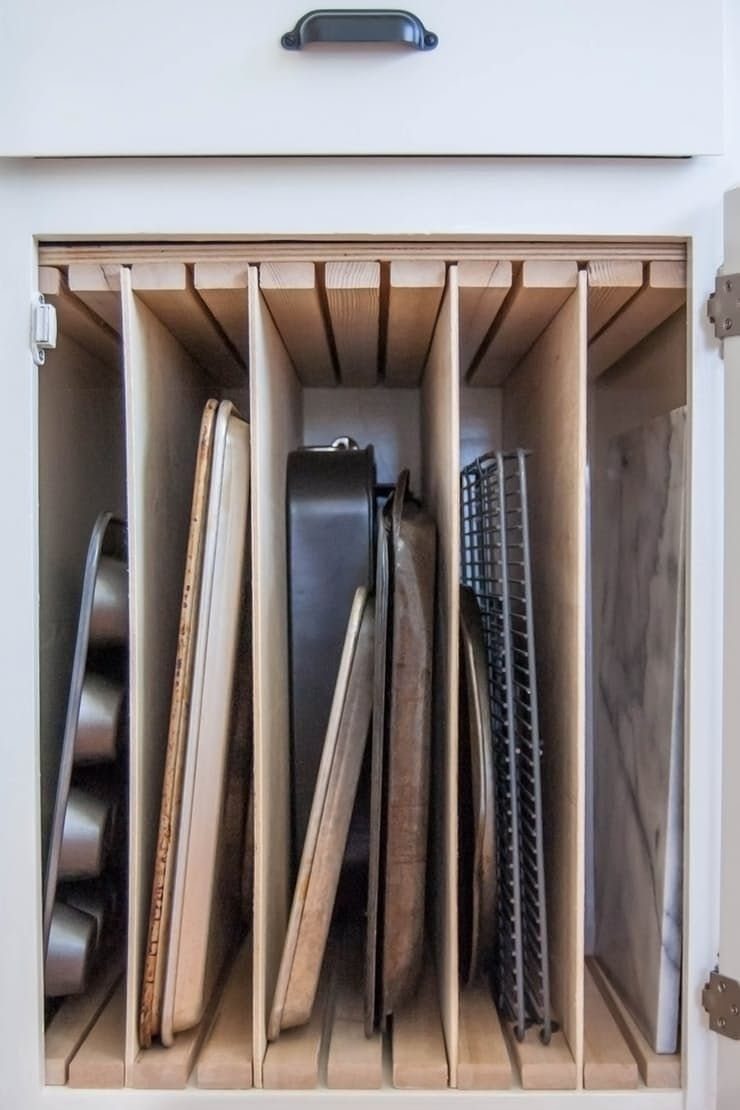
Vertical wooden dividers turn a single flat drawer into upright slots for sheet pans, muffin tins, and cutting boards.
Each divider sits in a shallow groove cut into a plywood base; I prefer 1/4-inch plywood dividers spaced about 2 inches apart for standard bakeware.
The whole unit lifts out for cleaning. I use wax on the slots so metal glides past wood without sticking.
No hardware means nothing to adjust later. Wood swells some in summer humidity, but a hand plane takes off a thin shaving if a slot tightens up.
2. Tiered Storage Racks
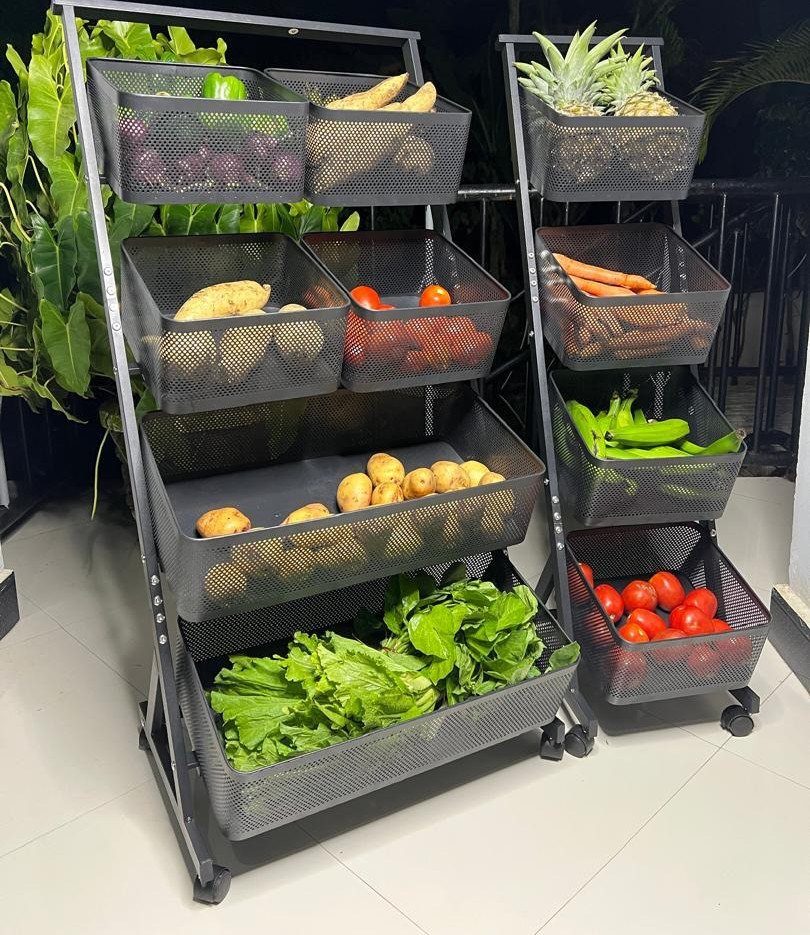
Tiered racks buy height instead of floor space.
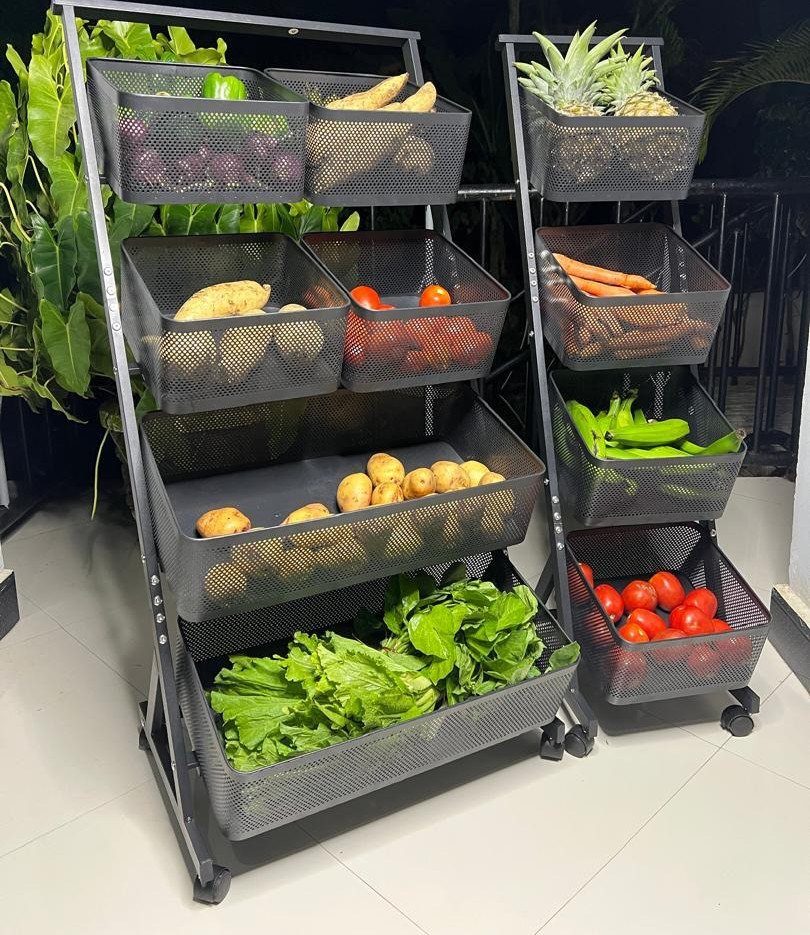
Two or three mesh baskets stacked on a rolling frame keep produce visible and breathing; I like the black metal finish shown for hiding water spots and minor dents. Casters matter more than shoppers expect.
Fixed feet tip when you load the top basket one-handed. Locking wheels are worth the small extra cost; look at the caster plate before you buy, because some claim to lock and only brake the wheel, not the swivel.
Some come with a solid top shelf, which I skip. The open basket shape works because air moves; a flat surface turns into a clutter magnet within a week.
3. Pull-out Trays Mounted on Slides
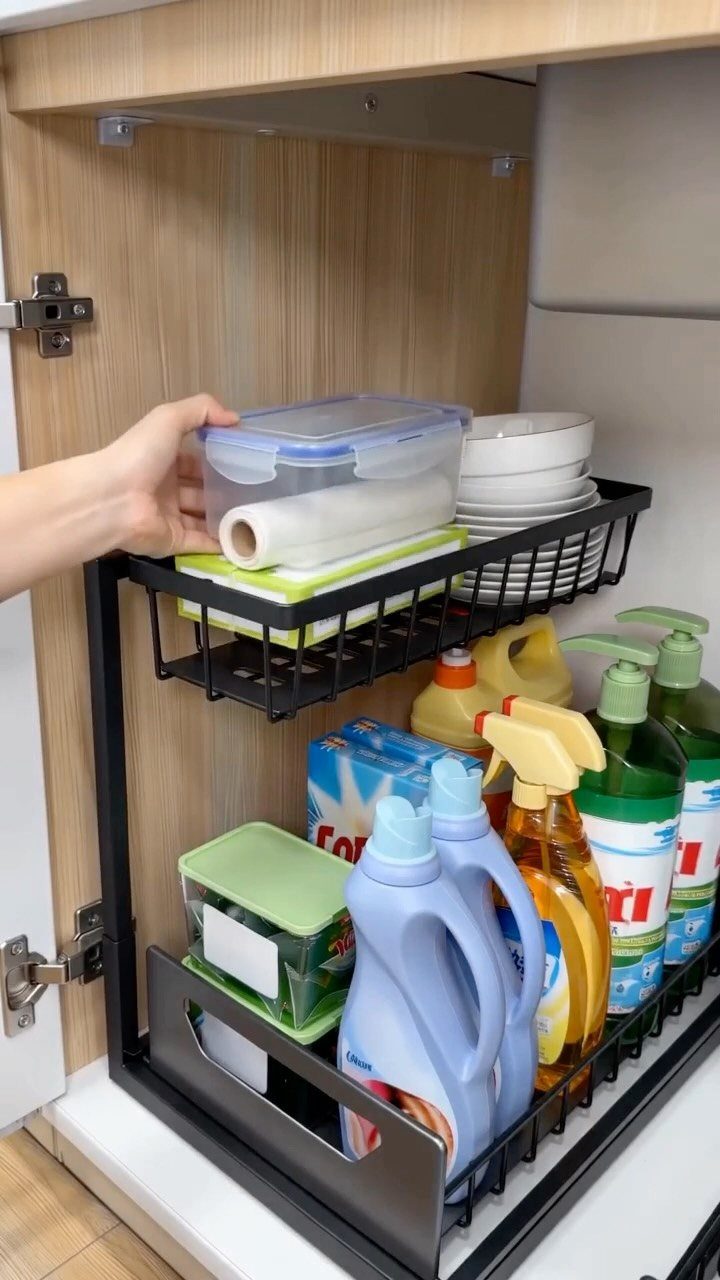
A pull-out tray on full-extension slides brings the back of a cabinet to your fingertips.
Bottom-mount ball-bearing slides handle a loaded tray without sag; check the load rating on the box, because the cheap ones claim capacity they do not have.
Installation demands patience.
The cabinet box is rarely square; I measure the opening at front, middle, and back, then shim the slide mounts to match the narrowest point. A crooked tray binds and scrapes.
4. Wire Racks
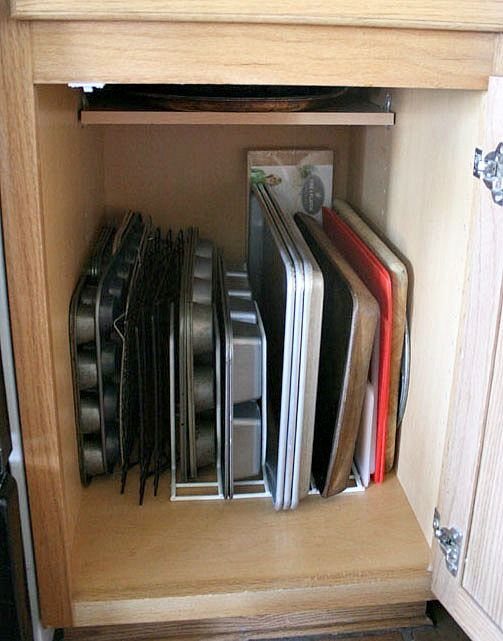
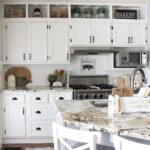
White wire racks inside a cabinet divide vertical space for plates, bakeware, and cutting boards without blocking light.
The grid lets you see what sits behind the front row. I use coated wire only; bare metal rusts where humidity rises from dishwasher vents or sink cabinets.
A frying pan with a long handle needs the rack deep enough that the handle does not overhang and snag the cabinet door.
5. Plastic Storage Bins
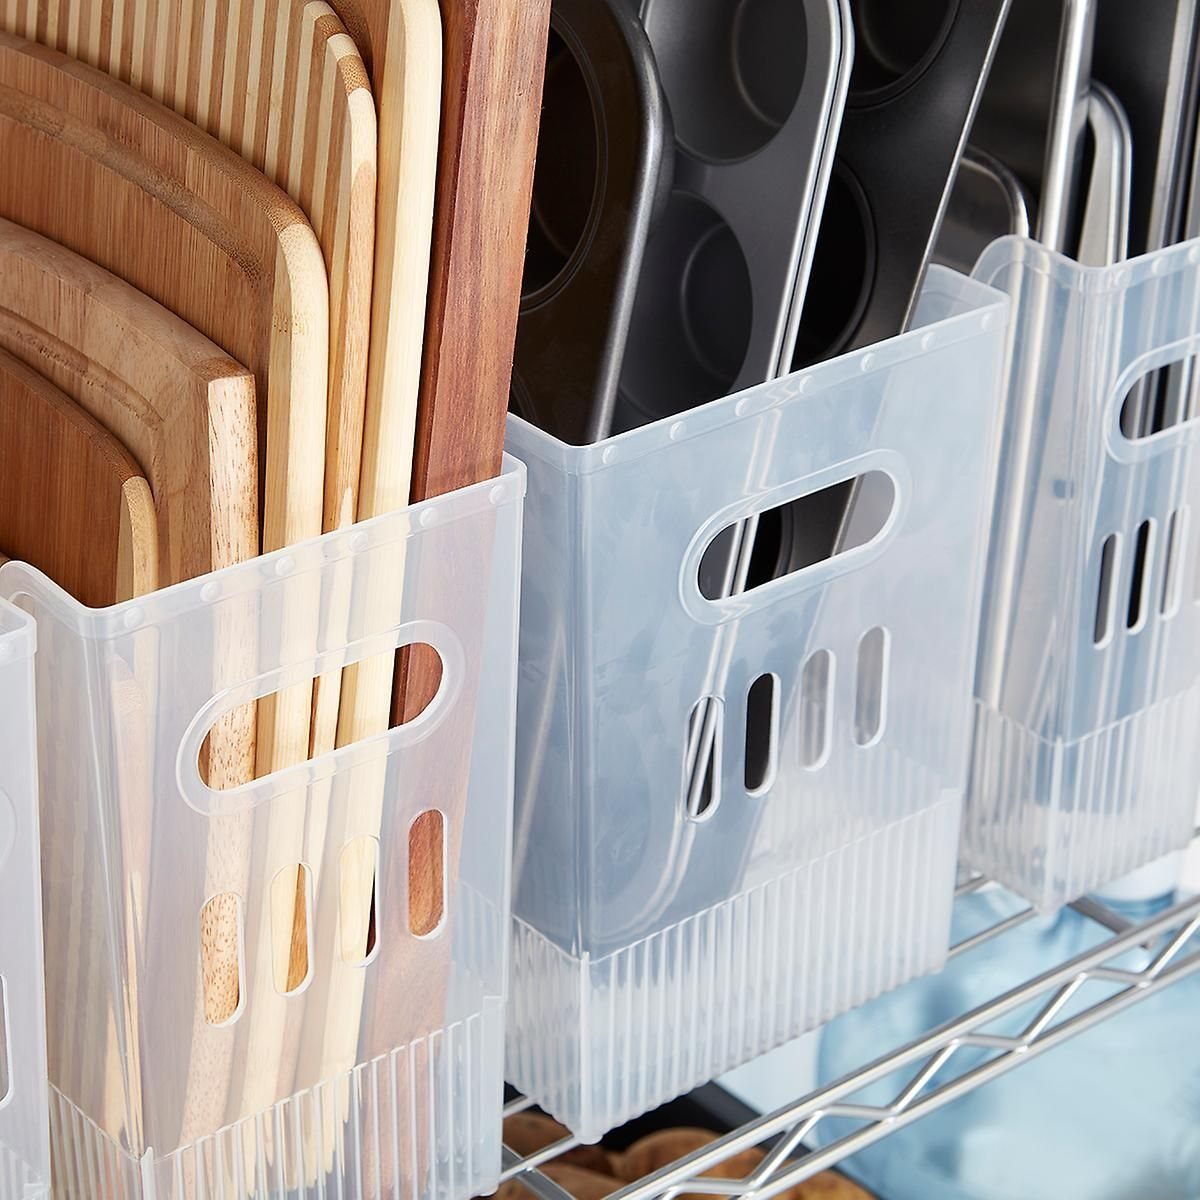
Clear plastic bins on a wire shelf keep cutting boards upright and stacked pans from toppling into each other.
The transparency is the point: you identify contents without lifting lids. I size bins to hold two or three of the largest item they will store, never one per bin or the shelf empties fast.
Stacked bins waste the bottom half of each. I lay them on their backs, opening forward like shallow drawers, especially on deep wire shelves where items pushed to the back vanish for months.
6. Bamboo Trays with Compartments
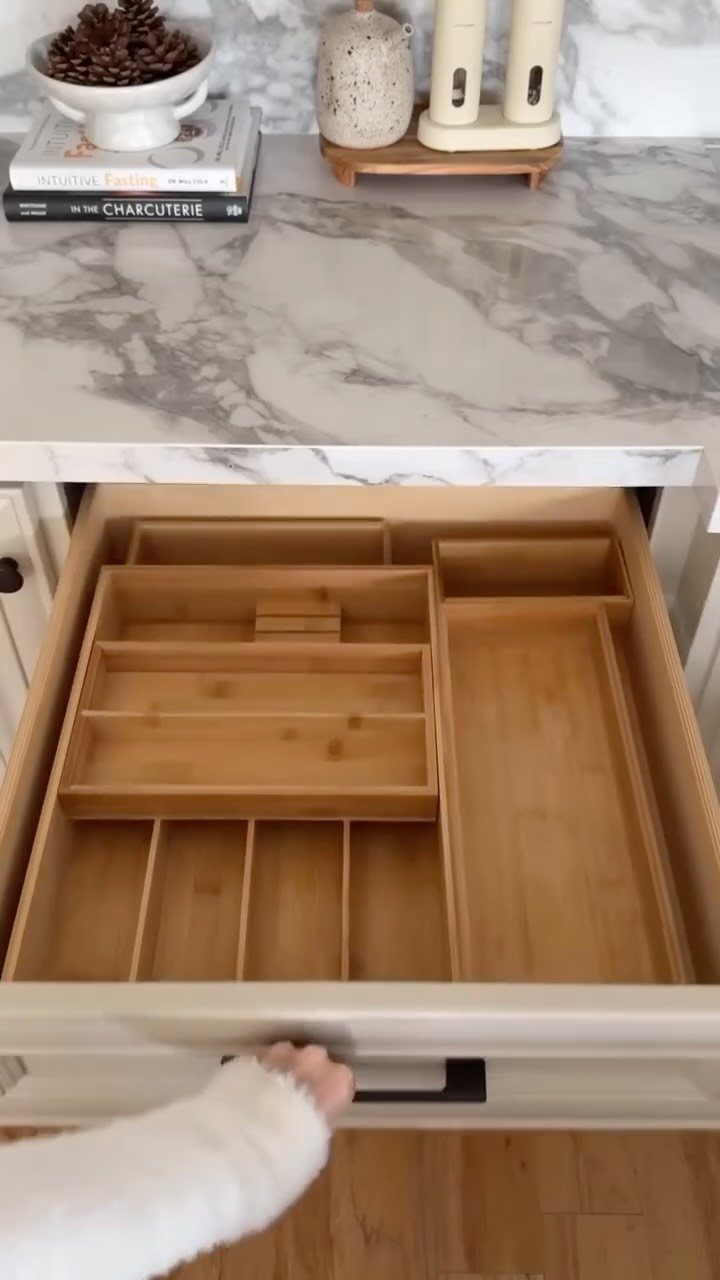
Bamboo trays smell better than plastic and take knife-scrubbing without showing marks.
The drawer’s own sides guide the tray, so no separate front rail installs. Unfinished bamboo darkens where oil pools; I wipe it with mineral oil once a year, more for vanity than function.
7. Wooden Shelving Units with Compartments
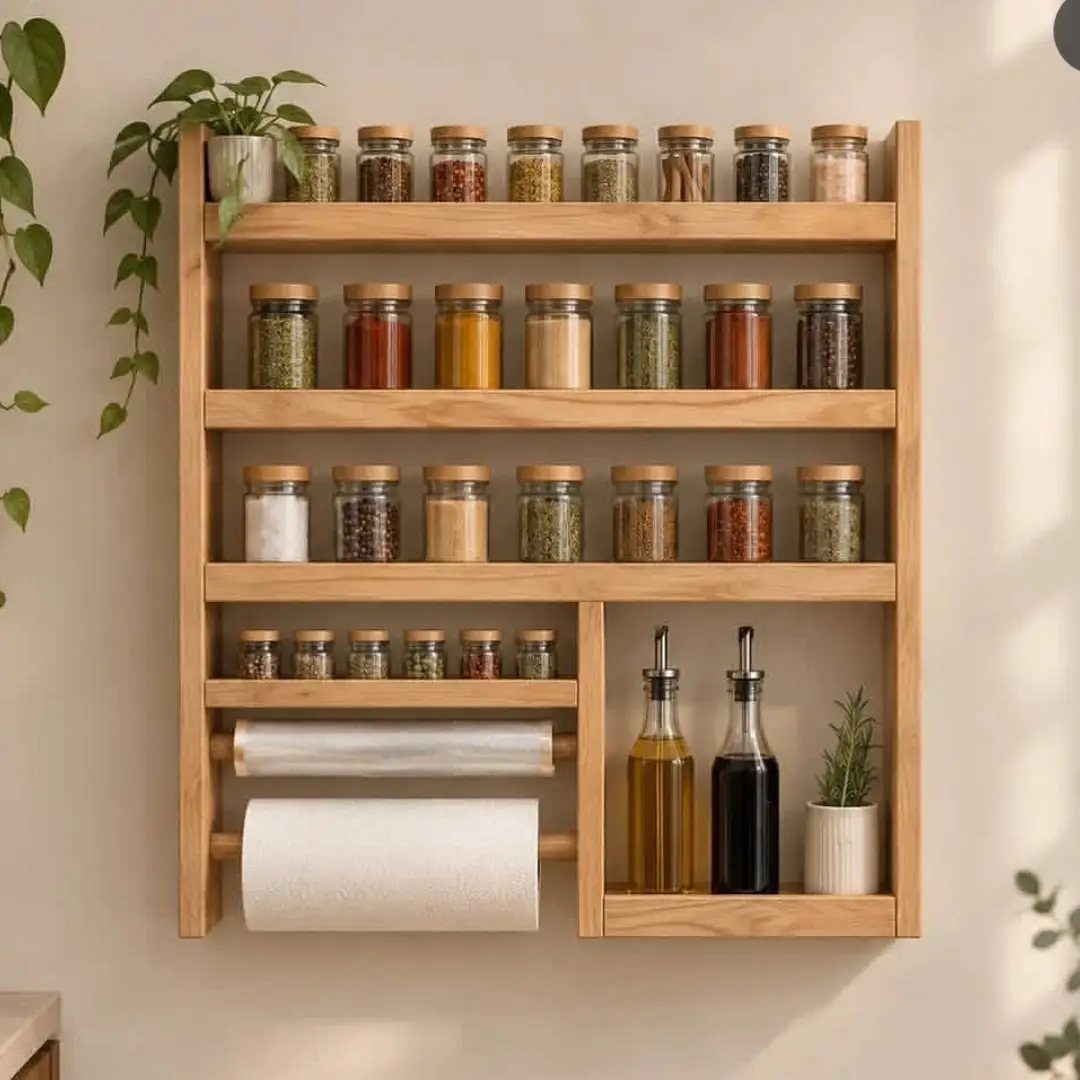
Wall-mounted wooden shelving with shallow compartments turns blank wall into cabinet space without the cabinet box. The compartments run just deep enough for spice jars and oil bottles to stand upright without small items hiding behind each other.
I mount these on studs when I can, but toggle bolts through the back panel handle the load if stud spacing misses the width.
A small lip across the front of each shelf stops jars from walking off when a door slams.
Leave one compartment open for tall items like a paper towel roll; fixed shelves at short intervals waste that vertical span.
Paint or oil the wood before loading it. Drips from oil bottles stain raw wood in a month, and that mark never lifts out.
Maximizing Cabinet Space
Your cabinet opening has 6 sides, and only the front is ever square.
I measure the interior width at the front lip, the midpoint, and the back wall before I buy anything fitted. The smallest of those three numbers is the one I build to.
A divider system that fills the full depth from front to back stops short of the door swing, or the door will not close. I leave 1 inch of clearance, sometimes 2 if the cabinet face frame protrudes.
Deep compartments slide forward on a shallow base if you need every inch; I build the base from 1/2-inch plywood and keep the dividers at 1/4 inch so the weight stays on the structure, not the joints.
I plan for the tallest thing in each zone first, then subdivide downward.
Budget-friendly Organization
Plastic bins run a few dollars each at big-box stores; wire shelf add-ons cost about the same. Neither needs tools beyond scissors and a level eye.
The bins I use most are the 6-quart shoebox size. Two of those hold six cutting boards or a stack of sheet pans with room to lift.
A larger bin costs the same, but items sink to the bottom and the weight becomes awkward to pull. Smaller containers fail when I try to consolidate later.
DIY dividers from quarter-inch plywood cost little in materials if you have a saw.
A lumber yard will cut the sheet for a dollar per cut; that is worth it for straight edges. Pine marks more easily than birch ply, but at this thickness the difference is in appearance, not strength.
DIY Storage Solutions
A cabinet above the oven is shallow and the heat cycles stress adhesives. I build dividers there as a free-standing box that lifts out, not as pieces glued to walls that will gape and crack in 2 seasons.
The box needs a base strong enough to carry across the span. I use half-inch plywood for wider spans, with a rail of the same material screwed underneath as a stiffener.
The dividers slot into grooves cut on a table saw; a circular saw with a guide fence works, but the kerf width will vary, so I set the fence for each groove and lock it before the pass.
Baking sheets stand upright in 2-inch slots, but woven baskets need 3 inches or they compress and snag. I mark the contents on the front edge of the base with a pencil; erase and rewrite when the contents change.