A porch ceiling is not a place to experiment with whatever looks good in the showroom. The right material depends on whether you will climb a ladder every eighteen months or need the thing to survive years of neglect while you focus on other projects. Wood beadboard at $2.80 per square foot matched my trim exactly, but only after I accepted the maintenance schedule that came with it.
[link-whisper-related-posts]1. Beadboard
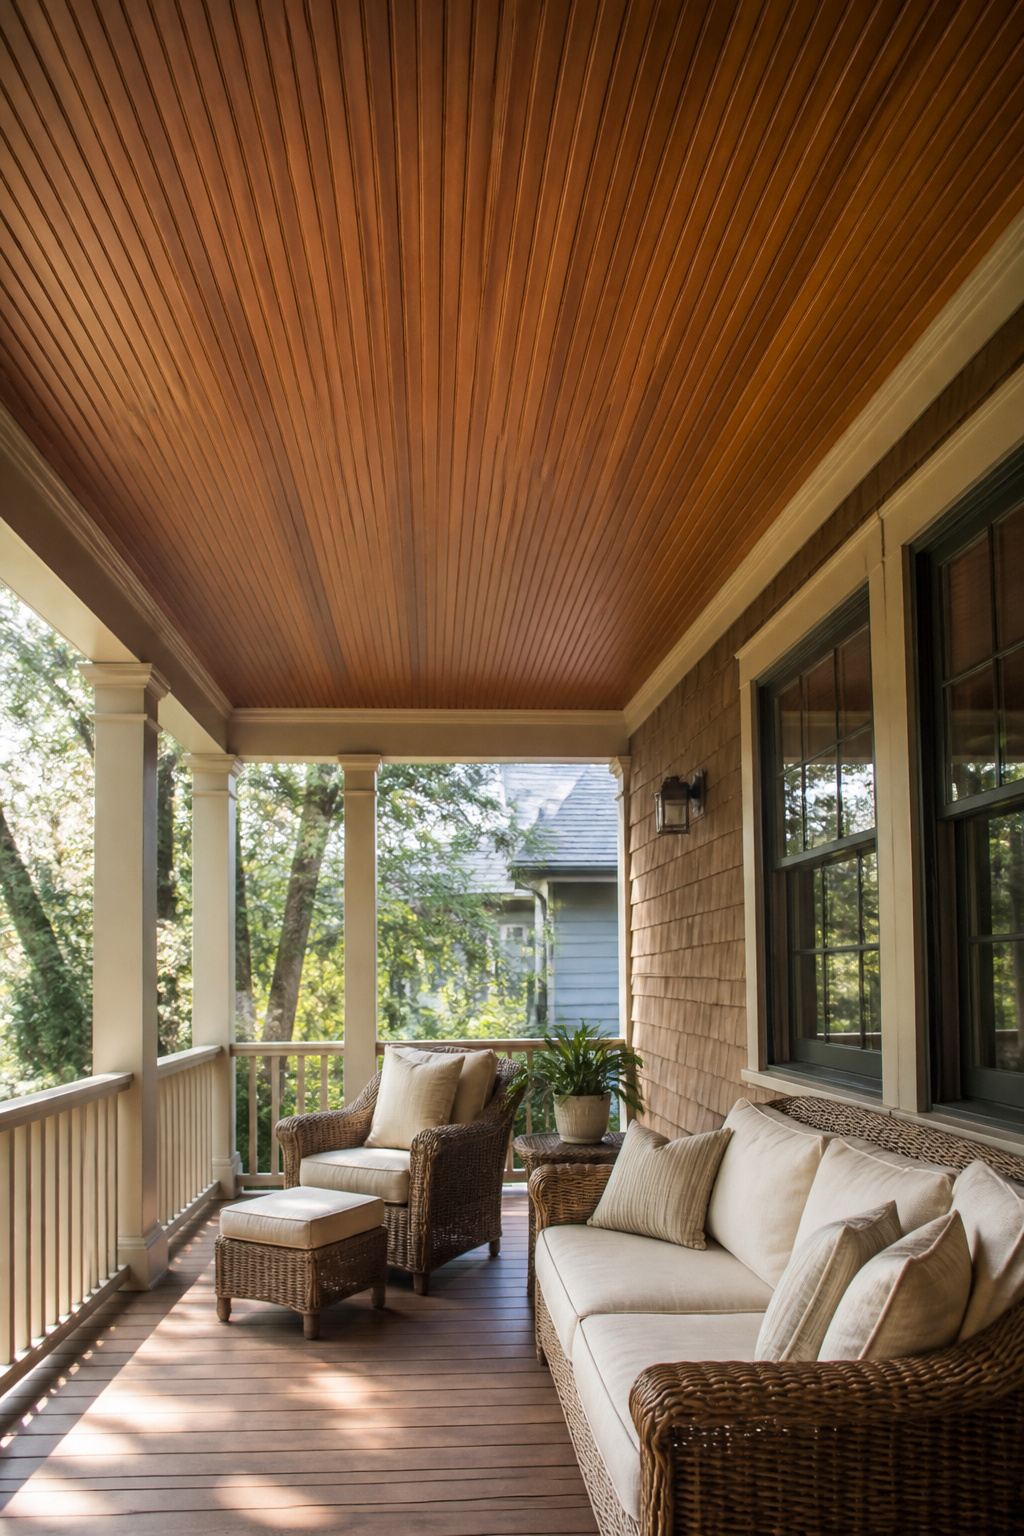
Beadboard is an essential part of cottage style, and an ideal complement to a front porch. The narrow vertical lines draw the eye upward, which makes a low porch feel taller than it actually is. That optical lift is the main reason people keep coming back to it after decades of trend cycles.
The material choice matters more than the style itself. Wood beadboard gives you the authentic grain and the ability to repaint or restain when the color shifts, but PVC beadboard survives humidity, insects, and the temperature swings that punish porch ceilings. Cellular PVC won’t rot or warp, and the tongue-and-groove systems now available make installation faster than the old nail-every-board method. The tradeoff is surface quality. One PVC line I looked at came out almost mirror-smooth; another brand cost twice as much and looked rough enough that paint might not hide the texture. If you can find the smooth stuff, PVC becomes a very strong contender.
I ended up with real wood at about $2.80 per square foot, which let me match the porch trim exactly. Would I use wood again? Only if I planned to stay in the house long enough to enjoy the maintenance schedule. For a weekend project that needs to last through years of neglect, PVC wins.

Immersive Acoustic Noise Reduction - High density polyester fiber effectively absorbs indoor echo and blocks daily noise, creating a calm, peaceful atmosphere in your home.


6 BOARDS, ABOUT 18 SQ FT: Six 94" L x 5.375" W x 0.6" thick shiplap planks per box, with a 4-5/8" exposed face once installed. Order 10% extra for cuts and waste.
2. PVC Panels
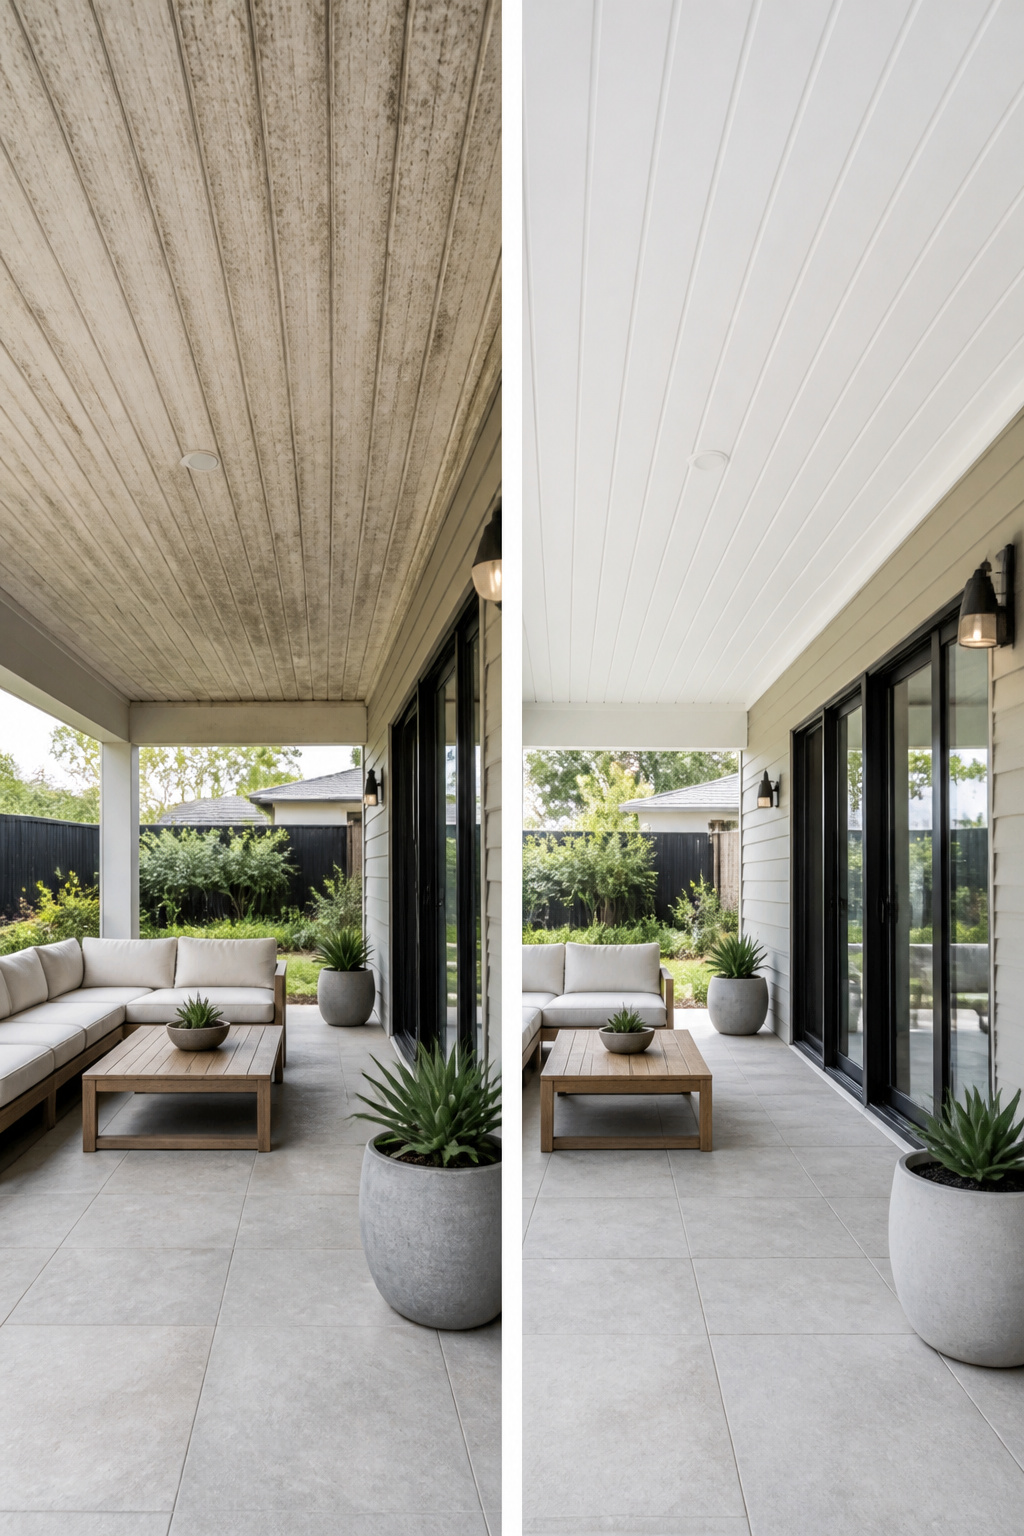
PVC panels are the closest thing to a set-it-and-forget-it porch ceiling I have found. They carry the beadboard look I wanted without the annual ladder work of repainting or the nagging worry about rot where the roof leaks a little. The material is waterproof, insect-resistant and won’t rot, warp or crack over time, which matters more than I expected once I started reading through how many ways wood fails in open air.
Price landed around $24 per panel when I was pricing this out, and I would have needed roughly fourteen of them to cover my 12-by-8 porch, tongue-and-groove edges letting each one slot into the next. That put the material cost in the same neighborhood as mid-grade wood, minus the stain and the future Saturday of touch-ups.
Two years in, "low maintenance" has meant exactly what it promised: no mildew spots to bleach, no boards pulling at the nails. The synthetic look did bother me for the first month or so. The grain pattern repeats just often enough that your eye catches it in certain light, especially early morning. I stopped noticing once the furniture went in and the ceiling became shadow instead of statement. For a weekend project on a real budget, that trade sits about right.

Dimensions: 2-1/4 in. Width x 94 in. Height x 0-5/8 in. Thickness
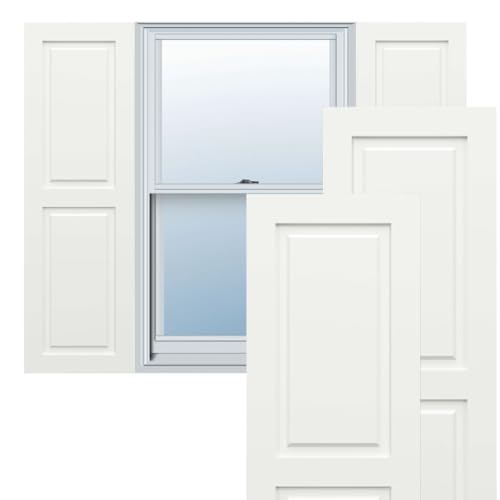
Dimensions: 15"W x 40"H (each shutter)
3. Wood Panels
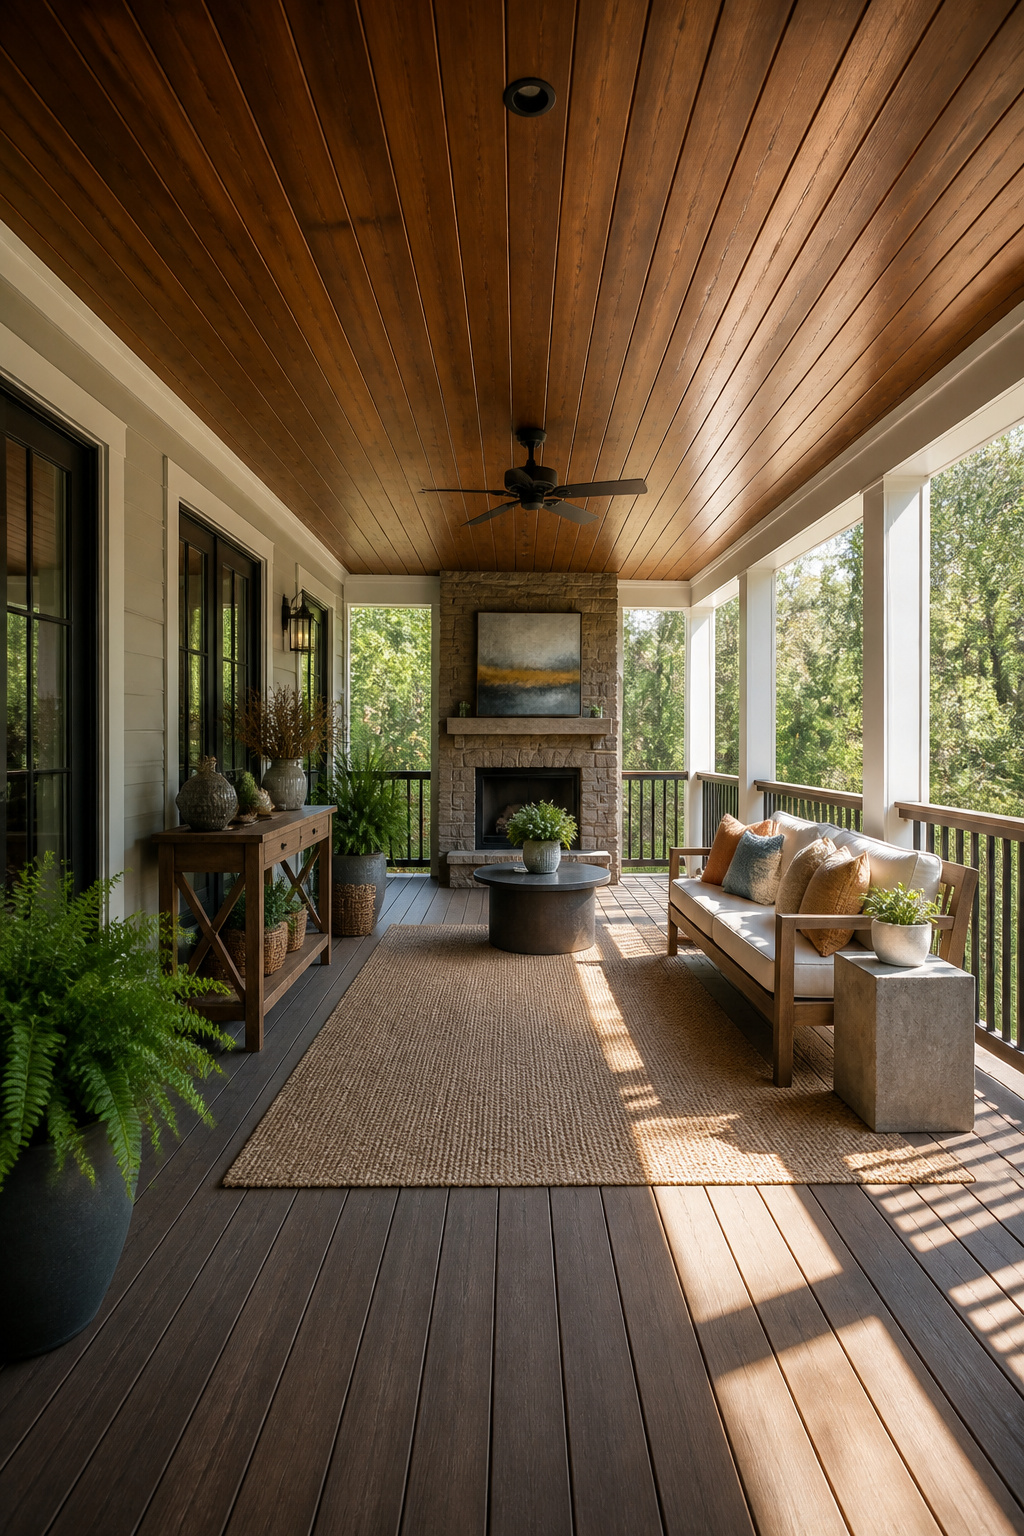
Wood is the gold standard for creating a warm, inviting, and sophisticated outdoor space, and after living with it overhead for five years, I understand why people still reach for it despite the work. I used tongue-and-groove cedar on my own porch, stained it before installation in the garage so I could work out of the weather, and sealed the underside where UV never hits. That finish has held up better than I expected, especially compared to a wood door on the same house that takes direct moisture and sun and already needs attention after a couple of years.
Pine would have cost noticeably less, and I considered it. The softness matters less on a ceiling than on a floor, but the grain doesn’t take stain evenly and the rot resistance simply isn’t there. For a space that sees humidity every morning, I would have spent the savings on earlier replacement or more frequent coats of protection.
The real number to know is the re-coating rhythm. I have spent roughly $40 to $60 per gallon on exterior stain, used about two gallons each time, and re-applied every two to three years. The year I pushed to four, the finish started to gray and lift at the edges. Catching it meant sanding only the failed spots; waiting another season would have meant the full surface again. That gap between maintenance and repair is where wood demands you show up on time or pay for catching up.

OUTDOOR ELEGANCE: Make your outdoor living spaces as comfy and classy as indoors. Our Hubbell TayMac Outdoor Ceiling Fan and Luminaire Box gives you safe and secure mounting for outdoor fans and chandeliers.

1.Modern Elegant Light Design: Amercian style low profile LED flush mount ceiling lighting fixture available for outdoor indoor areas. Such as front or back porch, patio, entryway, hallway, balcony, backyard, kitchen, washroom, bathroom, restroom, basement

☑[Multifunctional outdoor waterproof hanging light]:This [waterproof pendant light with plug] meets SJTW standard - round hard service cord. Thermoplastic structure. 110V-240V universal, weatherproof, suitable for outdoor use. PVC socket creates a tight weatherproof seal around the bulb. IP65 waterproof rating to withstand rain, snow, etc. No matter what the weather, this powerful string light is ready for anything.
4. Aluminum Panels
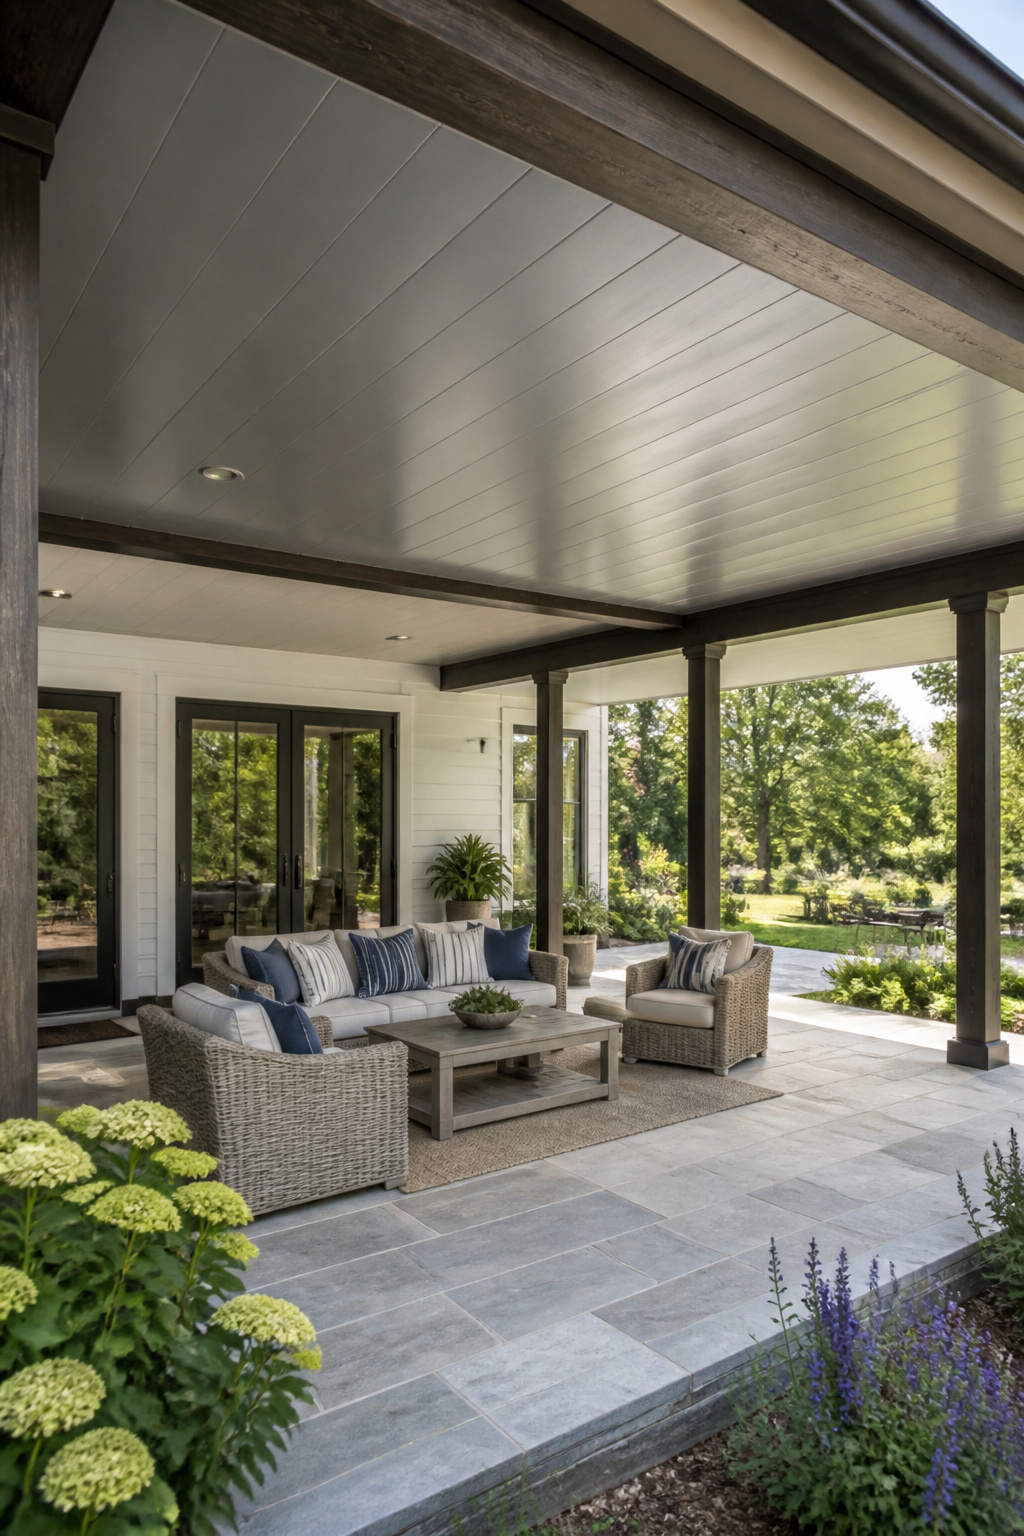
Aluminum panels shrug off rust, rot, and insects, which is why they keep showing up on porches in coastal neighborhoods where everything else corrodes. The problem is they dent if a ladder bumps them wrong, and that synthetic finish reads less "front porch rocker" and more "strip mall soffit" on the wrong house. I priced them against wood beadboard for a small covered porch last spring and the aluminum ran about 30% higher, though the gap narrows when you figure in paint and caulk cycles down the line. Whether that durability justifies the look depends on how much of your ceiling you actually see. On a low porch where you walk underneath and notice the surface, the manufactured sheen can feel cold. Up higher, tucked behind deep fascia boards with shadow to break it up, the same panels disappear into the architecture and the maintenance savings start to make sense. They dent easily, so if you are installing overhead storage or holiday hardware, plan your anchor points before the panels go up. Heavy rain also pings louder than wood, something to weigh if you use the porch for morning coffee.

【Premium Waterproof PVC】The Sunnyglade ceiling tile constructed using superior PVC, this product offers superior resistance to moisture, oil, rust, warping, and discoloration, ensuring long-lasting performance. The 5mm panels in thickness also with superior fire and heat resistance, enhancing safety while reducing space noise

PVC WALL PANELS, 7-PIECE KIT: Elevate your walls with Plastpro’s 8-ft wainscoting panel kit. The complete solution for bathrooms, kitchens, bedrooms & living rooms. Each set includes 7 reversible PVC panels plus trim. Simply snap tongue-and-groove edges together for a seamless professional finish in hours. No special tools required.

INSTALLATION-Easily lay into a standard 15/16" T-bar drop ceiling grid system or glued over any flat substrates
5. Painted Ceilings
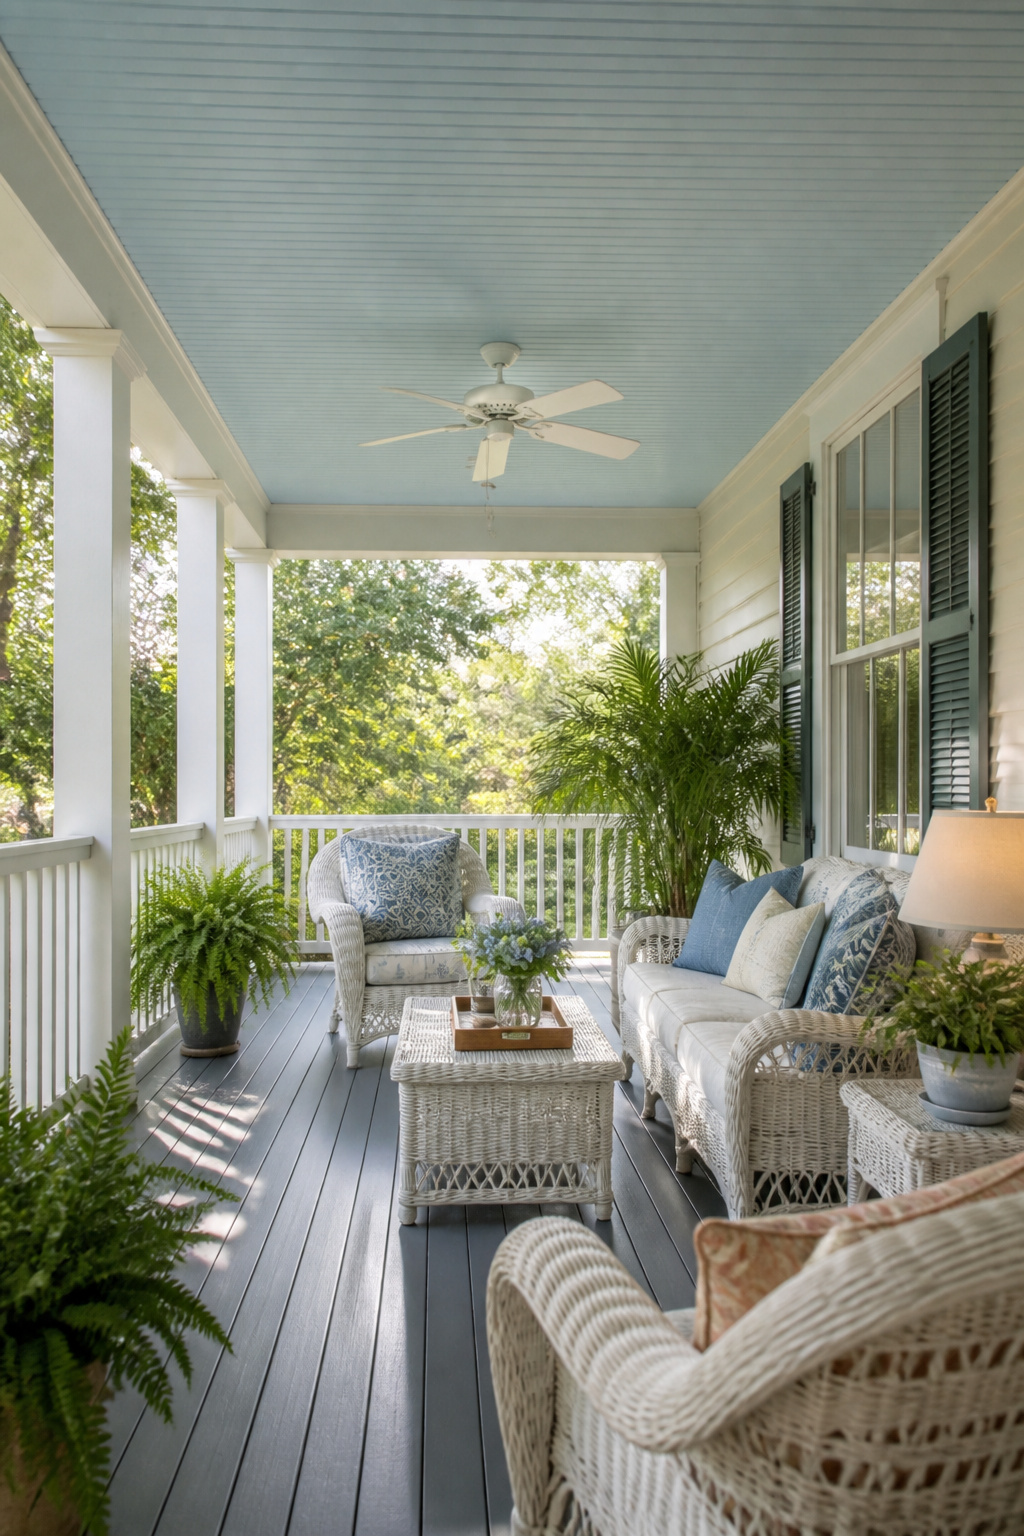
A porch ceiling is the one surface in your house where color works harder than anywhere else. Light shades bounce daylight around and keep the space airy; darker ones pull the overhead plane closer and add warmth on cool evenings. I have painted two porch ceilings, and the difference between them taught me how much the tone matters.
The first one went Haint Blue, the powdery light blue you see across low-country porches. The tradition says it wards off spirits and insects both. Mine was Sherwin-Williams in a satin finish, though I cannot recall the exact color number. It did what I wanted: the ceiling seemed to lift, and the whole porch felt a few degrees cooler in July. I never regretted it, though the paint needed touch-up every third year where humidity gathered.
For the second porch, I chose white. Not a stark builder’s white, but something softer. The flat ceiling and tall columns in that space already felt vast, and the white kept it from closing in. The contrast with the darker beams underneath gave the structure its own architecture without my adding anything. Between the two, the blue was the braver choice and the one people remember. The white was easier to live with, and easier to repaint.

Residential Use Only: Made for residential ceilings, made of soft foam not for commercial use

Residential Use Only: Made for residential ceilings, made of soft foam not for commercial use
6. Vaulted Ceilings
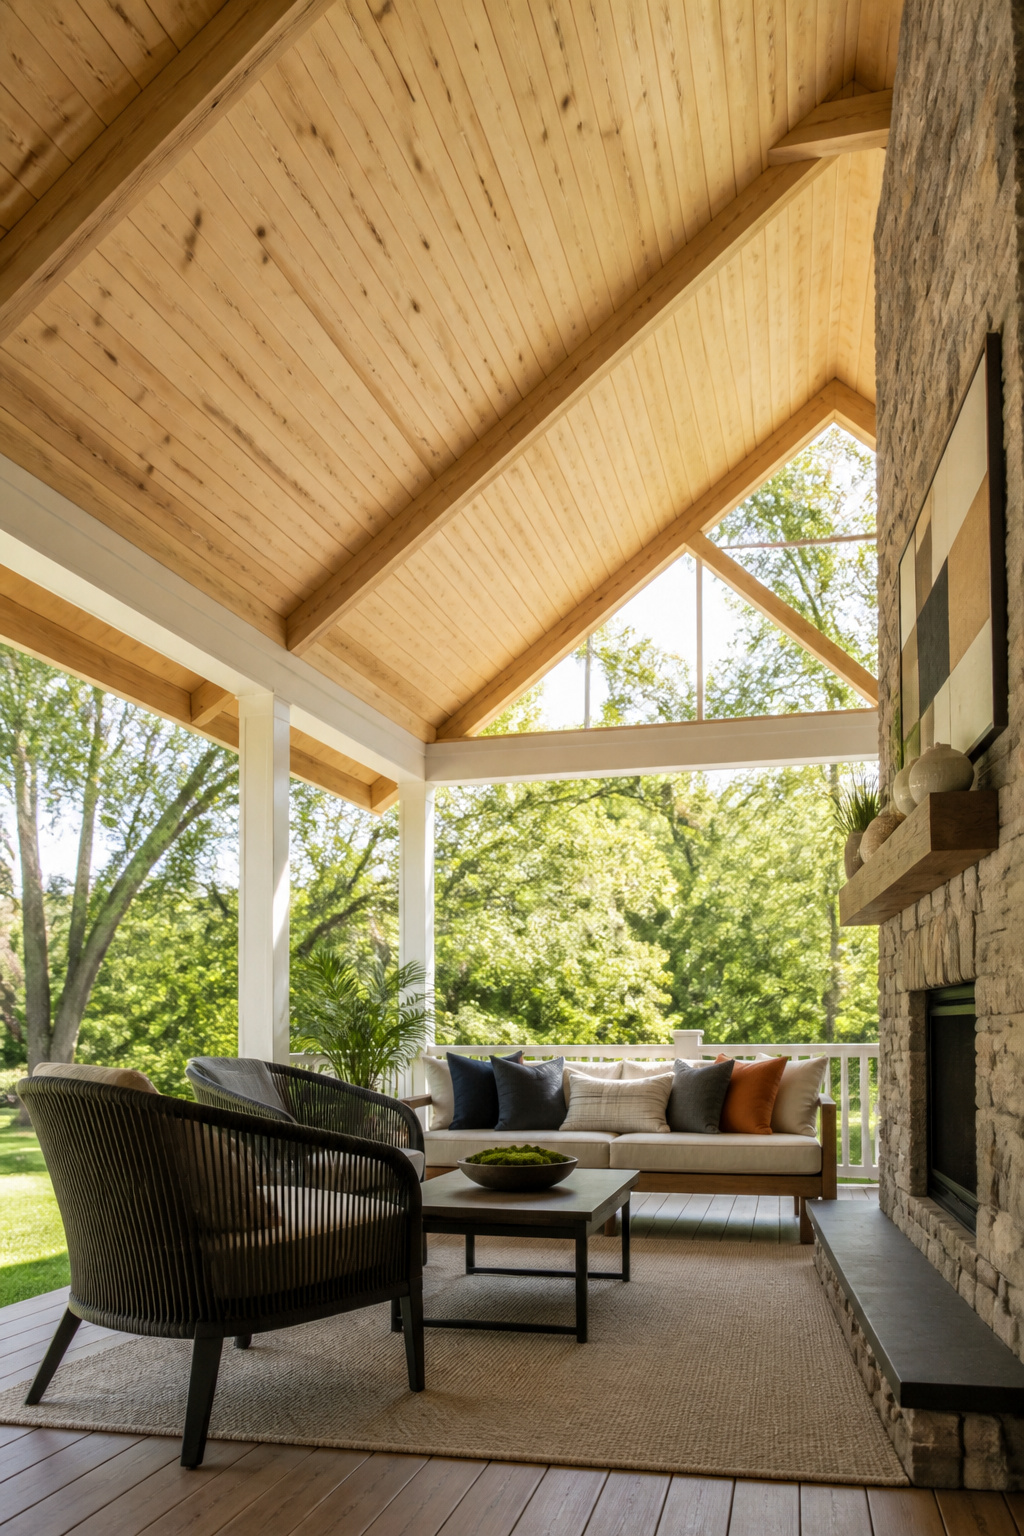
A vaulted porch ceiling opens the space in a way flat boards never quite manage. The slope draws daylight deeper under the roof and gives even a modest gable porch some vertical breathing room. Hip roofs can vault too, though the geometry gets fussier where the planes meet.
Whether you can vault an existing porch depends on what is overhead. A flat ceiling usually means a structural floor was built for the attic or second story above it; removing that means reframing the whole roof. If the porch was always open to the rafters underneath, the vault is already there, waiting for finish work. I spent a long afternoon in my own crawlspace with a flashlight, tracing where the rafters landed, before I understood which situation I was in.
The cost gap is real. Vaulting an existing flat porch means new rafters or sistering onto old ones, extending the roof plane, and re-siding the gable end you have just created. The finish carpentry is the easy part. The framing and siding work will cost double or more what a flat ceiling runs, and that assumes no surprises in the roof structure. For my money, the openness pays off only if the porch faces a view worth framing or if the house itself gains curb appeal from showing that roofline. Otherwise you are paying for air.
7. Coffered Ceilings
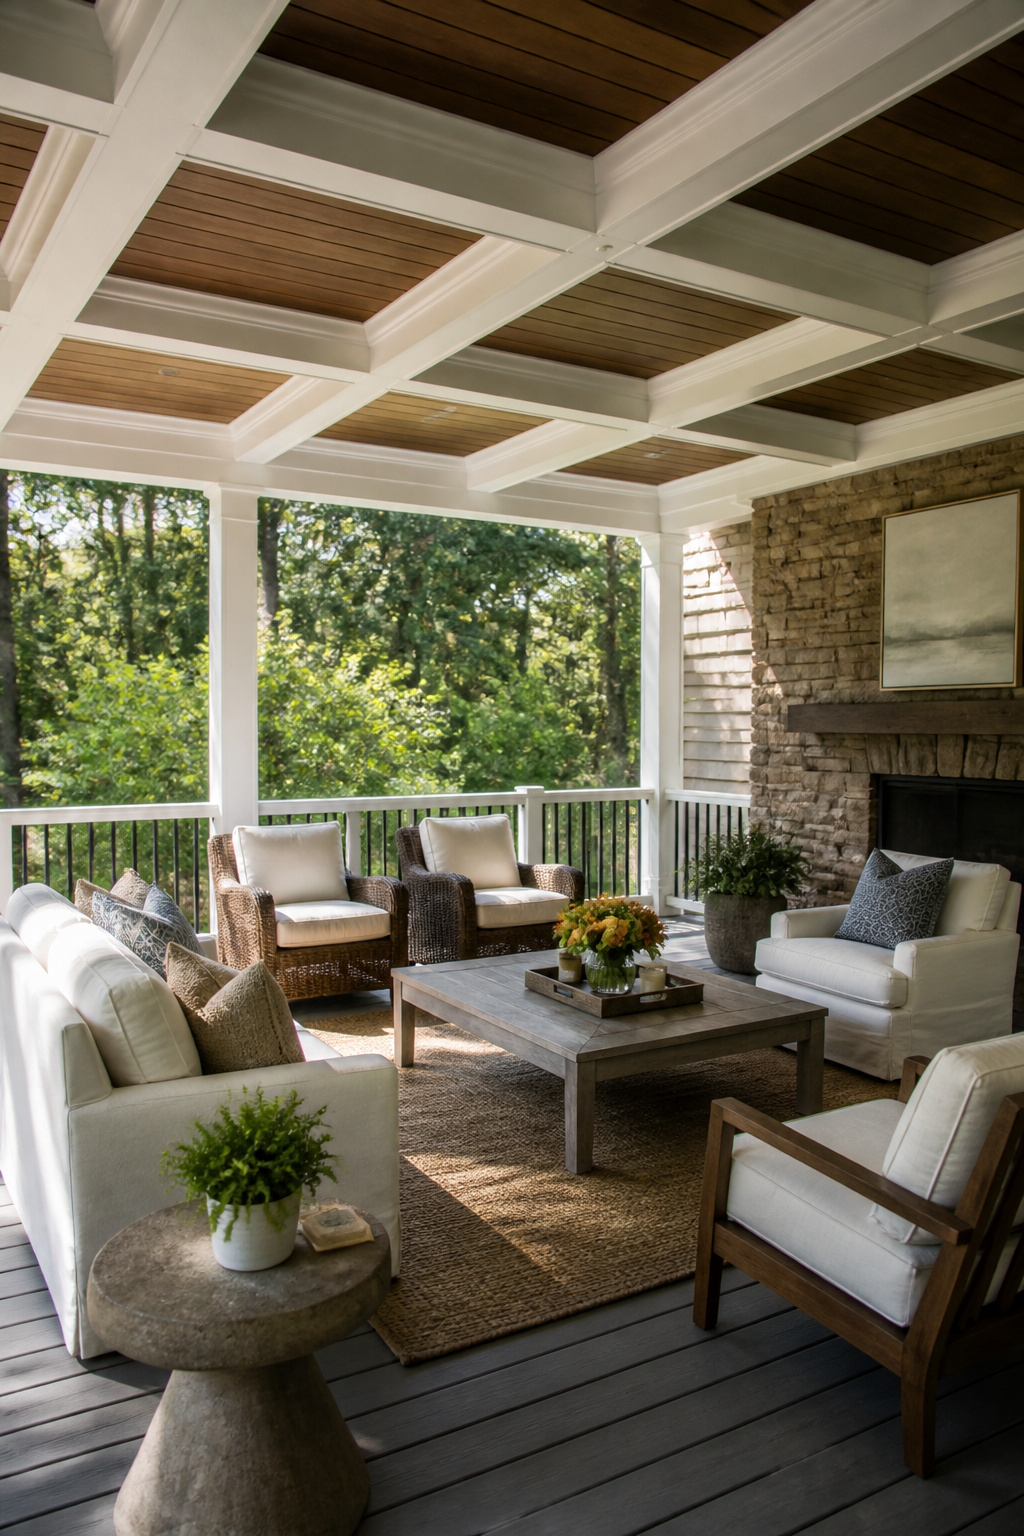
A coffered ceiling on a porch reads instantly as architecture rather than finish carpentry, and that is exactly why it works for breaking a long ceiling into zones for reading, relaxing, and entertaining. The grid of beams drops down from the surface and carves the overhead plane into smaller fields, which lets you treat each one differently: beadboard in one coffer, a plain painted finish in the next. What separates a convincing coffer from a busy one is depth. A shallow grid, maybe three or four inches down from the main ceiling, registers as trim work that happens to cross itself. Drop it eight or ten inches and the recess becomes a real shadow box that catches light differently through the day and gives the porch the weight of an actual room.
I have not installed a coffered porch ceiling myself, so I am speaking here from having priced the two paths and backed away from both for now. One route builds the grid from stock trim on site, cutting miters where the beams cross and boxing out each recess with plywood or more trim. The other drops in a kit, usually MDF or polyurethane beams that arrive as hollow shells to screw to the ceiling and finish around. For a first attempt on a porch, I would try the kit. The on-site build demands every joint be perfect in two directions at once, and outdoor humidity already works against tight miters. A kit gives you the depth and scale that sells the effect without the weekend turning into a geometry problem.

PREMIUM 14 MIL PVC MATERIAL FOR CLEAR PVC TARP: Crafted from thick transparent PVC with over 99% light transmittance and 100% waterproof performance; this heavy duty clear tarp maintains stable flexibility from -46°F to 176°F, tear‑resistant and UV‑protected for year‑round heavy‑duty outdoor use while keeping clear visibility of covered objects
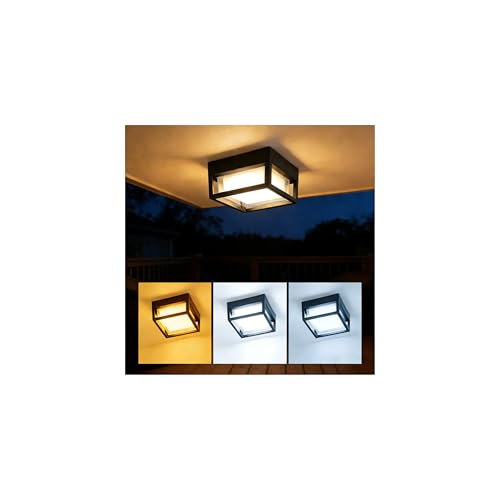
【Sleek Design】The outdoor ceiling light features a black aluminum alloy frame, giving these porch lights outdoor a blend of industrial and modern style. Its unique lighting design seamlessly complements a variety of home aesthetics, merging aesthetic appeal with practical functionality.

1.Modern Square Ceiling Lighting Design: Medium size 8.7”x8.7”x3.15” (L22xW22xH8cm) . This low profile modern led ceiling light features a sleek white finish and a modern aesthetic, making it a stylish addition to any home decor for both indoor and outdoor spaces.
8. Decorative Moldings
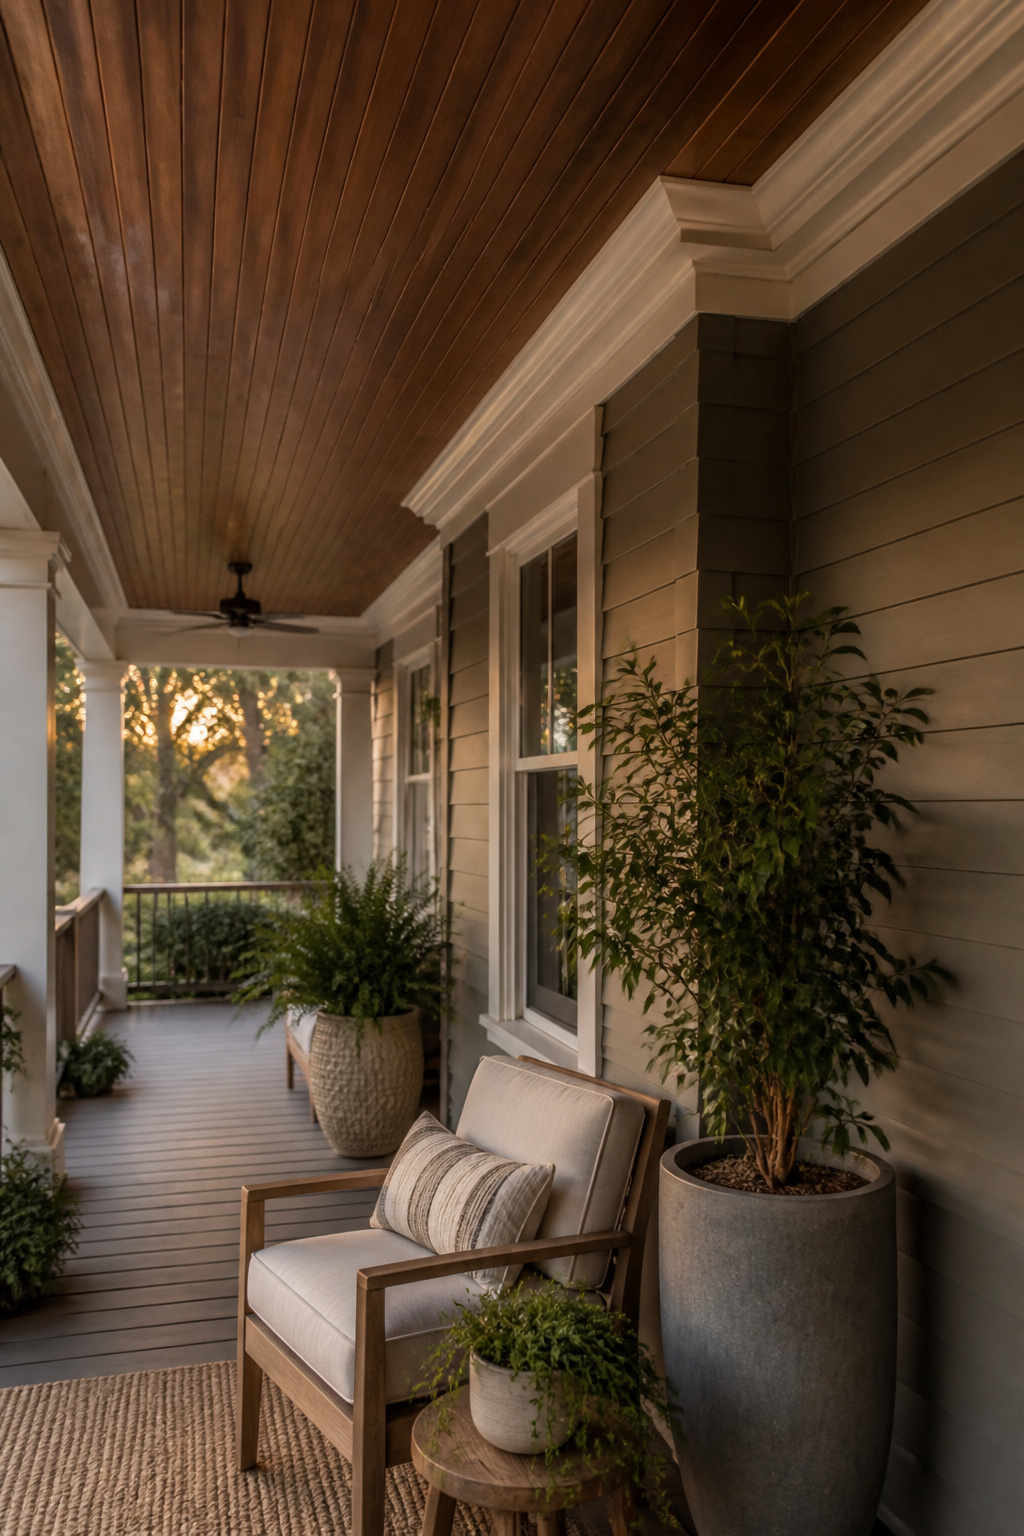
Crown molding lives where the porch ceiling meets the wall, and that junction is where most of the visual work happens. I have used three profiles for this transition: crown, bed mold, and quarter-round. Each has a place, and I have put at least one in the wrong one.
Crown carries the ceiling across to the wall with enough projection to cast a shadow line. It belongs where the ceiling plane is flat and settled, because any movement telegraphs straight into the miter. Bed mold is narrower, less assertive, better for porches where the ceiling breaks into sections or where the soffit is already busy. Quarter-round is strictly a shoe, a filler for the gap where nothing else will sit tight; I have used it to bridge uneven old siding against a new ceiling plane, and that is about its limit.
The mistake that still shows every spring came from impatience. I ran crown before the beadboard above it had finished moving through its first humid season. By March the boards had expanded enough to open a consistent gap at the top of the crown, visible from the swing below. The fix was pulling it all, letting the ceiling settle through another cycle, then re-cutting everything. Bed mold would have forgiven the movement. Crown does not.

High-Quality PVC Material - Made from high-grade PVC, Art3d panels combining the benefits of being sturdy and lightweight for easy installation and long-time use. Also they are waterproof and paintable, allowing for customization to match any interior design

High-Quality PVC Material - Made from high-grade PVC, Art3d panels combining the benefits of being sturdy and lightweight for easy installation and long-time use. Also they are waterproof and paintable, allowing for customization to match any interior design

INSTALLATION-Easily lay into a standard 15/16" T-bar drop ceiling grid system or glued over any flat substrates
Installation What I Learned
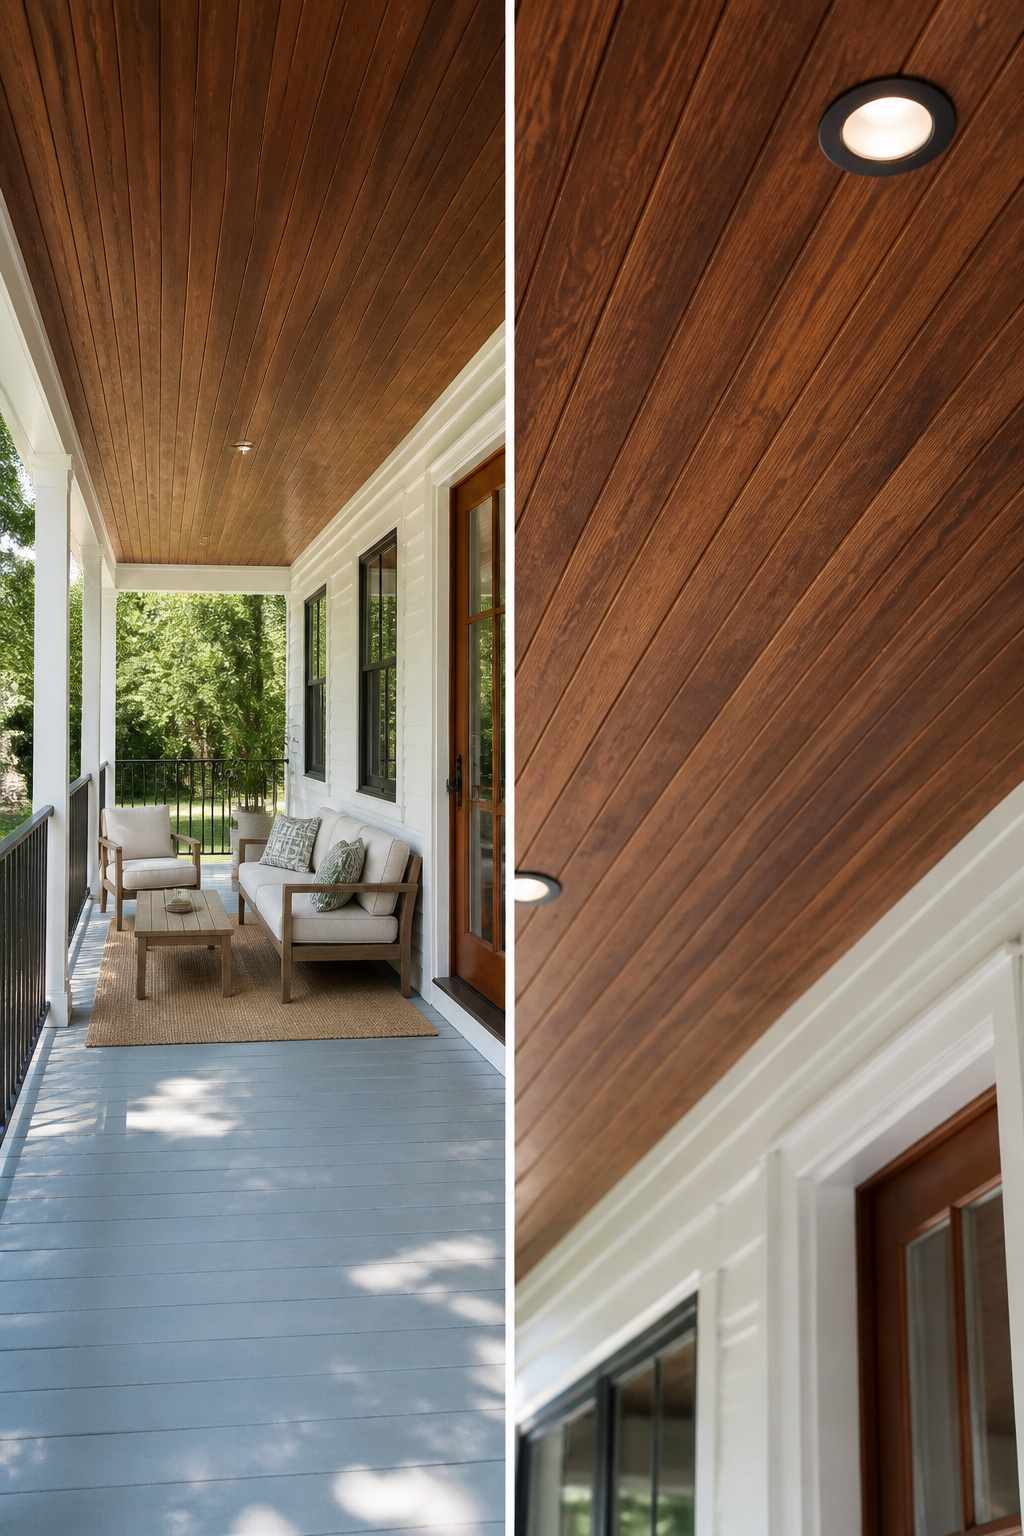
Ventilation is the part every tutorial mentions in passing and nobody explains until you have a brown stain spreading above your rocking chair. I forgot the vent. The porch was enclosed on three sides, I ran beadboard straight across, and two seasons later the moisture had nowhere to go. The stain followed the path of least resistance: right down the center seam. Cutting a ridge vent after the fact meant pulling down finished boards and starting over.
Joist spacing was the second lesson. Standard spacing looked fine on paper, but beadboard spanning that distance without intermediate blocking sagged between every joist. I lived with the gentle waves for three years before I could face redoing it. For anything tongue-and-groove, the support underneath matters more than the material itself.
The nail gun taught me the last one. PVC panels came with instructions about hand-nailing, which I ignored. The gun set too deep blew clean through the face on the first shot, and the brittle edge cracked on the second. I finished that ceiling with a hammer and a bruised thumb, working twice as slow in ninety-degree heat. Some materials simply will not forgive impatience.

EXCEPTIONAL ACOUSTIC PERFORMANCE - Our wall wood panels, with a high 1750gsm felt density, significantly outperform standard 1350gsm options in sound absorption and noise...
Maintenance Compared
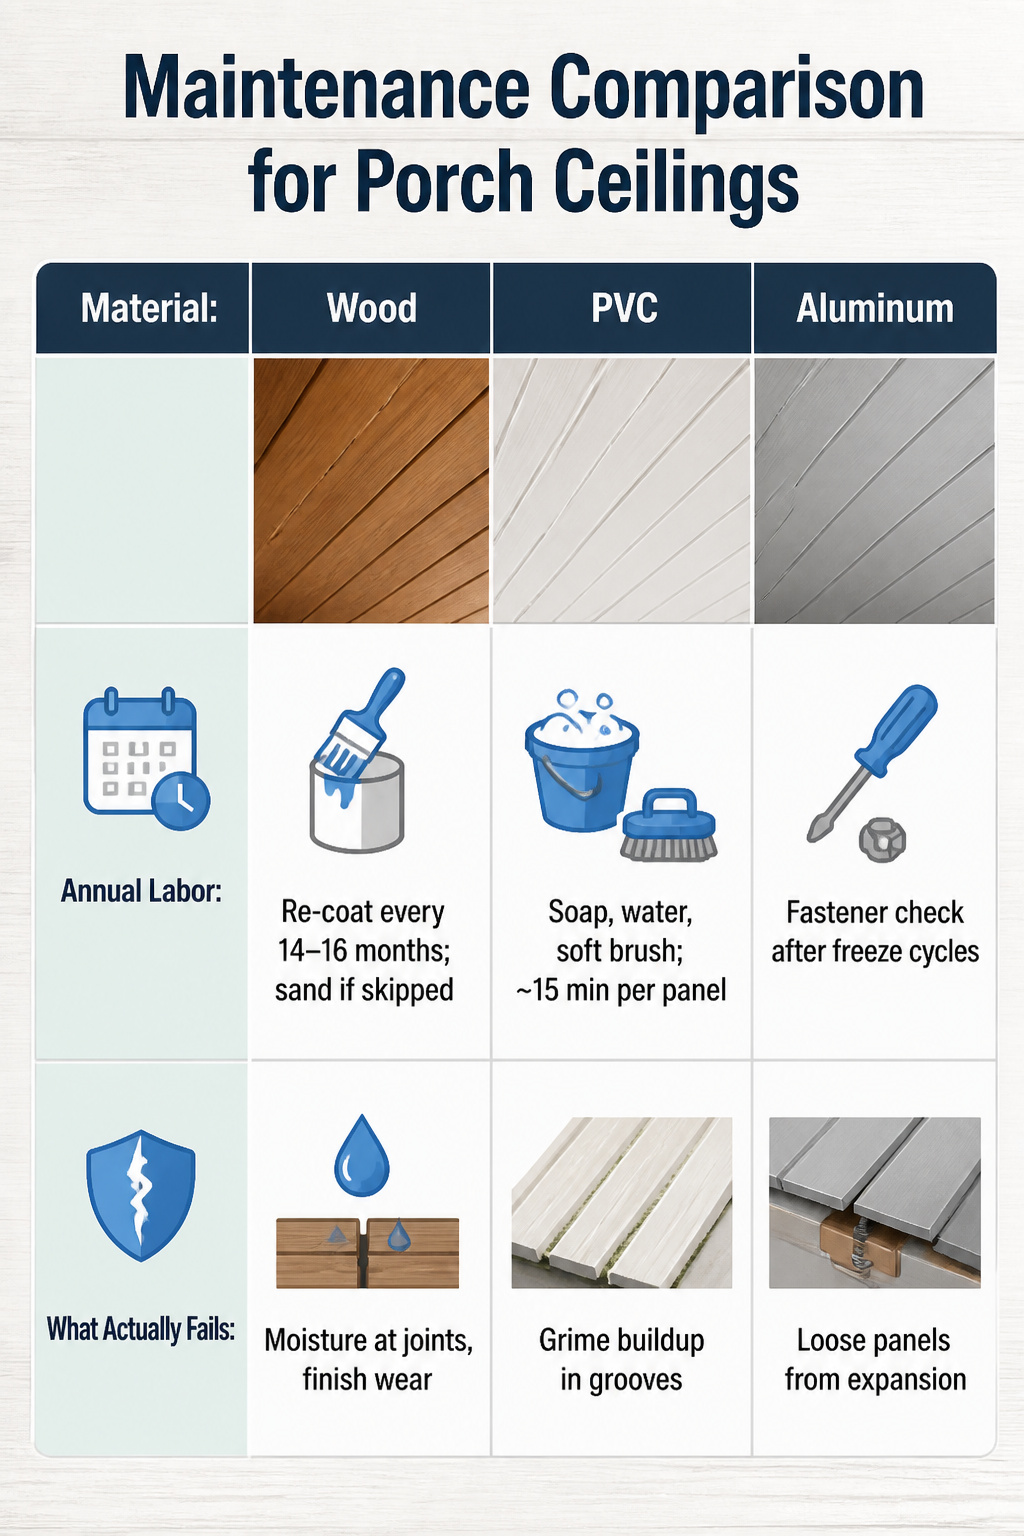
Wood demands the most attention of the three. On my porch, re-coating happened every fourteen to sixteen months to keep the grain from graying and lifting at the edges. That cycle slips fast in full sun, and skipping a year meant sanding back to bare timber before any new finish would take.
PVC washes clean with soap and water, though the annual part matters more than the soap. Pollen and mildew collect in the grooves, so a soft brush and fifteen minutes of actual scrubbing per panel keeps it from looking like a neglected shower stall after two seasons.
Aluminum needed nothing beyond checking the fasteners after a hard winter. The finish held, and the material itself does not rot or hold grime.
| Material | Annual Labor | What Actually Fails |
|---|---|---|
| Wood | Re-coat every 14–16 months; sand if skipped | Moisture at joints, finish wear |
| PVC | Soap, water, soft brush; ~15 min per panel | Grime buildup in grooves |
| Aluminum | Fastener check after freeze cycles | Loose panels from expansion |
Design Styles That Work
Aluminum panels on a mid-century ranch read as period-correct because the era already embraced thin, machine-finished materials. The matte silver sits quietly against brick and horizontal siding; it does not pretend to be anything older than it is. I saw a 1920s bungalow get the same treatment once, and the clash was immediate. The crisp aluminum lines fought the depth of the original trim, the weight of the porch columns. We pulled it and put up beadboard instead, narrow slats with a bead every six inches, and the porch finally looked like it belonged to the house.
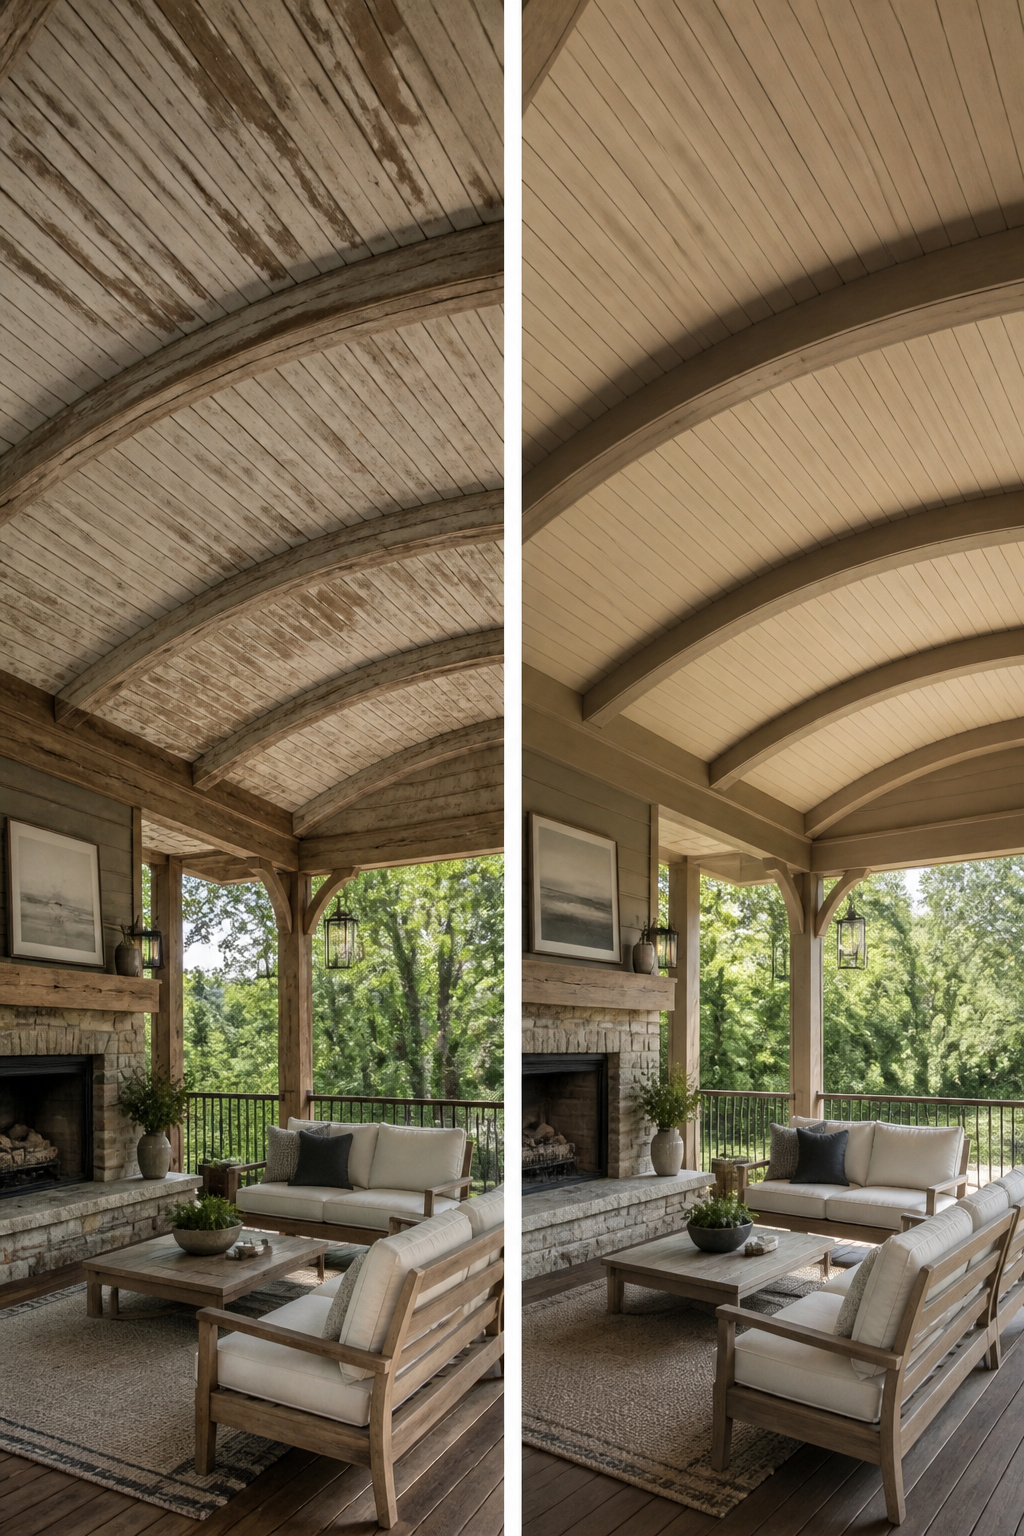
Rustic builds want the opposite problem solved: too much refinement reads as costume. Tongue-and-groove planking with a weathered finish, maybe exposed beams overhead, gives the texture that word actually points to. A barrel vault in beadboard can pull off rustic elegance because the slender slats bend to the curve without looking forced; the white trim against wood ceiling in that Tennessee job kept it from sliding into lodge territory.
Forcing modern materials on a traditional frame is the mistake that survives longest. You will live with the regret every morning you walk out for coffee. Match the material to the house’s existing language first, let the era of the structure make the case, and the ceiling stops being a renovation and starts being architecture.
Frequently Asked Questions
What materials are best for porch ceiling installations?
Tongue-and-groove wood, PVC, and vinyl panels are the strongest choices. Wood gives you authentic grain and the option to repaint, but PVC survives humidity, insects, and temperature swings without rotting or warping. Cellular PVC tongue-and-groove systems also install faster than traditional board-by-board nailing.
How can I enhance my porch ceiling design?
Add decorative materials like wood paneling or beadboard, install stylish lighting fixtures, and choose a cohesive color scheme. For lighting, consider recessed cans for a sleek look, pendant lights for style, or string lights for a cozy atmosphere; just make sure any fixture is weather-resistant.
What are popular materials for porch ceilings?
Wood, vinyl, and aluminum remain the most common picks. Wood offers warmth and authenticity but demands regular maintenance. Vinyl and PVC deliver a similar visual effect with far less upkeep. Aluminum resists rust, rot, and insects, which makes it especially popular in coastal neighborhoods where corrosion is a constant threat.
How do you install a tongue and groove ceiling?
Measure and cut each board to fit your space, then secure them to the ceiling joists with nails or screws. The key is making sure every board interlocks properly so the finished surface stays seamless. For PVC panels, hand-nail rather than using a gun set too deep, or the brittle face will crack.