
Installing a pair of French doors correctly takes most of a weekend, roughly $1,500 to $3,500 in materials for a standard pre-hung unit, and enough patience to shim twice before driving a single screw. Most people hang the frame before they check whether both trimmers lean the same direction, and a frame set in a cross-legged opening will never seal, no matter how expensive the weatherstripping.
That 1/8-inch tolerance for plumb on both sides is the detail that separates a door that swings smooth from one that leaks air and water for as long as you own the house.
[link-whisper-related-posts]1. Prepare the Opening
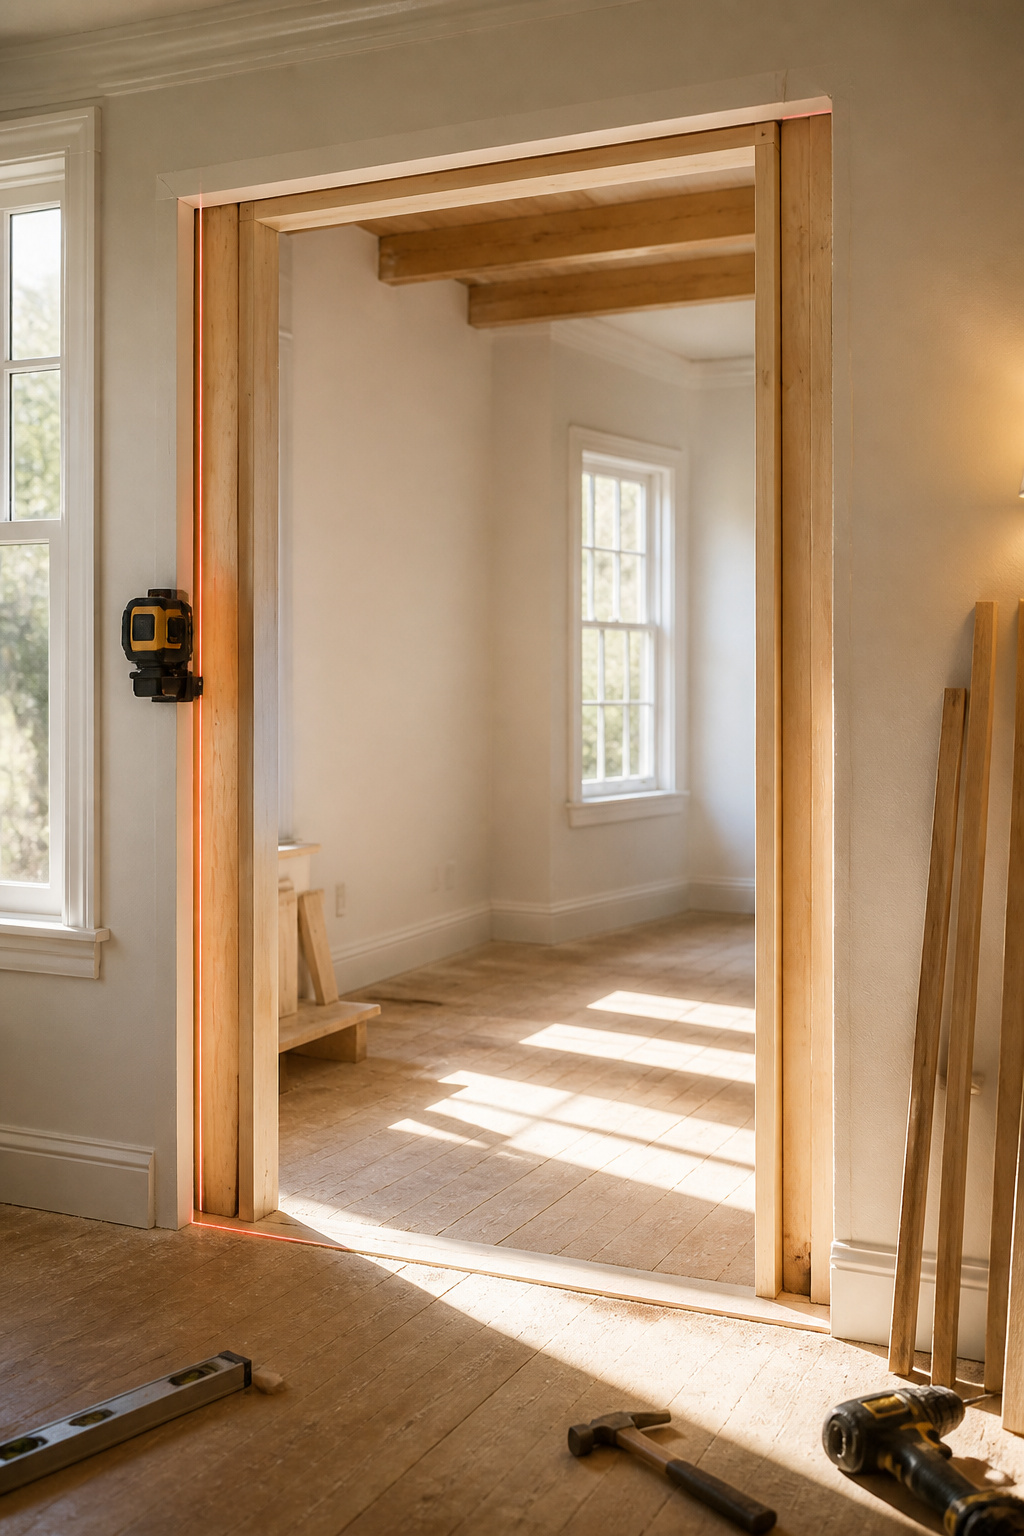
The rough opening needs to be 3/4 inch to 1 inch wider than the net frame size of the door, with an extra 1/2 inch in height. That margin is what lets shims and fasteners do their job, so resist the temptation to cut it close.
Level and square are straightforward enough; plumb is where openings go wrong. Both walls flanking the opening have to be equally plumb and sitting in the same geometric plane. A wall leaning 1/8 inch out on one side needs to lean 1/8 inch out on the other. If one side is plumb and the other isn’t, the opening twists cross-legged, and the sash won’t compress the weatherstripping evenly. Anything past 1/8 inch of cross-leggedness and you’re looking at drafts and water finding their way in.
A laser level set at floor level and aimed up the trimmer will show exactly how far out of plumb each side sits. Without one, crisscrossed strings stretched corner to corner will do it. They should touch lightly at the center; a gap means the framing needs adjustment before the door ever comes near the opening.
Check for settling, bowed headers, or any framing that has shifted before you commit. Fixing it now is fifteen minutes with a saw and some screws. Fixing it after the door is in costs you the door.

Item Weight: 0.1 lb

Item Weight: 0.1 lb

Door hinge shims size:Includes 12 pcs door hinge shims, measuring 3.5 inches in length, 1.1 inches in width, and 0.03 inches in thickness, which can be trimmed according to your door's needs. At the same time, a sufficient amount of foam double-sided tape is equipped, which helps to increase the thickness of the door hinge shims.
2. Measure for the Door
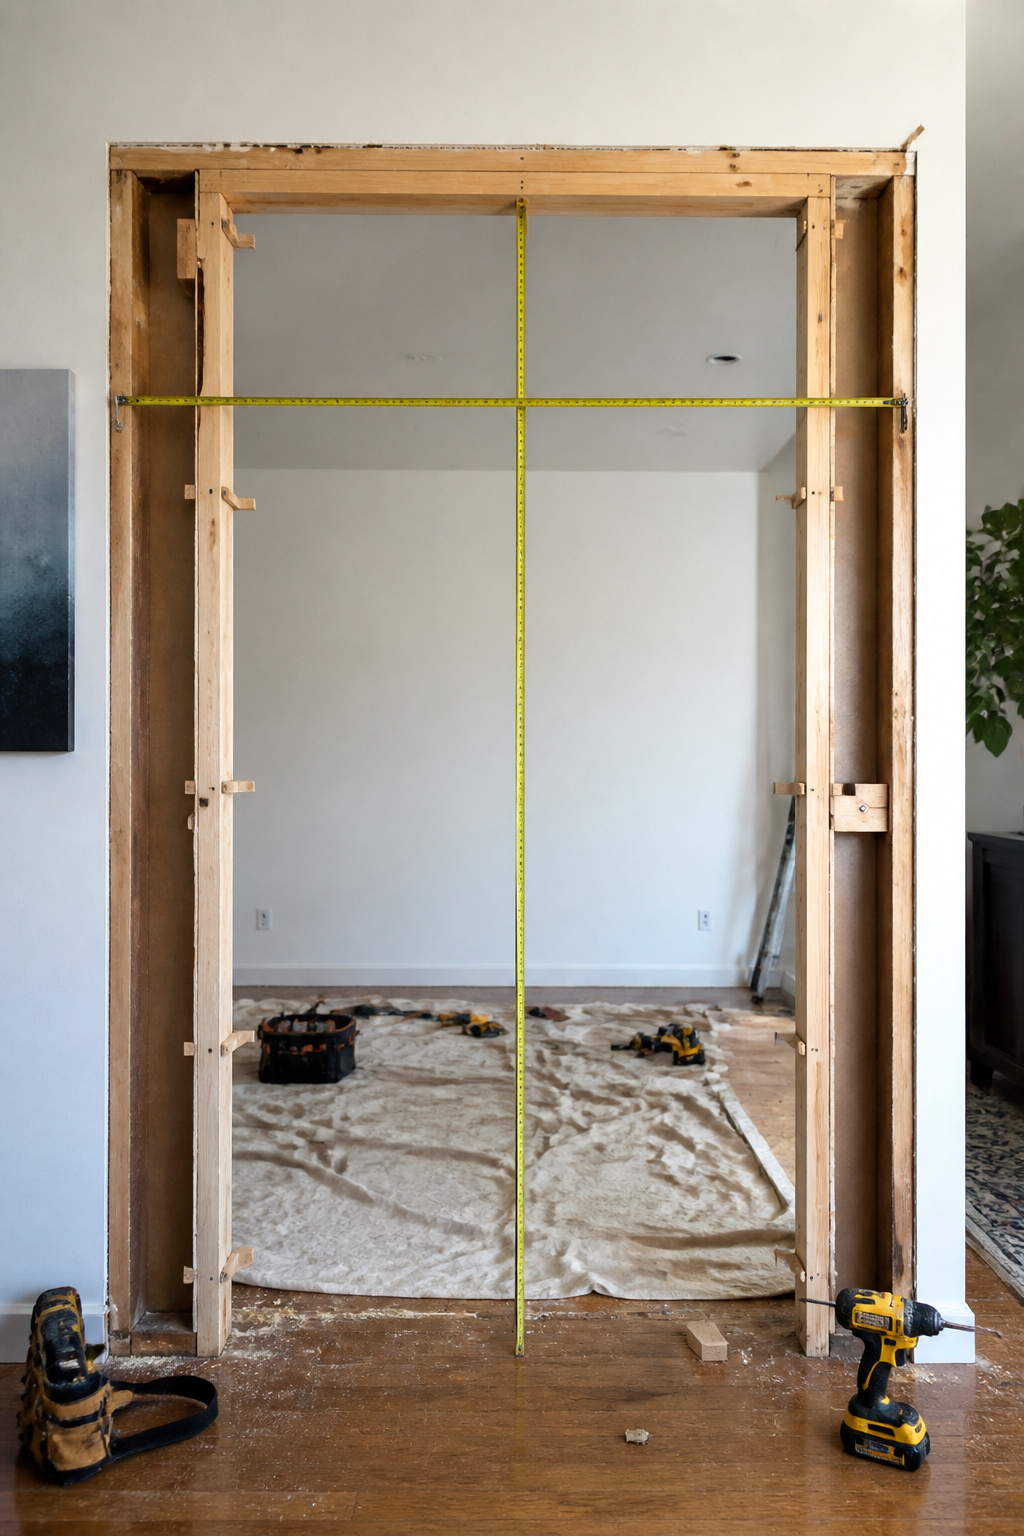
A pre-hung French door unit lists its dimensions as the actual door size, not the hole it needs. The rough opening has to be 20 mm wider and 30 mm taller than those numbers to leave room for squaring, shimming, and the inevitable wall that isn’t quite plumb.
Measure the existing opening at three points for both width and height: left, center, and right across, then at the jambs and the center vertically. The smallest measurement in each direction is your working number, because the frame has to fit the tightest spot, not the average.
What caught me out once was assuming the header was level. It wasn’t, and the gap under one jamb ended up almost 40 mm. Now I check the header with a long level before I order anything. If the opening is out of square by more than about 6 mm across the width, you are either doing significant trim work afterward or fixing the framing first.

FULL-LENGTH MAGNETIC CLOSURE: Upgraded magnetic screen door features continuous full-length magnets for quick automatic closing and a secure fit to help reduce gaps. Ideal...
3. Install the Sill Pan and Flashing
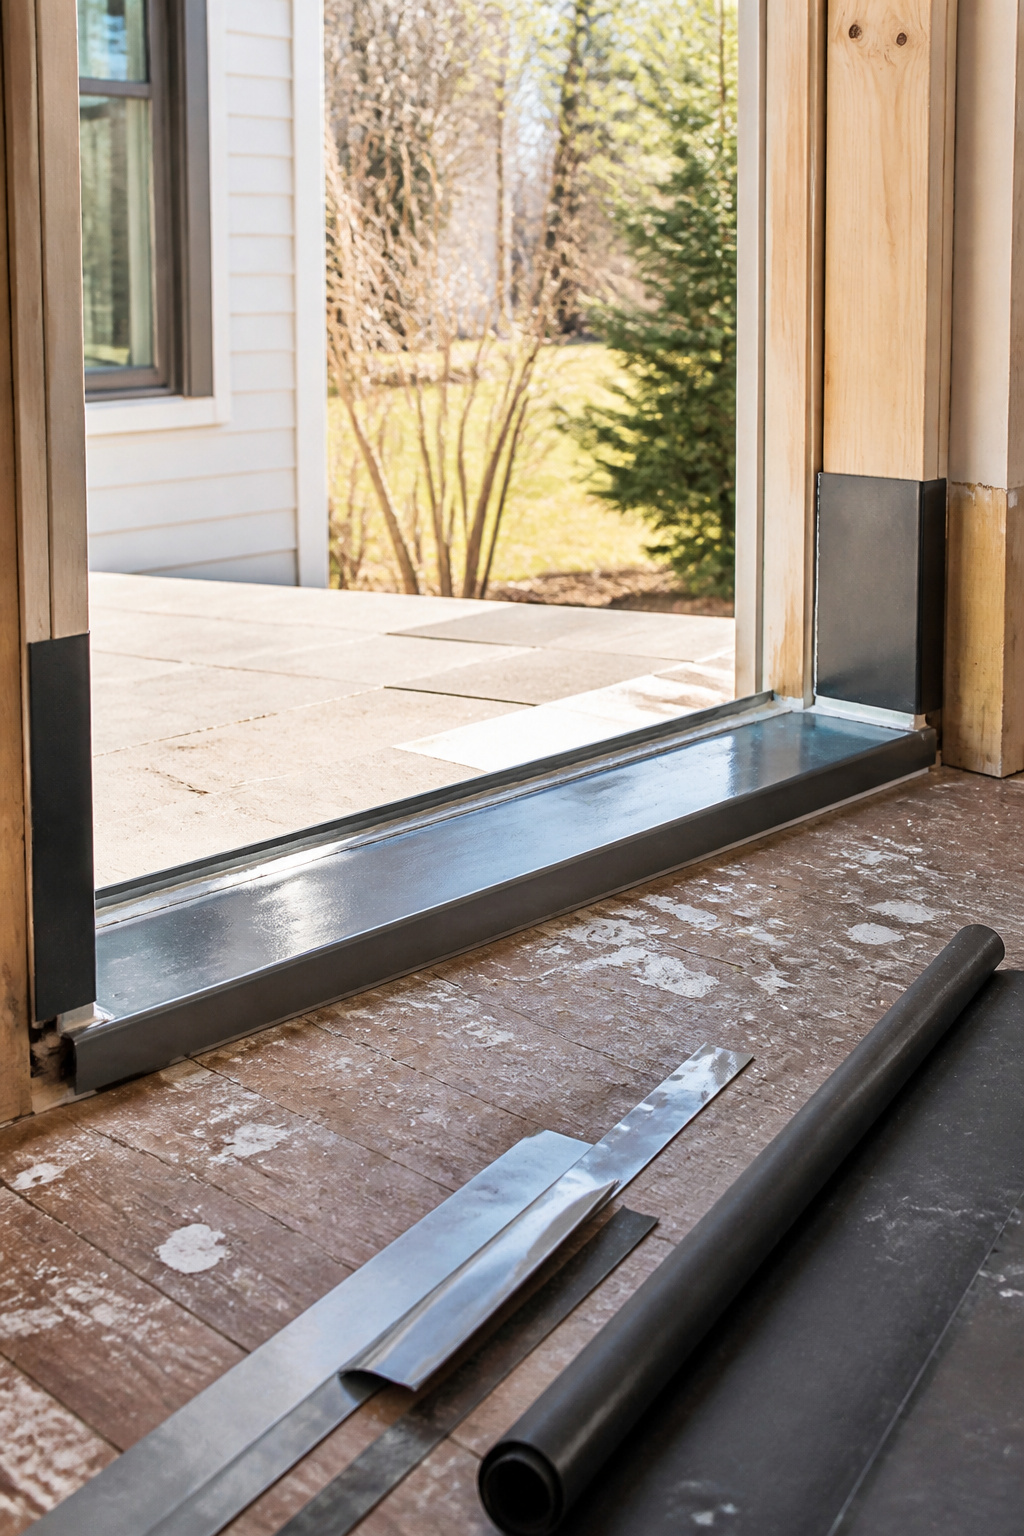
A door pan is the insurance policy you never want to cash. Metal, plastic, or flexible membrane: the material matters less than the seal, though each has its own headaches. Metal pans arrive sturdy and then some flooring crew steps on the inside vertical lip and flattens it. Plastic pans need their factory adhesive, and when that little tube wanders off, people grab silicone caulk instead. That guarantees a leak. Membrane pans go faster, fit every time, and cost less, but they need compatible corners and sealants from the same manufacturer or the plasticized chemistry fails.
Polyurethane sealant is the one to use, never silicone, whether you are bedding a metal pan to the subfloor or sealing a membrane system. Two continuous 5/8-inch beads run across the pan and six inches up both trimmers, one toward the front of the rough opening and one toward the rear. The pan should fit snug to each trimmer and seal completely to the subfloor. Skip this, and water does not pour over the sill; it sneaks underneath, rotting the subfloor you cannot see until the damage is extensive. Side flashings go on after the pan, minimum nine inches wide, peel-and-stick preferred over nail-on. If a deck will meet the door, counterflash the pan with deck flashing before the door ever gets set.
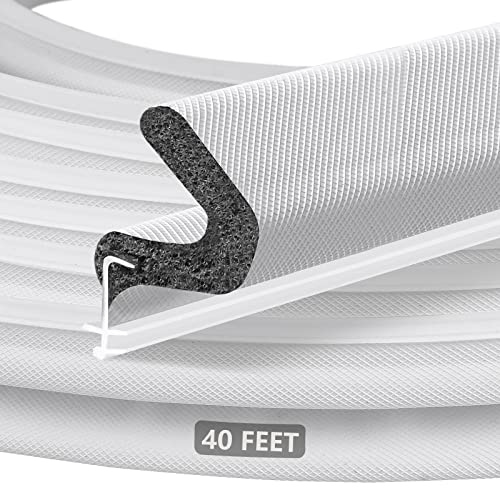
Press-In Kerf Fit: This weather stripping door seal fits 1/8" kerf slots and 1/4"–1/2" closed door gaps. For pre-cut kerf frames only; not self-adhesive. Measure before ordering

Convenient Package: this package includes a generous quantity of 10 door corner seals, providing you with more than enough to meet your needs; Whether you want to seal multiple doors in your home or other places, this package offers value; The bulging parts of the seal provide better sealing
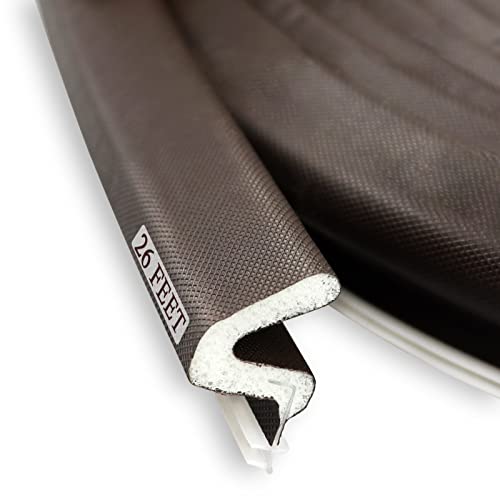
[Quality Material]- This door weather stripping is made of high density and resilience PU foam, tear resistant PE cover film and rigid PVC flange, very easily applied to kerf door frame and not easy to fall off. The exterior door weather stripping is durable and long-lasting with its great compression and impact resistance performance.
4. Set the Door Frame
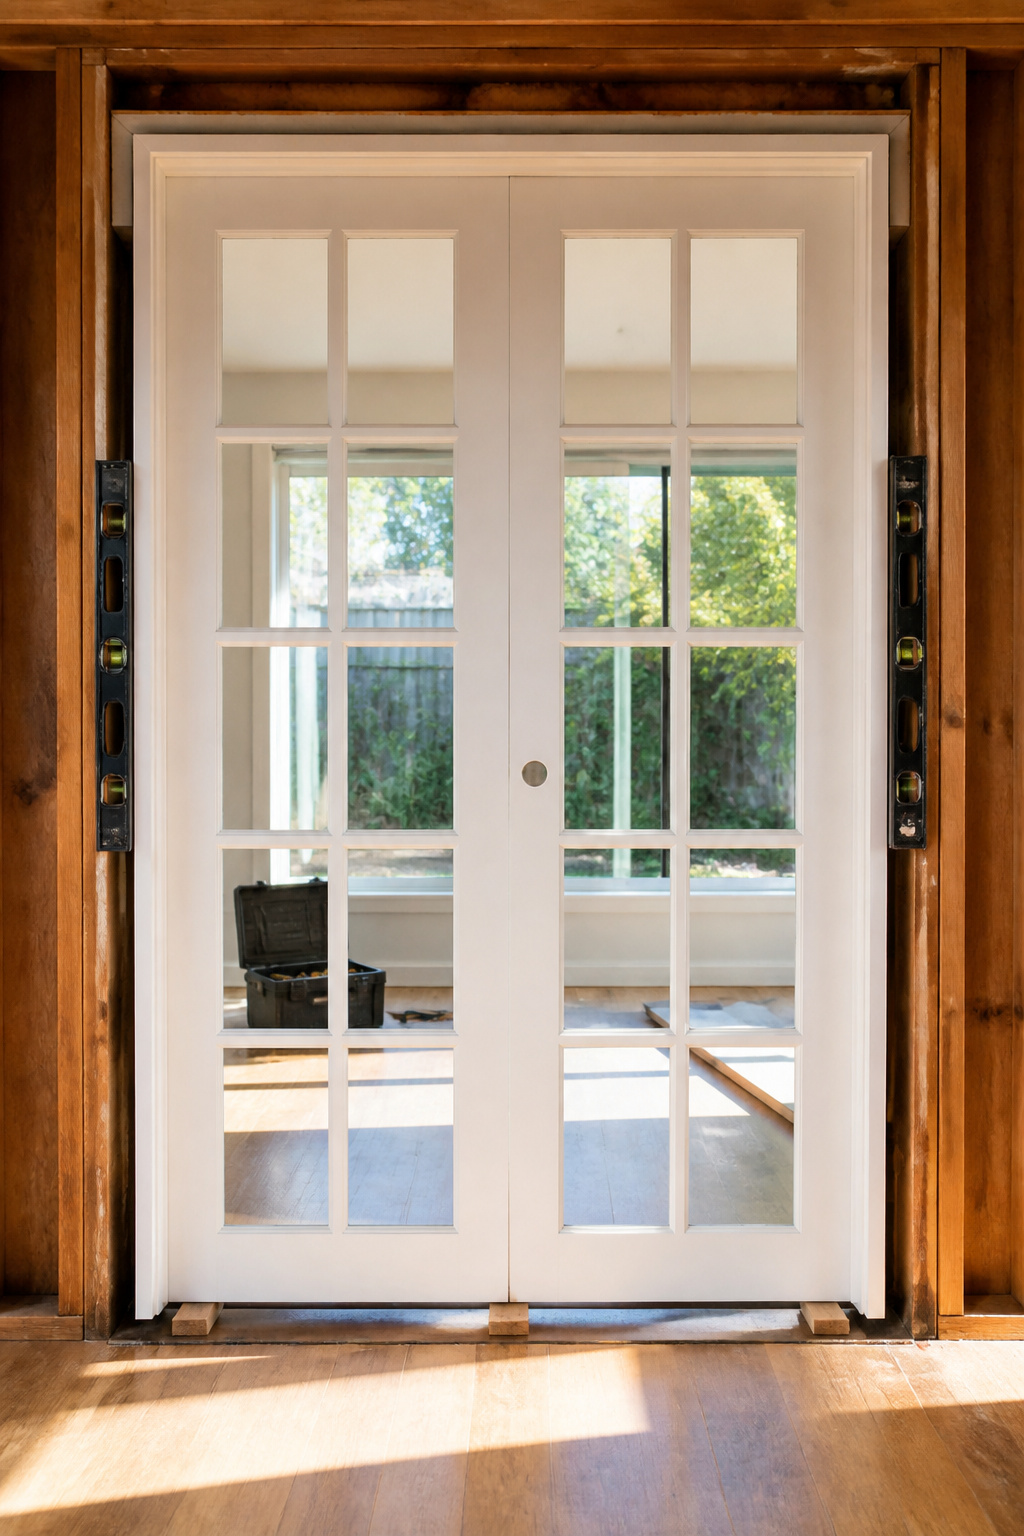
Centering the frame in the opening takes patience, but the real work starts once it looks right. A four-foot level held against the face of the jamb tells you whether the unit is plumb. If it is not, the doors will swing on their own or grind against the stop.
Shim placement matters more than most people expect. Drive shims about six inches below the top of the unit and six inches above the sill, plus both above and below the lockset. These spots carry the load without bowing the jamb, which a straightedge will catch if you push the shims too far. Check the head gap across the active door before you commit. Too wide above the latch side means the sill needs a shim driven directly beneath the latch jamb; too narrow, the shim goes under the hinge jamb. Recheck for plumb after each adjustment.
A carpenter’s square at the corners confirms the unit is square. If it is not, add shims below the sill rather than above the head jamb, which the instructions explicitly warn against. Once the frame sits true, secure the latch jamb with 3-inch screws through the jamb and shims into the wall framing. Countersinking the heads makes the putty work later almost invisible.

For single exterior doors and windows with a 4-9/16 in. jamb depth

Adjustable sill pan flashing prevents water damage from leaks.

For single exterior doors and windows with a 6-9/16 in. jamb depth
5. Hang the Doors
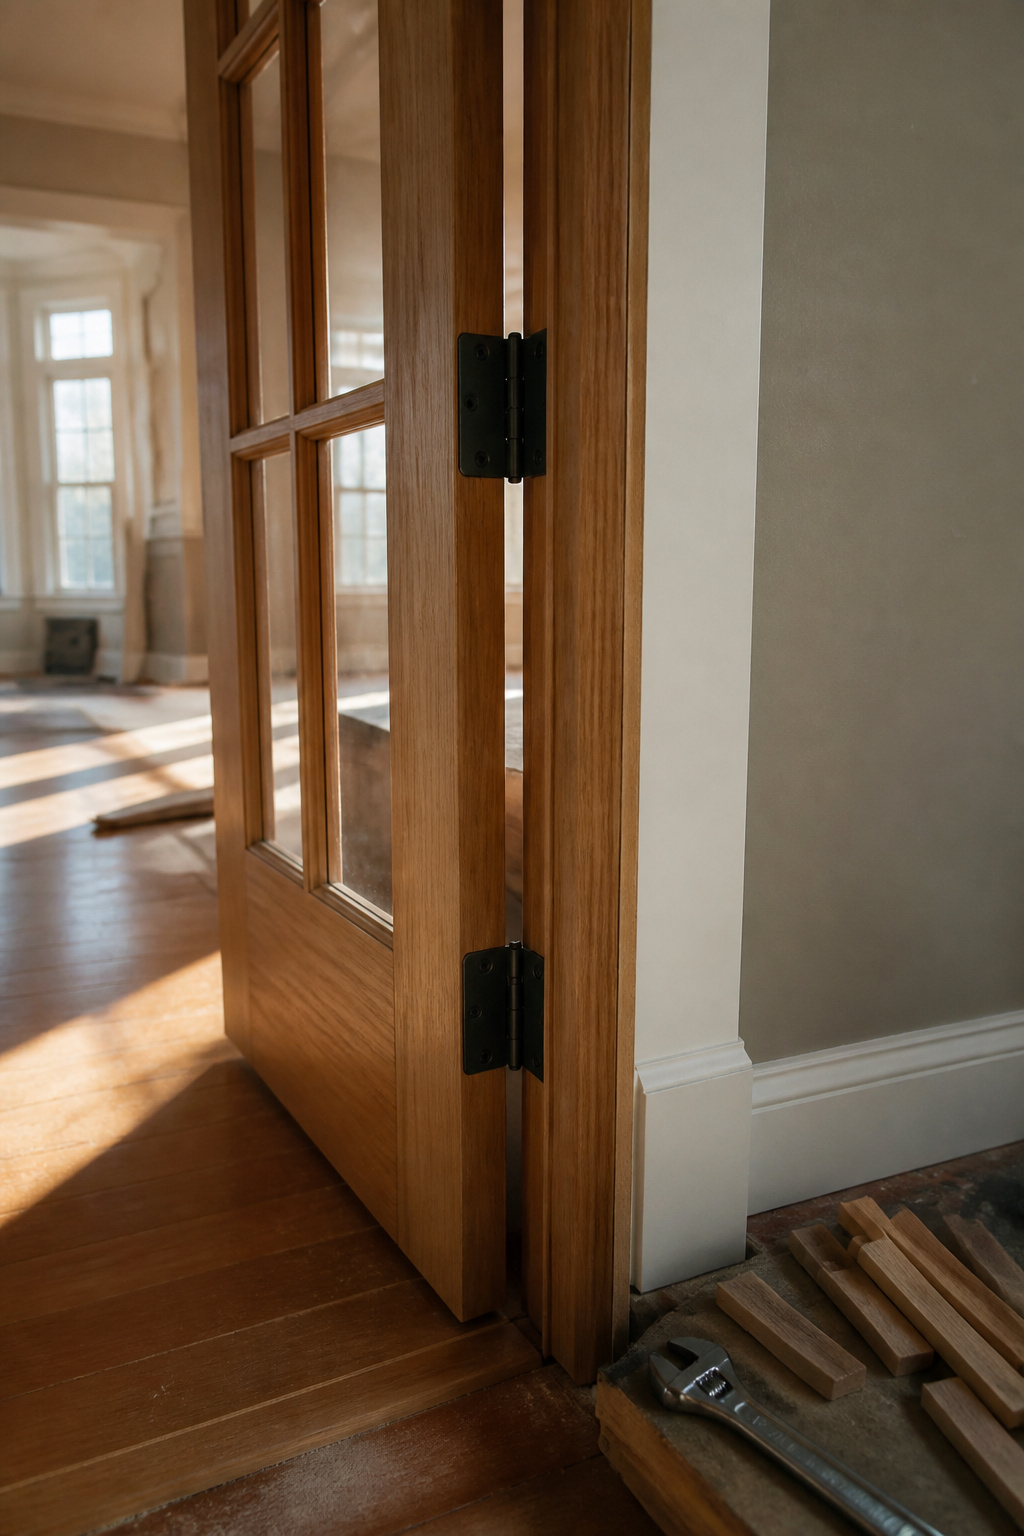
Hinges attach to the jamb first, flush and level, before the panels ever lift into place. This part needs a second pair of hands; the doors are awkward and the finish scratches easily if one edge drops against the frame.
The gap between the two doors wants to land at 3–5 mm, or about 1/8 inch. That is the clearance that lets them meet evenly at the center without binding through seasonal swelling. I shim the frame up or down until the gap runs consistent across the top, then add or remove shims under the jamb until the spacing looks right all the way across.
After both doors are hung, the real work starts: swing each one ten or twelve times, slowly. Listen for scrape points. Watch where the gap pinches or opens. Adjust hinge screws a quarter turn at a time until the motion stays smooth and the reveal stays even. Loose screws here are the reason doors sag six months later, so I snug everything down before I call it done.

HIGHLY VISIBLE: Vibrant green laser lines and plumb spot are easy to see and have a working range of up to 75-Feet

【MULTIFUNCTION LASER LEVEL】Laser level tool cool gadgets for men Works For Indoor Designed for any situation where accurate measurements are needed, such as hang shelves, cabinets, tiles and picture frames with accuracy. All The Job That Requires A Straight Line Or Accurate Measurement.

★ DUAL MODES & SELF-LEVELING ★ The cross line laser with slide switch enable you to set 2 modes, self-leveling mode and manual mode. When working in self-leveling mode, the range of leveling and compensation is 4°± 1°and the laser level will automatically level for horizontal/vertical/cross line, otherwise the laser will flash to indicate thr out-of-level condition. In manual mode, the self-leveling function is deactivated and the cross is locked to use the device at any angle.
6. Seal and Insulate
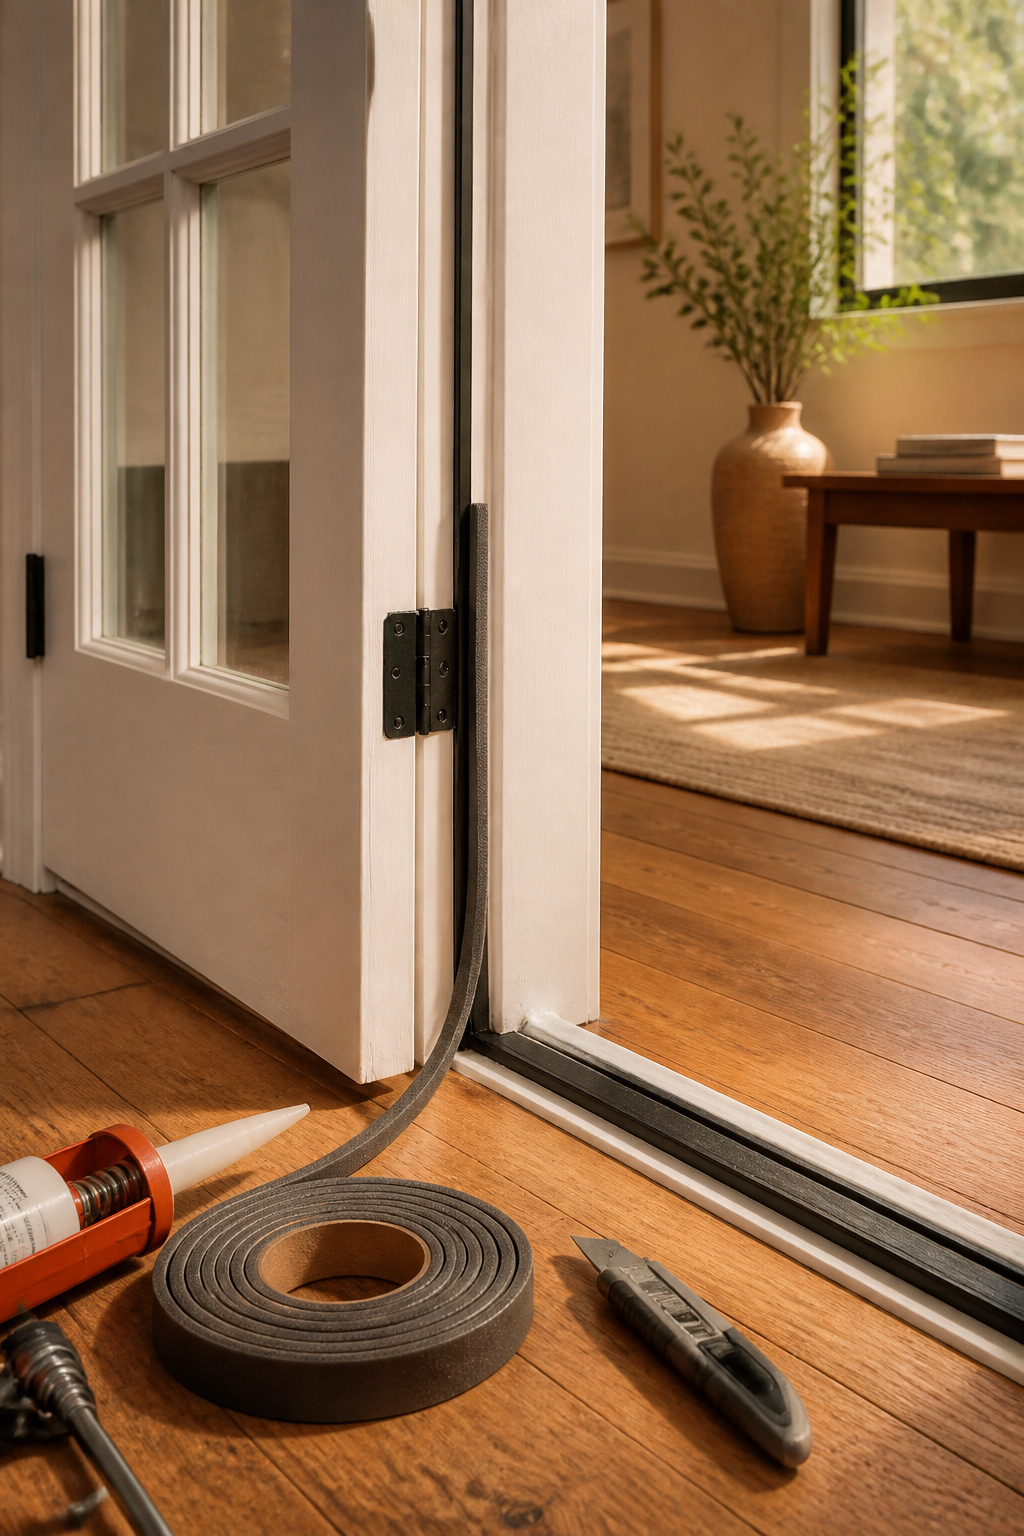
Self-adhesive foam tape handles most of the weatherstripping on French doors, and the trick is cleaning the frame first so it actually sticks the second time. I run it along the top and sides where the doors meet the jamb, then cut the strips slightly longer than the opening and press hard so the seal compresses evenly when the doors close. The meeting stiles where the two panels touch need their own strip, and the hinge side often gets missed because it is harder to reach.
The bottom is a different problem. A door sweep screwed to the panel makes contact with the threshold across the full width, and you adjust the threshold up or down until the sweep drags just enough to feel resistance without binding. Test this after each tweak because a sweep set too low wears a groove in the vinyl and too high leaves a draft you will feel by January.
Caulk fills what weatherstripping cannot. I run a bead around the exterior brick mold where it meets the siding, and another along the floor under the sill before the unit goes in. Between the jamb and the wall framing, fiberglass insulation works if you keep it snug without cramming it tight; compressed insulation loses its R-value and can bow the jamb inward. The payoff is a door that does not rattle in a storm or bleed heat in February, and the whole job adds maybe an hour to the install.

1 Complete Door Installation Kit

DOOR LATCH NOT CATCHING? – Fixes alignment so your door closes and STAYS shut

Both interior and exterior application Fire-rated door supportive
7. Final Adjustments
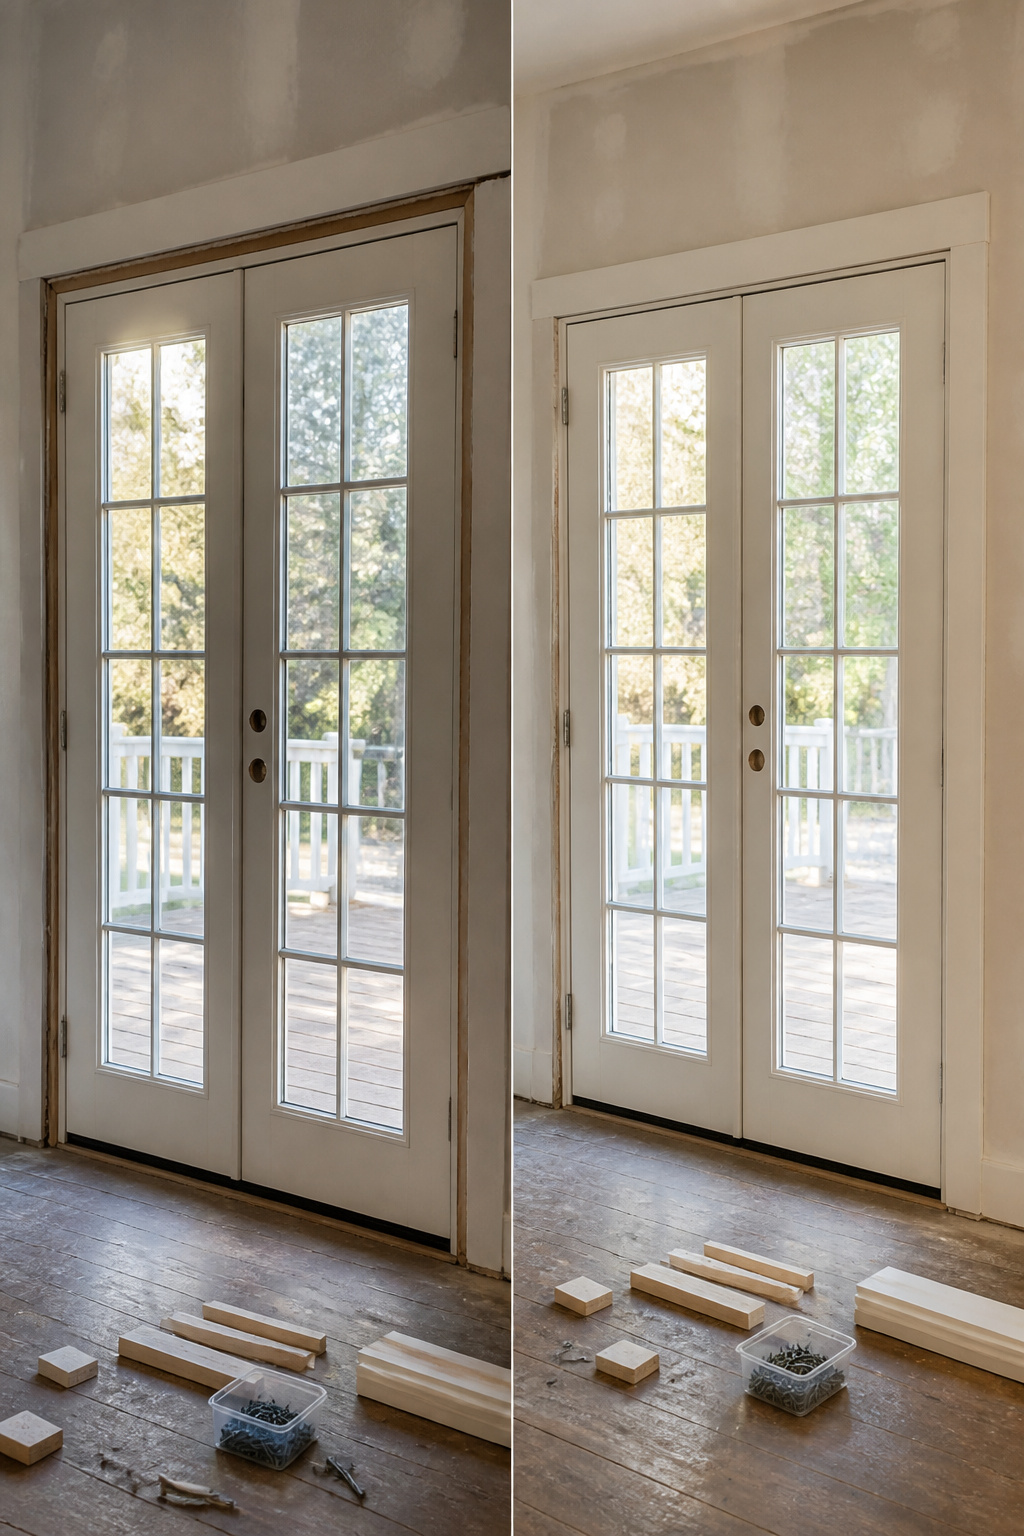
The reveal between the doors and the frame should sit at 1/8 inch on all sides, and a tape measure alone won’t tell you if the unit is square. Measure diagonally from corner to corner in both directions. The two numbers need to match; if they don’t, the frame is racked and the doors will never meet evenly at the center no matter how you tweak the hinges.
When the doors stick or refuse to latch, the gap usually lies. Check the head jamb first: an uneven gap across the width means the unit is out of square and needs adjustment before you touch the hardware. If the frame is true but a door still drags, shim behind the center and bottom hinges on both hinge jambs, then secure with screws just above those points. Tighten everything fully; loose hardware lets doors sag in the first season.
For latching trouble, move the strike plate in tiny increments until the locking points engage without force. Weatherstripping should compress uniformly when the doors close, and both panels need to swing free without scraping. I read enough accounts of people nailing casing over a frame that was almost right to know that almost costs more in rework than getting it square now.
Types of French Doors
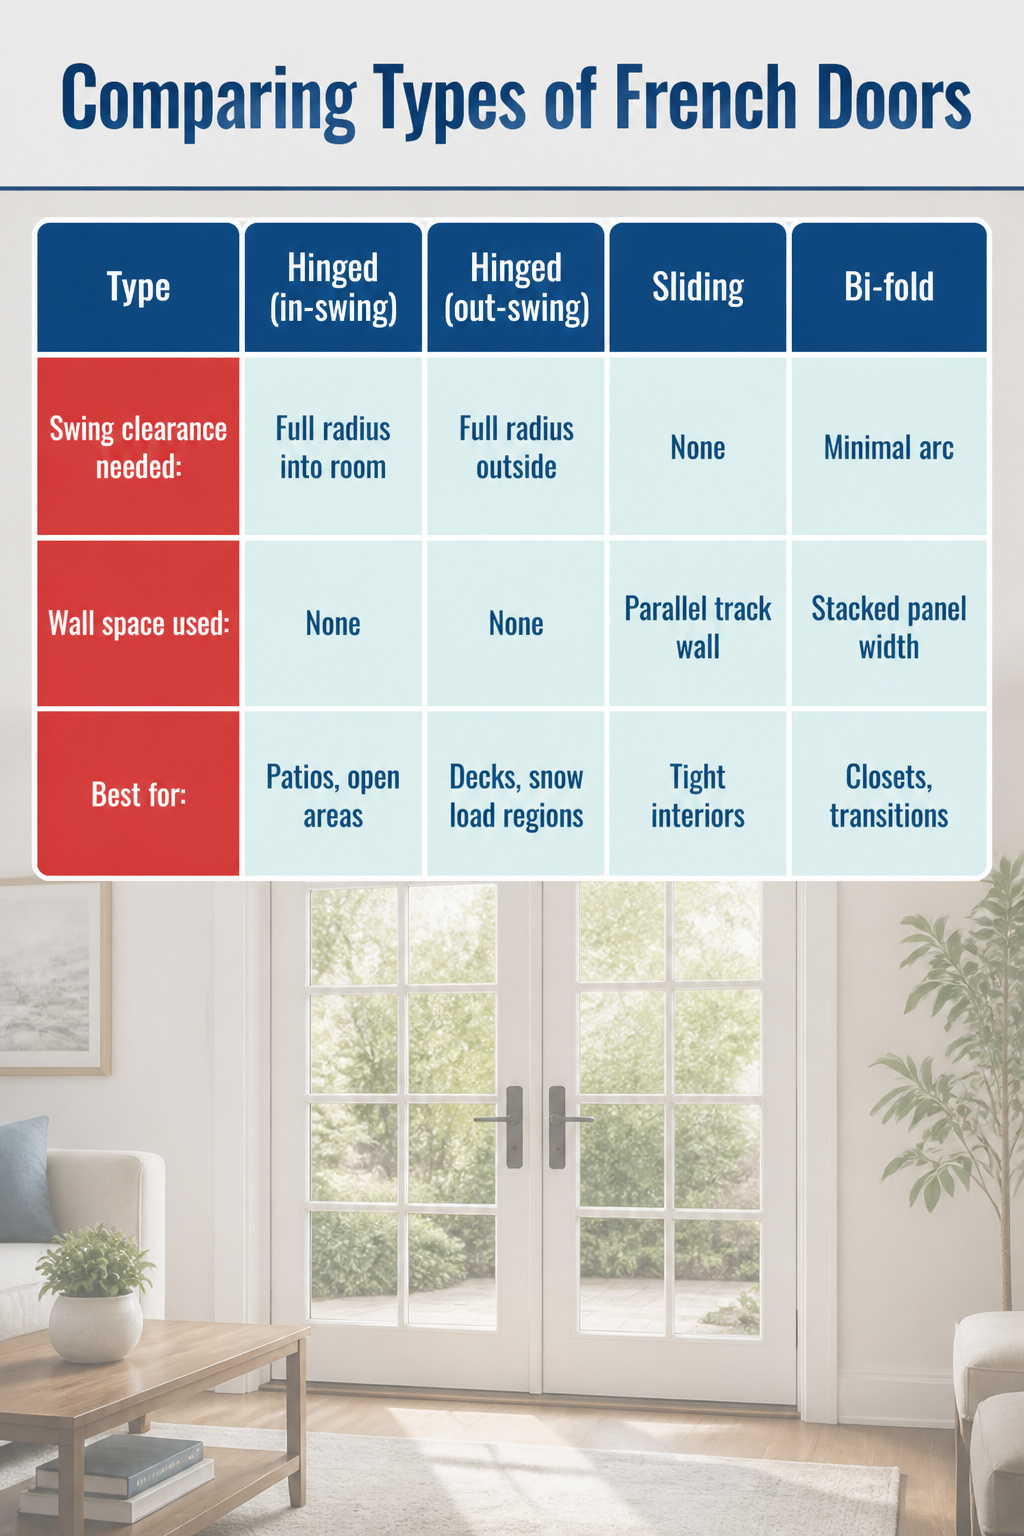
Hinged French doors swing from the center and need floor space to open, which matters in a room where every square foot counts. Sliding panels stack along the wall instead, keeping furniture placement flexible but trading away the symmetrical sight line that makes French doors recognizable. Bi-fold units fold back in sections, a middle path that compresses the swing arc without losing the divided-light look entirely.
| Type | Swing clearance needed | Wall space used | Best for |
|---|---|---|---|
| Hinged (in-swing) | Full radius into room | None | Patios, rooms with open floor area |
| Hinged (out-swing) | Full radius outside | None | Decks, regions with snow load |
| Sliding | None | Parallel track wall | Tight interiors, wide openings |
| Bi-fold | Minimal arc | Stacked panel width | Closets, secondary transitions |
Wood remains the typical material for true French door pairs, though PVC vinyl and insulated steel or fiberglass options exist for swinging patio units. Security used to lag on French doors because the active panels locked to each other rather than a fixed jamb; three-point locking systems that engage the head jamb and sill have closed that gap. Energy efficiency still tends to favor hinged over sliding designs, since the compression seal on a swing door leaves fewer opportunities for air leakage than a rolling panel must allow.

Convenient Package: this package includes a generous quantity of 10 door corner seals, providing you with more than enough to meet your needs; Whether you want to seal multiple doors in your home or other places, this package offers value; The bulging parts of the seal provide better sealing

No light penetration: Our door seals are made of high-density foam core material, which effectively blocks light from penetrating around the door.

KERF SLOT ONLY: This weather stripping door seal is designed only for door frames with pre-cut kerf slots orgrooves. No adhesive backing or glue required - just press the PVC flange into the groove.Please check your door frame before ordering
Essential Tools and Materials

A laser level and a good tape measure do more for the finished look than any power tool in the stack. The level keeps the frame plumb across the full width of a double opening, where the eye catches even a quarter-inch lean, and the tape measure is what saves you from discovering the rough opening is off after the truck has left.
Here’s the checklist I run through before the day:
- Laser level for alignment across the full span
- Tape measure
- Carpenter’s square
- Pencil and notepad
- Circular saw
- Power drill with various bits
- Reciprocating saw
- Impact driver
- Hammer
- Pry bar
- Utility knife
- Screwdrivers (Phillips and flathead)
- Chisel set
- Putty knife
- Safety glasses
- Work gloves
- Dust mask
- Ear protection
- Steel-toed boots
For materials, the pre-hung door unit is the obvious center of it, but the small stuff is where drafts and callbacks live. Weatherstripping, caulk, and screws rated for exterior use are the package that actually seals the gap between "installed" and "done right."
For single exterior doors and windows with a 4-1/8 in. jamb depth

For double exterior doors and windows with a 4-9/16 in. jamb depth

IMPORTANT: This product needs to be combined with 4 9/16" WOF40 straights ( box of 25) in order to flash entire window or door sill. This product is used when an internal back dam IS needed.The flashing is designed with drain channels that taper to the outside not allowing water to migrate side to side. This makes these pans the best for directing water out of the house envelope. Can be trimmed on site.
Common Mistakes
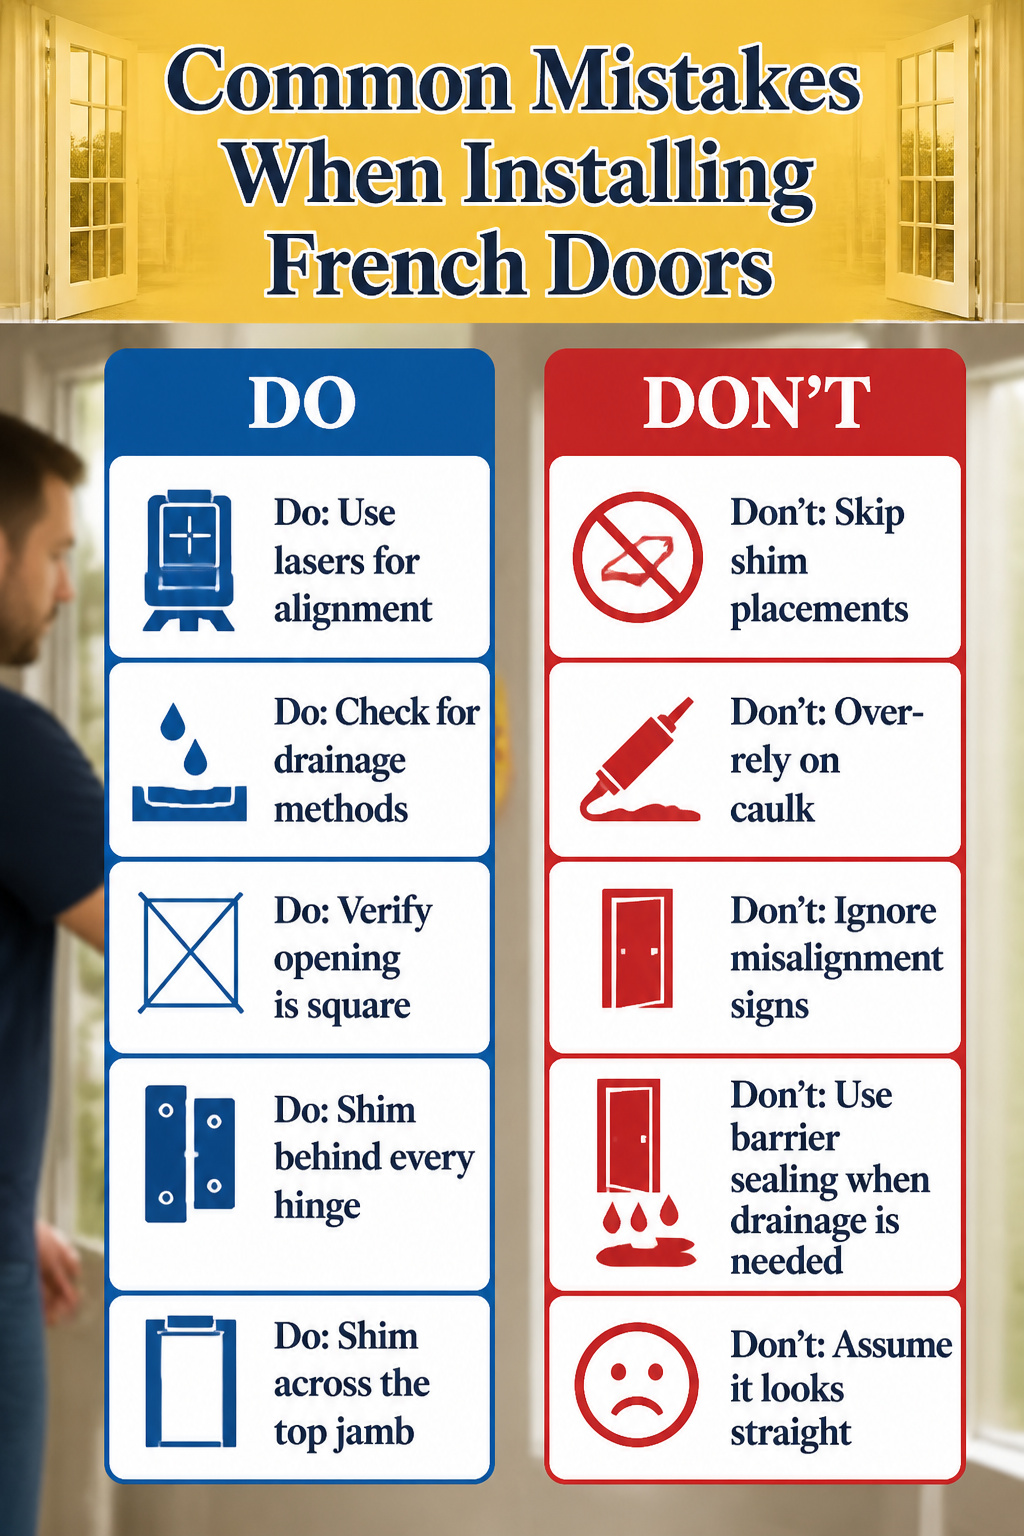
The wall next to where I planned to hang the door looked straight enough by eye, but a four-foot level told a different story. One trimmer leaned out by an eighth of an inch while the other leaned in by a sixteenth, and that combined gap of three-sixteenths meant the opening was cross-legged. A door hung in that opening will never compress its weatherstripping evenly; air and water find the weak spots and keep finding them. I check these now with crisscrossed strings stapled corner to corner, or with a three-beam laser level aimed up each trimmer. The strings should touch lightly at the center crossing; if they don’t, the gap between them is exactly how far out of plane the opening sits.
Sealing is where I got burned once. I assumed the barrier method would hold, caulked generously, and watched water stream under the threshold in the first hard rain. Now I think about exposure honestly: outswinging doors with good overhangs can use barrier sealing, but inswinging doors in moderate weather or on upper floors need the drainage method with a proper sill pan so water that gets past the sill drops out again. Too much sealant squeeze-out beats too little every time.
Misalignment of the doors themselves usually traces back to shims placed wrong or missing entirely. Cedar shims in pairs behind every hinge and across the top jamb keep the frame from twisting as screws go in. Skip this, and the active door drags or the gap between sash and jamb grows uneven.
Frequently Asked Questions
What tools are essential for installing French doors?
A laser level and a good tape measure do the most for the finished look, followed by a carpenter’s square, circular saw, power drill, reciprocating saw, impact driver, hammer, pry bar, utility knife, chisel set, putty knife, and both Phillips and flathead screwdrivers. Safety gear matters too: safety glasses, work gloves, a dust mask, ear protection, and steel-toed boots. The level keeps a double opening plumb across its full width, where the eye catches even a quarter-inch lean.
How do I ensure proper alignment when installing French doors?
Check that both trimmers are equally plumb and in the same plane using a laser level aimed up each jamb, or crisscrossed strings stretched corner to corner that should touch lightly at the center. Shim about six inches below the top of the unit and six inches above the sill, plus above and below the lockset, then secure the latch jamb with 3-inch screws through the jamb and shims into the wall framing. Measure diagonally from corner to corner in both directions afterward; the two numbers must match or the frame is racked.
How much can I save by installing French doors myself?
DIY installation runs around $1,326 on average, while professional installation typically ranges from $3,000 to $3,500, so the potential savings exceed $2,000. One homeowner was quoted $7,000 or more for custom French doors with installation and completed a DIY version for under $2,000.
What steps can I take to maximize energy efficiency with French doors?
Run self-adhesive foam tape along the top and sides where the doors meet the jamb, cut slightly longer than the opening, and press hard so the seal compresses evenly when closed. Add a strip to the meeting stiles where the two panels touch, and install a door sweep screwed to the panel so it drags just enough to feel resistance without binding against the threshold. Caulk around the exterior brick mold and under the sill, and keep fiberglass insulation snug but not compressed between the jamb and wall framing.
How should I finish and maintain my newly installed French doors?
Paint or stain the doors using exterior-grade products designed for door applications, applying at least two coats for durability. Lubricate hinges annually, inspect weatherstripping for wear, and touch up the finish as needed to protect against the elements. Test the door sweep and threshold adjustment after each tweak, since a sweep set too low wears a groove in the vinyl and too high leaves a draft.